How To Break In Walking Boots | Essential Advice - Outdoors Magic

Outdoors Gear, Equipment, News, Reviews, Forums, Walking Routes and More at OutdoorsMagic.com

Share

How To Guides

How To Break In Walking Boots | Essential Advice

If you’ve recently bought new walking boots, it’s a good idea to break them in before you lace up and head for the hills. Follow our step-by-step guide to guarantee mile after mile comfort

A comfortable pair of boots is perhaps the single most important purchase that any hiker or hillwalker can make. That doesn’t always mean spending hundreds of pounds, but it does mean doing your research and trying on different pairs to find the right boots for you. Fortunately, there’s lots of useful advice out there to help – like in our buyer’s guide to walking boots for instance.

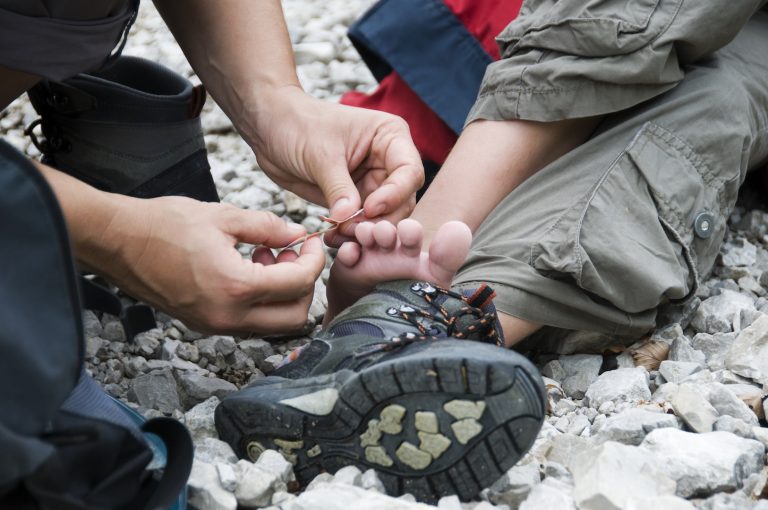
Once you’ve found your perfect pair, the next step is to break them in. ‘Breaking in’ is the process of gradually moulding your new boots to the shape of your feet. This will also soften up the leather or fabric and ensure they flex at the right points as you walk. It’s the best way to avoid blisters.

Although it is tempting to simply unbox your new boots and head straight for the hills, a little time spent breaking them in really pays off in the long run.

The process itself is largely common sense. Having said that, the internet is full of conflicting advice on the best way to go about breaking in boots, as well as a host of ‘cheats’ or ‘hacks’ intended to speed up the process. Some of these tips can be effective, but others are next to useless, and the worst examples can in fact ruin your nice new boots (or at the very least shorten their lifespan). As such, we’ve put together a concise guide that separates fact from fiction, while also debunking the rubbish around breaking in walking boots.

Do You Need To Break In Walking Boots?

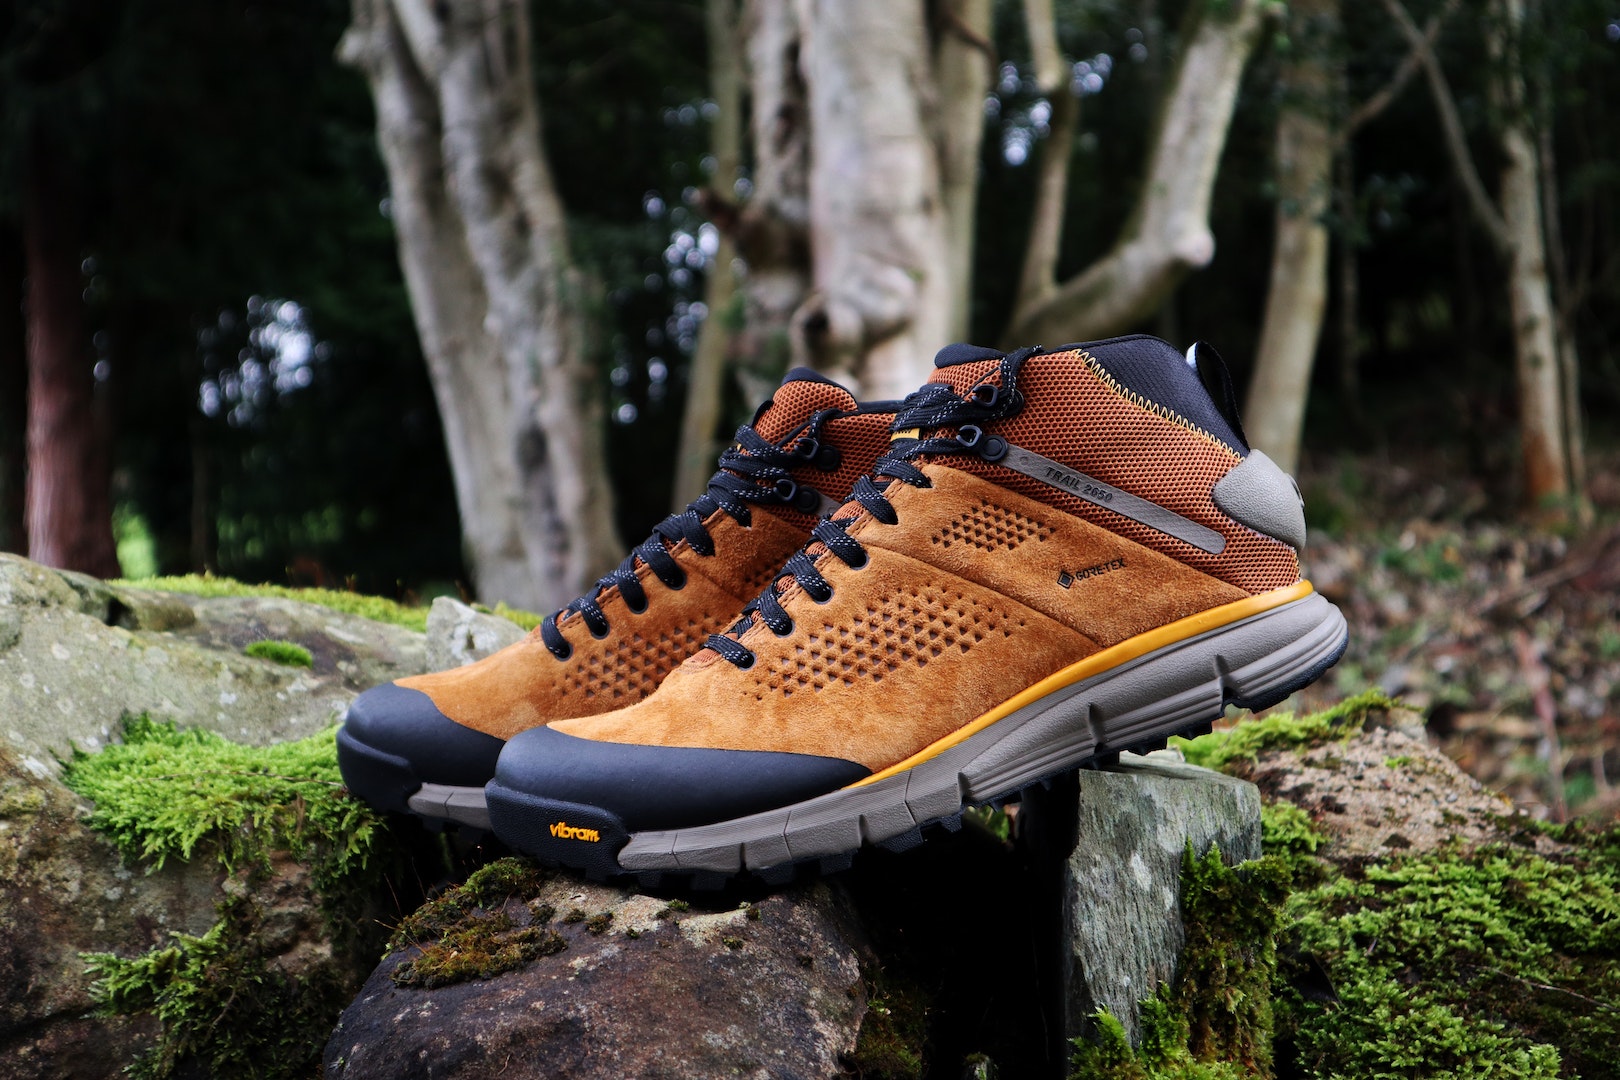
You might wonder why it’s necessary to break in new boots at all, particularly if they already fit well and feel comfortable from the outset (as they should). It is certainly true that modern boots need far less breaking in than the traditional all-leather boots of old. This is mostly down to advances in materials and technologies. Boots like the Meindl Bhutan and the Mammut Trovat Guide High II feature memory foam ankle cuffs, for example. Other boots, such as the Hanwag Makra Combi utilise hard-wearing yet flexible fabrics like Cordura. A better understanding and application of human physiology and ergonomics to footwear design has also resulted in better ‘out of the box’ comfort.

OM editor Will found these to be a good example of boots with ‘out-of-the-box’ comfort.

However, the fact remains that almost all mass-produced boots are built on a last. This is basically a model of a foot, and while it may approximate the size and shape of your foot, it will not be an exact match. Breaking in boots helps to mould them precisely to your feet to achieve a more comfortable long-term fit.

New boots are also made from a mix of different materials with different properties. Full-grain leather is a stiff material that softens and becomes more supple over time, for example. Generally, heavier and stiffer boots take longer to break in than lightweight boots. If you’ve purchased four-season mountaineering boots, then expect to spend more time breaking them in compared to a lightweight trail shoe composed mainly of fabric and mesh. These are often comfortable straight out of the box. But some textile boots can feel slightly stiff when first worn, so it is still worth taking the time to break them in.

Best Mountaineering Boots
How To Give Your Old Gear New Life

How To Break In New Walking Boots

Buy your boots well in advance of any big walks you have planned, to give yourself plenty of time – ideally at least three weeks – to break them in properly.

Wear Them Around The House

Swap your slippers for your new boots for a few days and wear them around the house to begin the breaking in process. Make sure you wear thick walking socks, as this is when the new boots will be at their stiffest (and may rub in places). If you normally use specialist insoles, don’t forget to put these in your new boots too.

Wearing them in bed is not absolutely necessary. Credit: iStock

The boots should gradually start to feel more comfortable. This is a good opportunity to double-check the fit too. Note that the breaking in process won’t turn a poor fit into a good one. If they pinch or your toes feel cramped, then they may not be the right boots for you. Most retailers will allow you to return walking boots if they haven’t been worn outside.

Go For Some Short Walks

Next, take a few short, flat walks (around 20 minutes or so) to see how they feel. Make sure your boots are laced correctly and that you’re wearing proper walking socks. As they feel more comfortable, gradually increase your walking duration, distance and difficulty. Try walking up some small hills or across more varied terrain. You should notice that creases start to form across the toe section of your boots as they flex with your feet, and the ankle cuff and tongue should also soften.

Go For A Hike With A Loaded Pack

Once you’ve increased the amount of time you spend in your boots, go for a countryside walk with a loaded rucksack to simulate ‘hiking conditions’. You could stick a spare pair of trail shoes in your pack so that if your boots do start to become uncomfortable, you can switch up your footwear before it becomes a problem. Take blister plasters or gauze dressings too, in case you start to feel ‘hot spots’. Common problem areas include the heel, the little toe and the Achilles tendon at the top of the ankle cuff. Pain or discomfort in these areas should disappear as the boots break in and conform to the shape of your feet.

Dos And Don’ts

There are a couple of useful tips and tricks that can aid the breaking in process. However, we’ve also come across several so-called ‘hacks’ or ‘cheats’ that are not a good idea. At best they’re a waste of time and at worst they can actually shorten the lifespan of your boots.

Do: Work The Leather

It is common for the tongue and ankle cuff to feel stiff when you first wear new boots. This ought to soften over time as you break them in. However, you can speed up the process by working the leather with your fingers. Gently manipulate the ankle cuff and tongue with your thumbs and index fingers to help soften these areas.

Do: Flex The Sole

If the soles of your new boots feel particularly stiff throughout the breaking in process, you can try gently flexing the sole with your hands. Take the heel and toe of the boot in each hand and slowly flex them upwards. This can help to soften the midsole, outsole and footbed. Don’t overdo it though – be gentle. Try not to twist from side to side either, as it is this torsional stiffness that gives a boot underfoot stability.

Some of the options from Nikwax. Credit: Nikwax

Do: Try Leather Conditioner

Leather conditioner (sometimes called leather balm or leather balsam) can be used to soften full-grain leather, making it more supple and pliable. It should not be used on suede or nubuck though. You can buy leather conditioner at most shoe stores as well as in outdoor shops and even some tack shops. Once applied to your boots, leave them in a warm room to dry naturally, which will allow the conditioner to absorb into the leather. Note that some products can darken the colour of leather. If this is a concern, apply to a small inconspicuous area first.

Do: Use A Boot Stretcher

Wooden boot stretchers can be used to stretch your new boots slightly, if they continue to feel tight after the breaking in process. Some boot stretchers even have plastic plugs that can be placed to stretch the leather in specific areas – useful if you have bunions, for example.

Don’t: Use A Hairdryer

Some websites recommend using a hairdryer to heat your boots and stretch the leather. We wouldn’t recommend this. Applying extreme heat can soften leather, but it can also dry it out and draw natural oils out of the leather. Rapid loss of moisture and natural oils can cause the surface of the leather to contract and crack.

Don’t: Soak Them In Water

Leather is a porous material that is susceptible to moisture. When it gets wet, it naturally softens. Some websites therefore tell you to dunk your boots in water, or even to soak them and wear them while wet so that they ‘mould’ to your feet. As well as being a fairly unpleasant experience, the more significant issue is that, as with the problematic hairdryer ‘hack’ above, when leather dries it loses moisture along with its natural oils. Over time, this can actually cause the leather to lose its supple quality and become brittle.

Don’t: Freeze Your Boots

Another so-called ‘hack’ is to fill freezer bags with water, place them in your boots and then put your boots in the freezer. The theory is that as the water freezes, it expands, forcing the boots to stretch. This may work but sounds extremely difficult to control. At worst it could stress or even split the seams of your boots. Subjecting your new boots to such extremes of temperature is also unlikely to do the leather much good, for the same reasons explained previously.

If, for some reason, none of this works for you, well, there’s always our guidance on how to treat a blister!


For More Like This:

How To Pack A Backpack For A Hike

How To Plan A Hiking Route


Share

Newsletter Terms & Conditions

Please enter your email so we can keep you updated with news, features and the latest offers. If you are not interested you can unsubscribe at any time. We will never sell your data and you'll only get messages from us and our partners whose products and services we think you'll enjoy.

Read our full Privacy Policy as well as Terms & Conditions.

production