How To Prevent Blisters | Advice For Hikers And Runners - Outdoors Magic

Outdoors Gear, Equipment, News, Reviews, Forums, Walking Routes and More at OutdoorsMagic.com

Share

How To Guides

How To Prevent Blisters | Advice For Hikers And Runners

Worried about blisters ruining your next walk or trail run? Here’s our essential guide to help prevent, treat and manage blisters, both on and off the trail

Blisters can ruin a good walk, turning a great day in the hills into a painful slog. Fortunately, we’ve pulled together all our hard-earned hiking knowledge here at Outdoors Magic to give you a wealth of information on how to treat a blister, as well as advice on prevention.

‘A bit of preventative maintenance plus some simple first aid on the trail can ensure that you can keep walking mile after mile.’

Don’t set out on a long-distance walk before reading our essential guide to keep your feet in tip-top condition.

What Is A Blister?

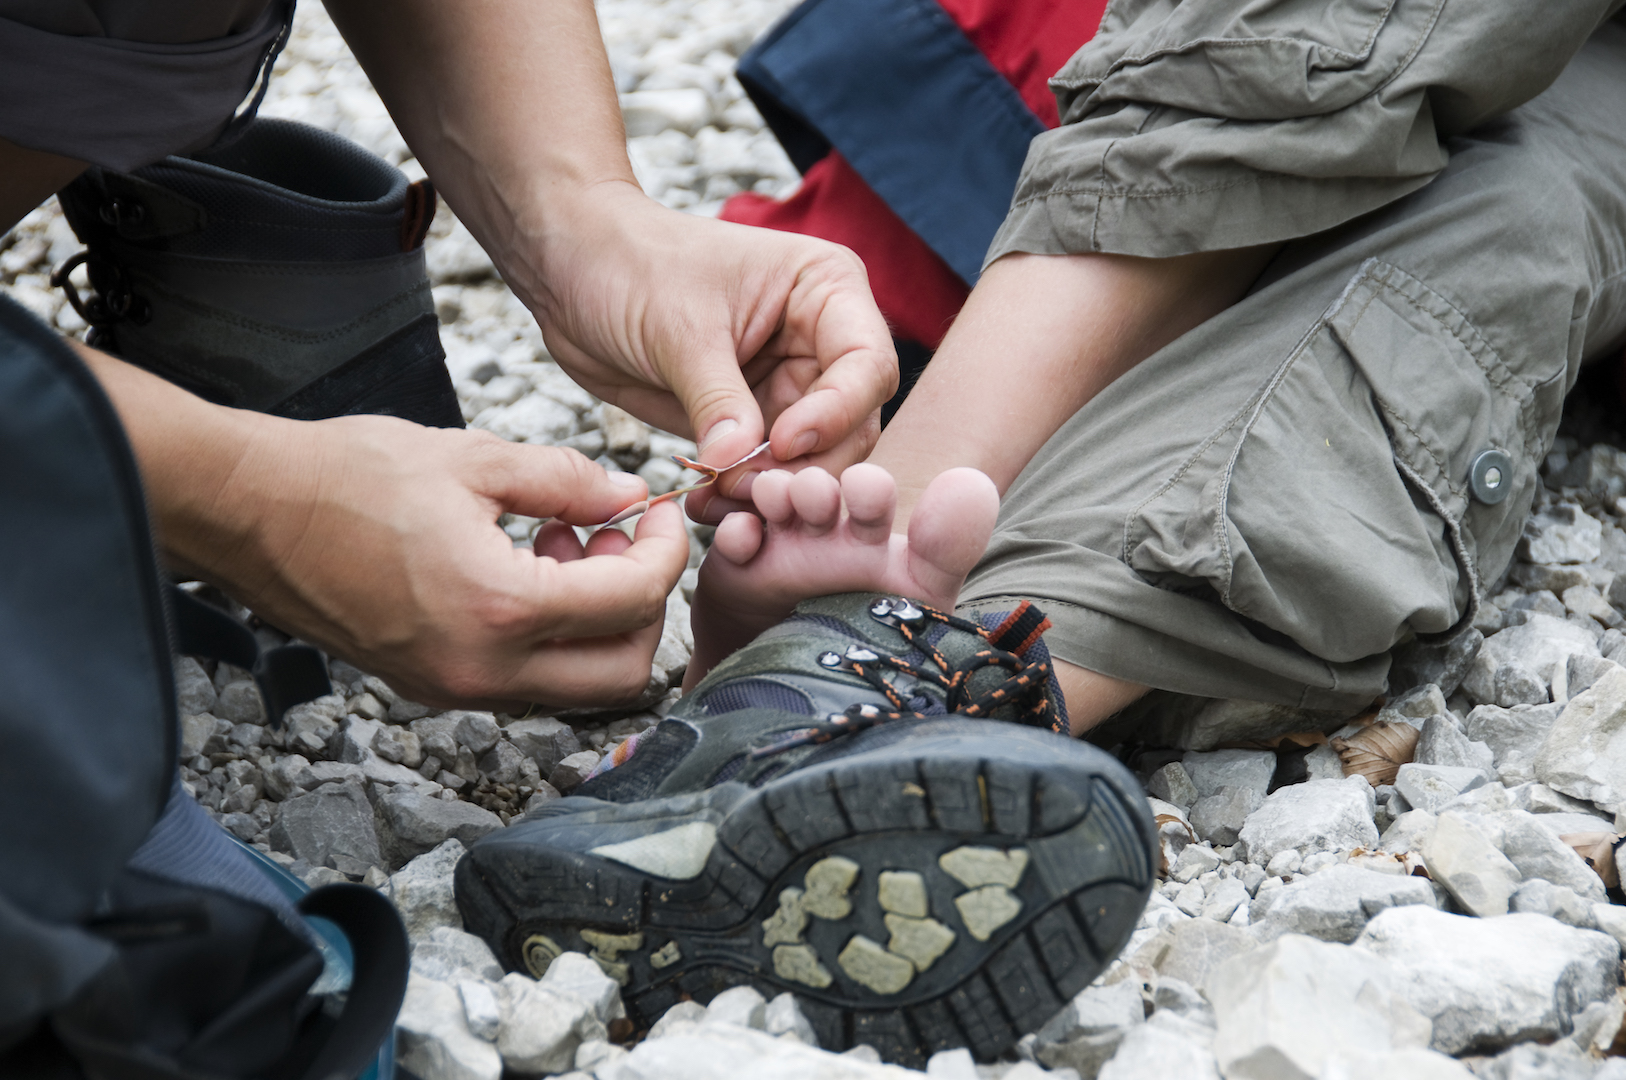
A blister is a fluid-filled bump between the upper layers of the skin. Blisters develop to protect damaged skin and help it heal. When it comes to walking and outdoor activity, they often form from ‘hot spots’, caused by rubbing and friction. Most commonly, they occur on the heels, soles or toes of the feet.

Photo: iStock / Colby Lysne

When walking, your socks and walking boots can rub against your feet. The thicker upper layer of your skin moves more than the sensitive inner layers, which causes the layers of skin to begin to separate. Continued friction leads to a void, which then fills with fluid to form a blister.

How Can I Prevent Them?

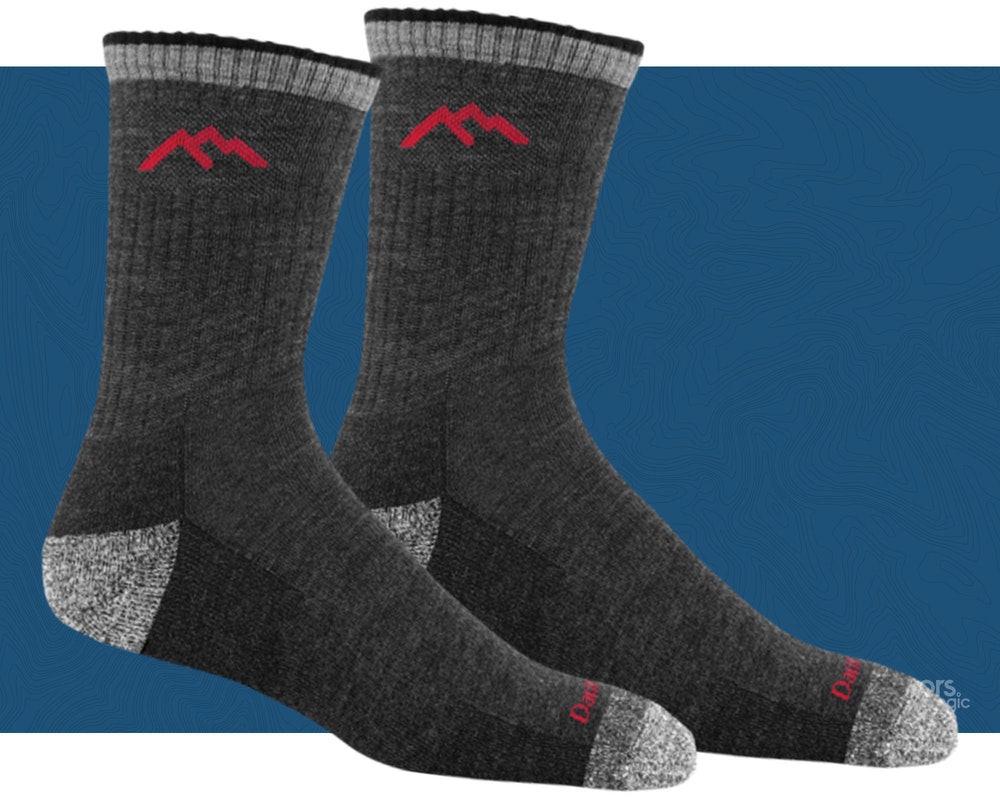
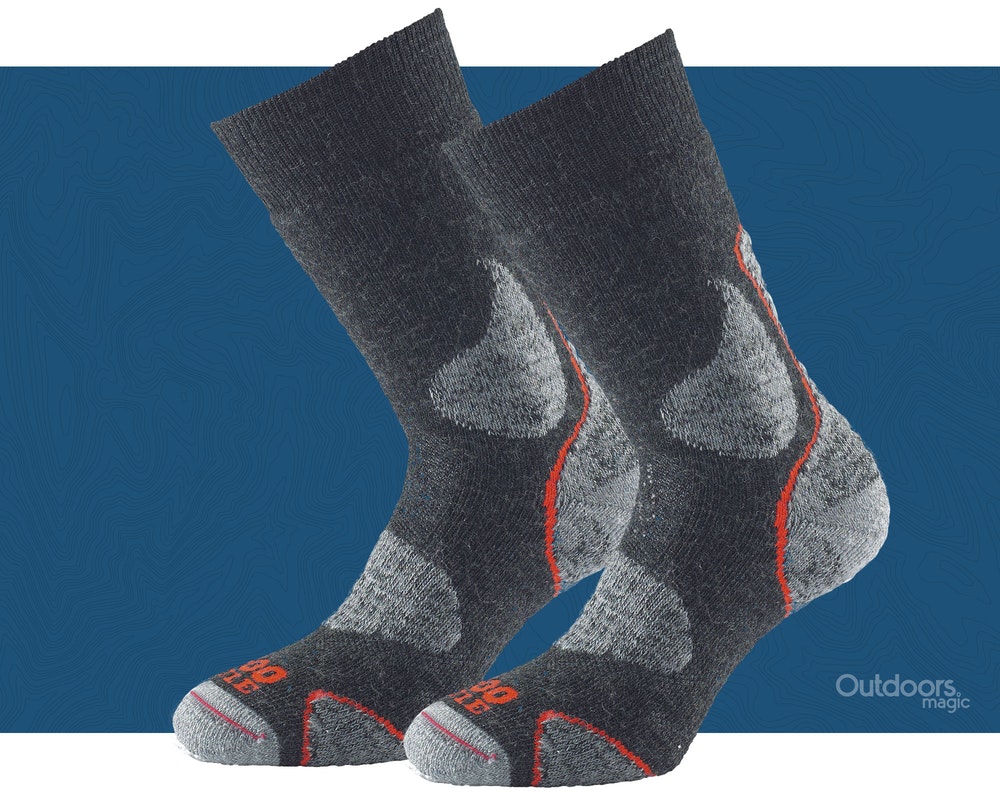
The best single piece of advice is to wear correctly fitting footwear combined with good walking socks. Your aim is to prevent areas of rubbing or friction on any part of the foot.

Best Walking Boots Reviewed
Best Walking Trousers Reviewed

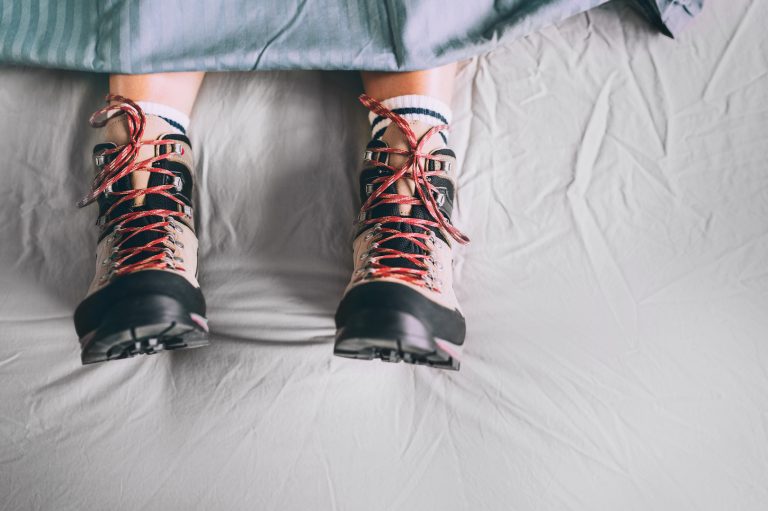
Your walking boots or trail shoes should feel comfortable and must be properly broken in before you head out on that all-day hike. If you’ve recently bought new hiking boots or trail shoes, it’s always a good idea to break them in over a period of a few weeks by taking a series of short walks. This helps to soften them up so that they gradually mould to the shape of your feet.

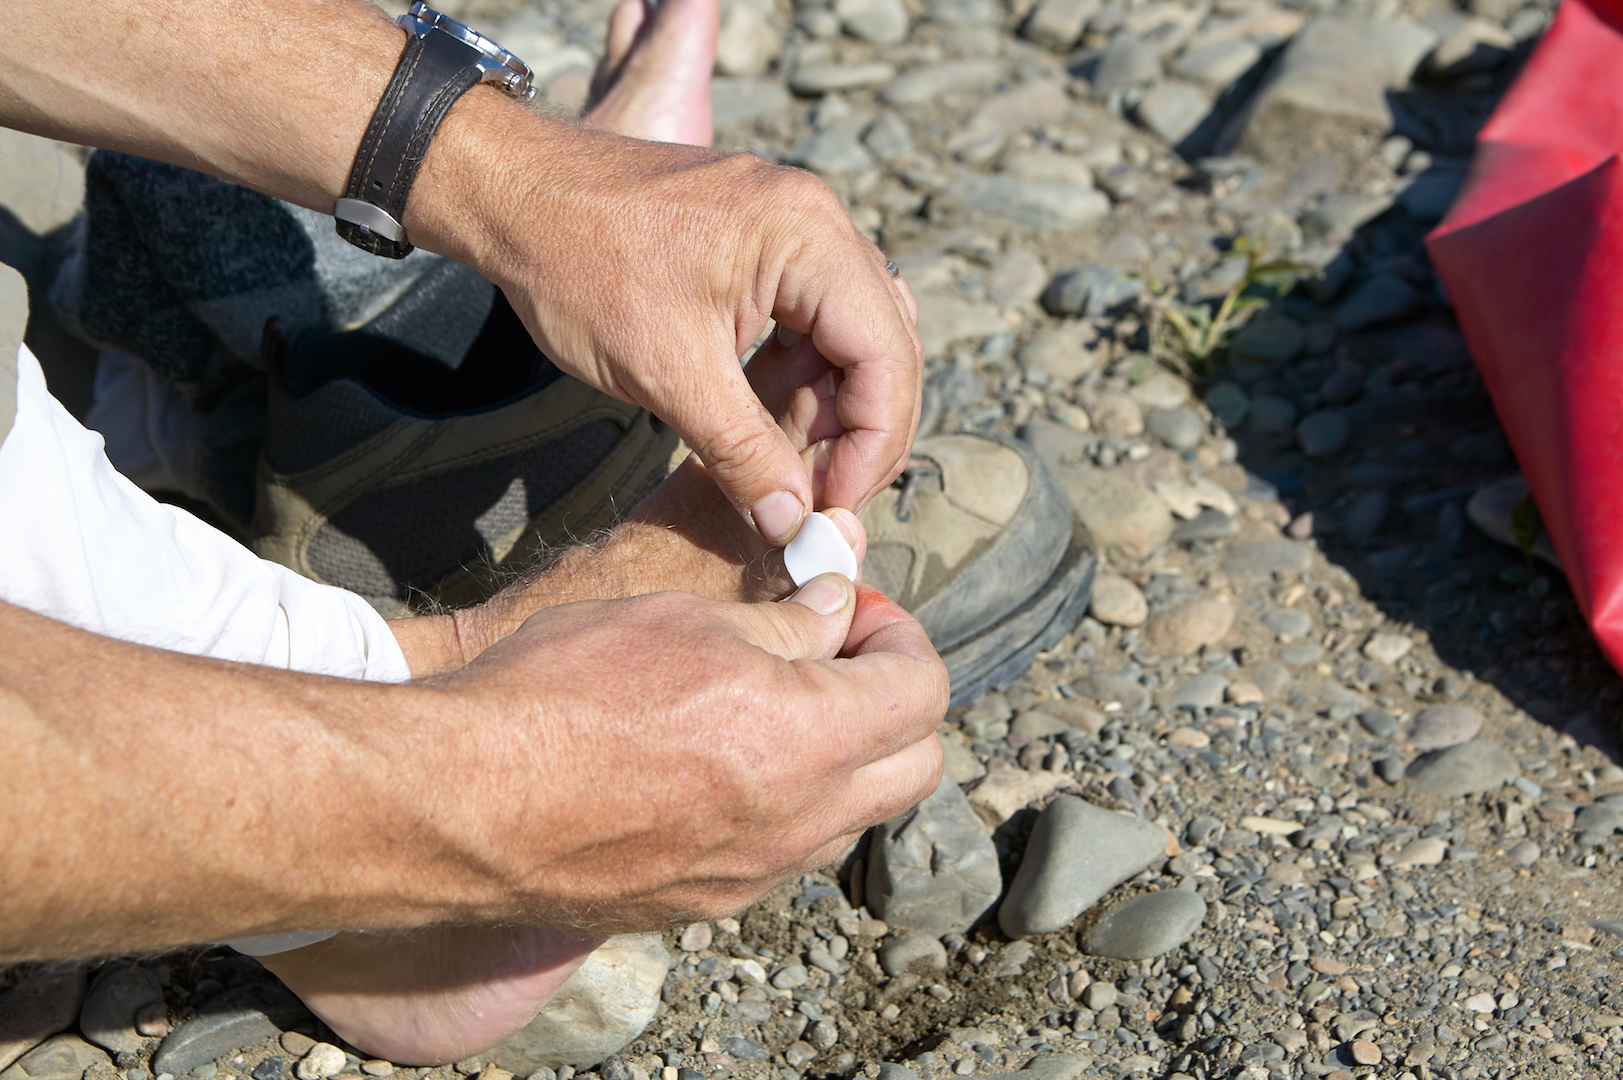
If you’re planning a long-distance walk, putting in the training miles beforehand will also help your feet to toughen up. Soft feet that are not used to being in boots for hours on end are more susceptible to blisters. Similarly, make sure your feet are in good condition before you set out. Cut your toenails, and if you know you are prone to blisters, cover problem areas with micropore tape or a dedicated blister plaster.

Next, learn to lace your boots properly, so that your heel is properly secured. Loose boots can often lead to heel slippage, which in turn is a common cause of blisters.

Here are some useful ‘on-the-trail’ tips from OM editor Will Renwick…

Keep Your Feet Cool And Dry

It’s also important to allow your feet to breathe. Blisters are often caused by sweaty feet, so wear wicking socks that will move moisture away from the skin. Some walkers find that dusting their feet with talcum powder before putting on their walking socks can help to prevent sweaty feet. Others tend to wear two pairs of socks – a thin liner pair to wick away sweat, and a thicker outer pair for cushioning.

You’ll also find that a wide variety of products are available, from waxes to powders, which claim to prevent blisters. Essentially, they are all designed to ‘lubricate’ the feet and therefore minimise the chances of rubbing or chafing. These may work for some, but we’ve always been a little sceptical here at Outdoors Magic. Our advice is to focus on feet, socks and footwear before reaching for the lotions and potions.

Look for socks that have a dense weave on the heel and ball of the foot, as these, the Hiker Micro Crew by Darn Tough have.
1000 Mile's 3 Season Walk Socks have a high merino count. Photo: iStock

Don’t Ignore Early Warning Signs

Don’t forget to monitor the state of your feet during your walk. If you start to feel ‘hot spots’ or similar discomfort, stop immediately and remove your boots to inspect your feet. The sooner you deal with a potential problem, the less likely it is that a blister will form.

If grit, twigs or other debris gets trapped in your boots, stop and sort it out. It will probably cause discomfort and worse, may lead to blisters. A pair of gaiters can help to keep out debris, as well as keeping feet dry. This can be beneficial, as wet boots usually result in wet socks and feet, another common cause of blisters.

In summary:

  • Make sure your boots fit properly and feel comfortable
  • Break them in before going on a long walk
  • Put in the miles to toughen up your feet
  • Take care of your feet before you set out – cut toenails etc
  • Wear good walking socks
  • Make sure boots are correctly laced so that your heels don’t slip
  • Try to keep your feet cool and dry
  • If you feel discomfort, stop and sort it out.


If I Get A Blister, Should I Pop It?

If you have developed a blister, remove your boots and socks and take a good look at it. If it’s small and the skin isn’t broken, it’s generally best not to pop it. That’s because it can introduce infection, and the best protection against infection is the skin itself. Instead, wash the area with clean water (or liquid antiseptic if you’re organised enough to have some in your first aid kit). Then apply a padded gauze dressing or a blister plaster to offer some cushioning and reduce rubbing. You may also want to change your socks.

Photo iStock / kre_geg

With a larger, fluid-filled blister that is causing you pain, you can pop the blister to drain it and relieve the pressure. If you don’t drain the blister it will probably burst in your dirty, sweaty boot, which carries a greater risk of infection.

How To Pop A Blister

First, wash your hands and then clean the area around the blister. If possible, use a sterilised needle to pop it. Rinse the needle in rubbing alcohol or boiling water. Alternatively, sterilise it over a flame. Puncture the edge of the blister near the surface of the skin and allow the fluid to drain out, applying gentle pressure if required. Leave the skin over the blister intact to prevent infection. Allow the area to dry and air for as long as you can. If you are carrying antibiotic cream in your first aid kit, then apply this to the area. Finally, cover with a gauze dressing. Alternatively, you can apply a dedicated blister plaster. These are hydrocolloid dressings that act as a ‘second skin’. They provide cushioning and speed up the healing process. If you’ve applied a blister plaster, never try and peel it off – leave it in place until it starts to detach, which may be after several days. To remove a blister plaster, do not pull upwards but slowly stretch along the skin.

How To Help A Blister Heal

With a burst blister, try to leave the broken skin in place. Don’t peel it off or pick at the edges of the blister. Clean the area and cover it with a sterile dressing to reduce the risk of infection. After a few days, new skin will form. The remaining dead skin that’s left on top will dry out and fall off.

In summary:

  • Try to leave small blisters alone to heal naturally. Clean the area and cover it with a dressing or blister plaster for cushioning. Change your socks if possible
  • Larger, painful blisters can be popped with a sterilised needle. First, wash your hands and clean the affected area. After draining the blister, apply a dressing or blister plaster to prevent infection
  • Leave the broken skin in place. Don’t peel it off or pick at the edges of the blister
  • Add blister plasters or gauze dressings, a needle, liquid antiseptic or rubbing alcohol and some antibiotic cream to your first aid kit so you can treat blisters effectively on the trail.


For More Like This:

How To Plan A Hiking Route

How To Back A Backpack For Hiking

What To Do With Your Old Or Damaged Outdoor Gear


Share

Newsletter Terms & Conditions

Please enter your email so we can keep you updated with news, features and the latest offers. If you are not interested you can unsubscribe at any time. We will never sell your data and you'll only get messages from us and our partners whose products and services we think you'll enjoy.

Read our full Privacy Policy as well as Terms & Conditions.

production