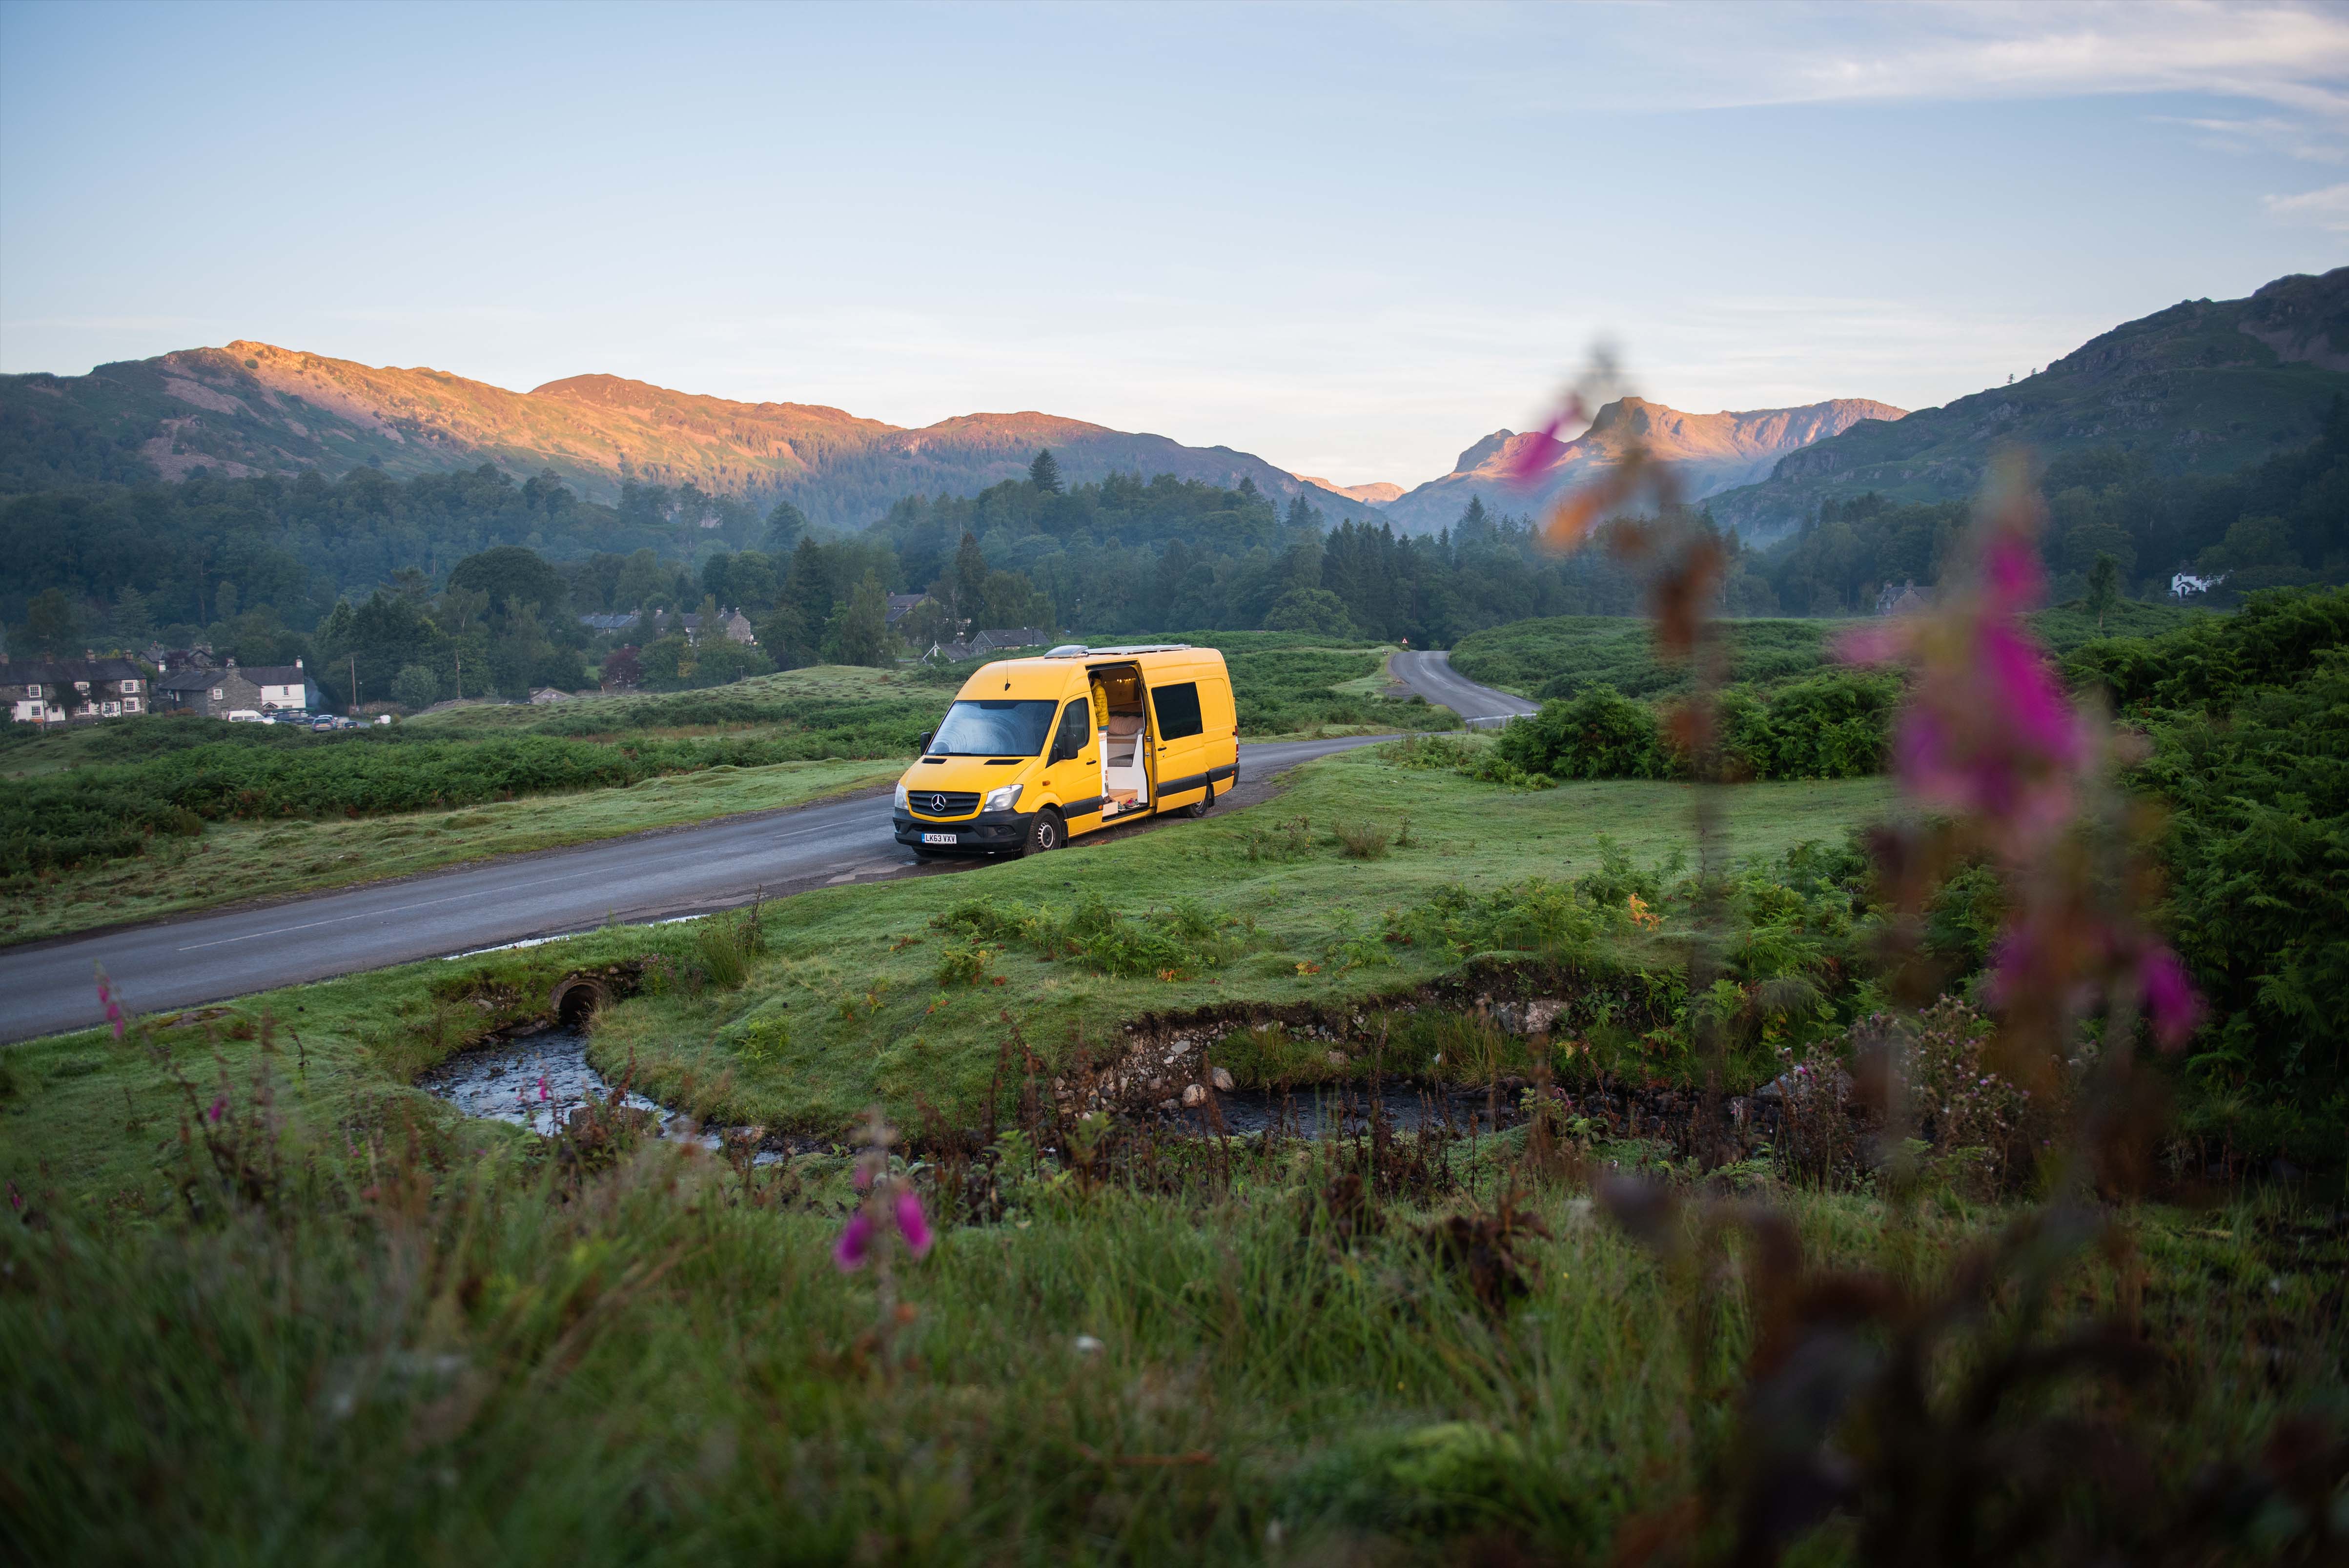
Keen to realise your campervan dreams? Here's everything you need to know to get started
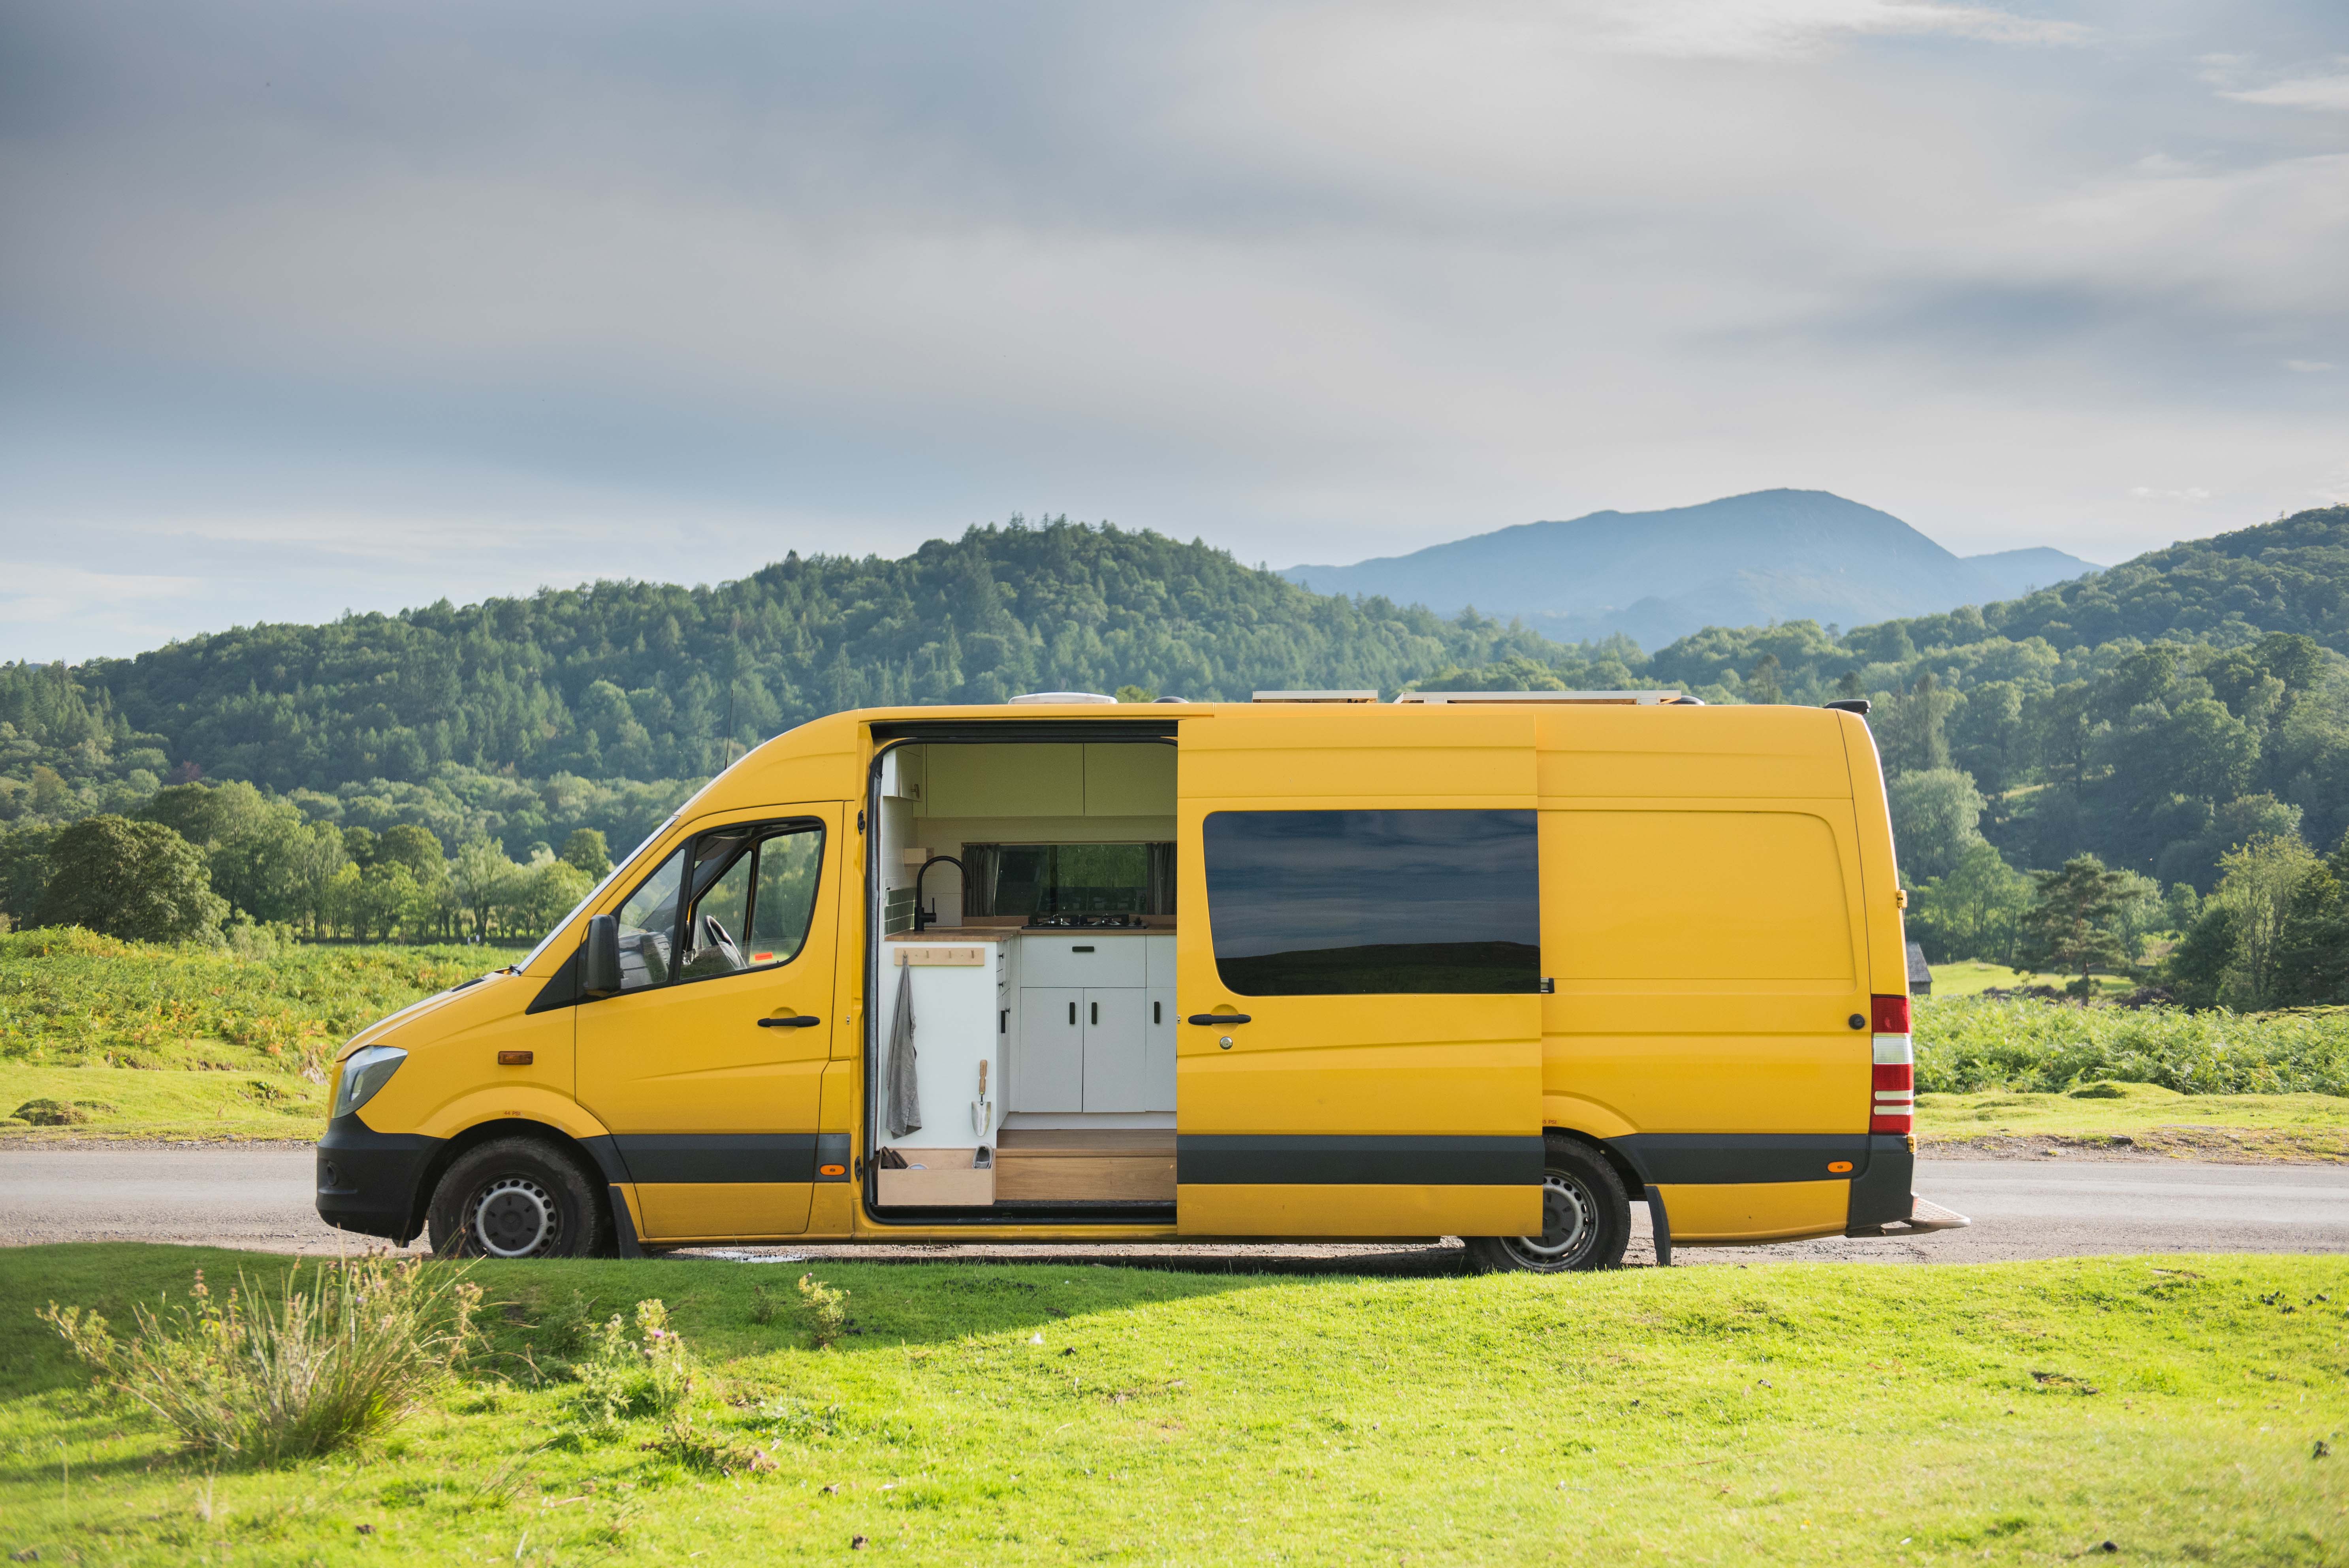
Charlie Low and Dale Comley are authors of the bestselling book, The Van Conversion Bible. They have been living in their bright yellow campervan Ringo for almost a year, travelling around the UK and Europe and working remotely from the road. Here are their need-to-know tips for converting a van into your very own off-grid home on wheels.
For anyone who enjoys travel and spending time outdoors, a campervan is the perfect adventure vehicle. Instead of committing to a holiday in one location with a non-flexible hotel or Airbnb reservation, you can check the forecast, the snow conditions, the surf report on a Friday afternoon, pack the van and hit the road. But what does it take to convert your own rolling home? Luckily, all of the required skills are totally possible to learn for even the most novice of van builders.
Read on for a summary of exactly what you’ll need to master to make your van dreams a reality. There is a lot of detail in a van build, so this is only meant to give you an overview of what’s involved. We’ve followed the structure we follow in our book, which follows the rough timeline of a van build, to give you a feel for the van conversion process.
Planning & Design
We’ll start with perhaps the most important job – planning! Before you start cutting big holes in your van or building beds, one of the most valuable things you can do is to spend time planning. There are so many considerations when it comes to building a campervan, so it’s important to make sure you have taken all of these into account before you start your conversion.
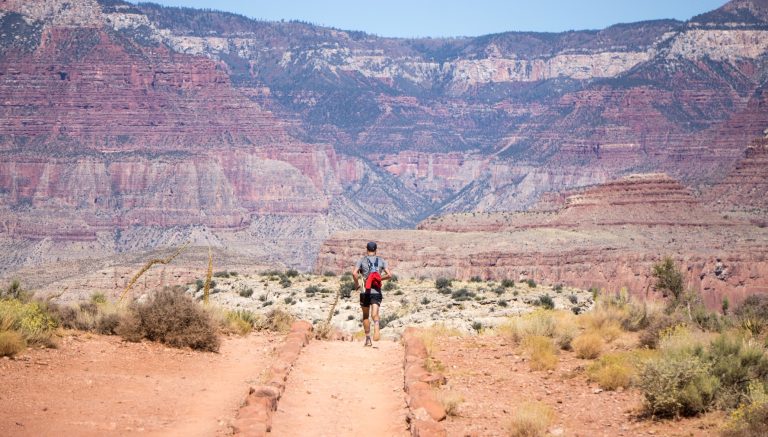
Are you ready to make your van life dream a reality? | Photo: Nohma
Make sure you fully design your layout, and account for things like skylights, solar panels and windows early on. For example, you should make sure you will have room on your roof for all the solar power you need to recharge your electrical system, and that you have enough room for all of your belongings (e.g. bikes, tents, etc). If you don’t think about all of these considerations now, you might find yourself having to undo lots of your hard work much later down the line!
Buying a Base Vehicle
So, you’ve designed your layout, planned where everything will live, and now you’re ready to start your conversion. Finding the perfect base vehicle for your campervan is the first step. We’d recommend checking websites like Gumtree and Autotrader, or getting in contact with van dealerships for ex-fleet vehicles. The nice thing about an ex-fleet van is that it’s usually had very regular services and been driven rather sensibly, so this way you can be sure the vehicle you’re about to spend hundreds of hours converting will be reliable!
Photo: Nohma
Fitting Windows & Skylights
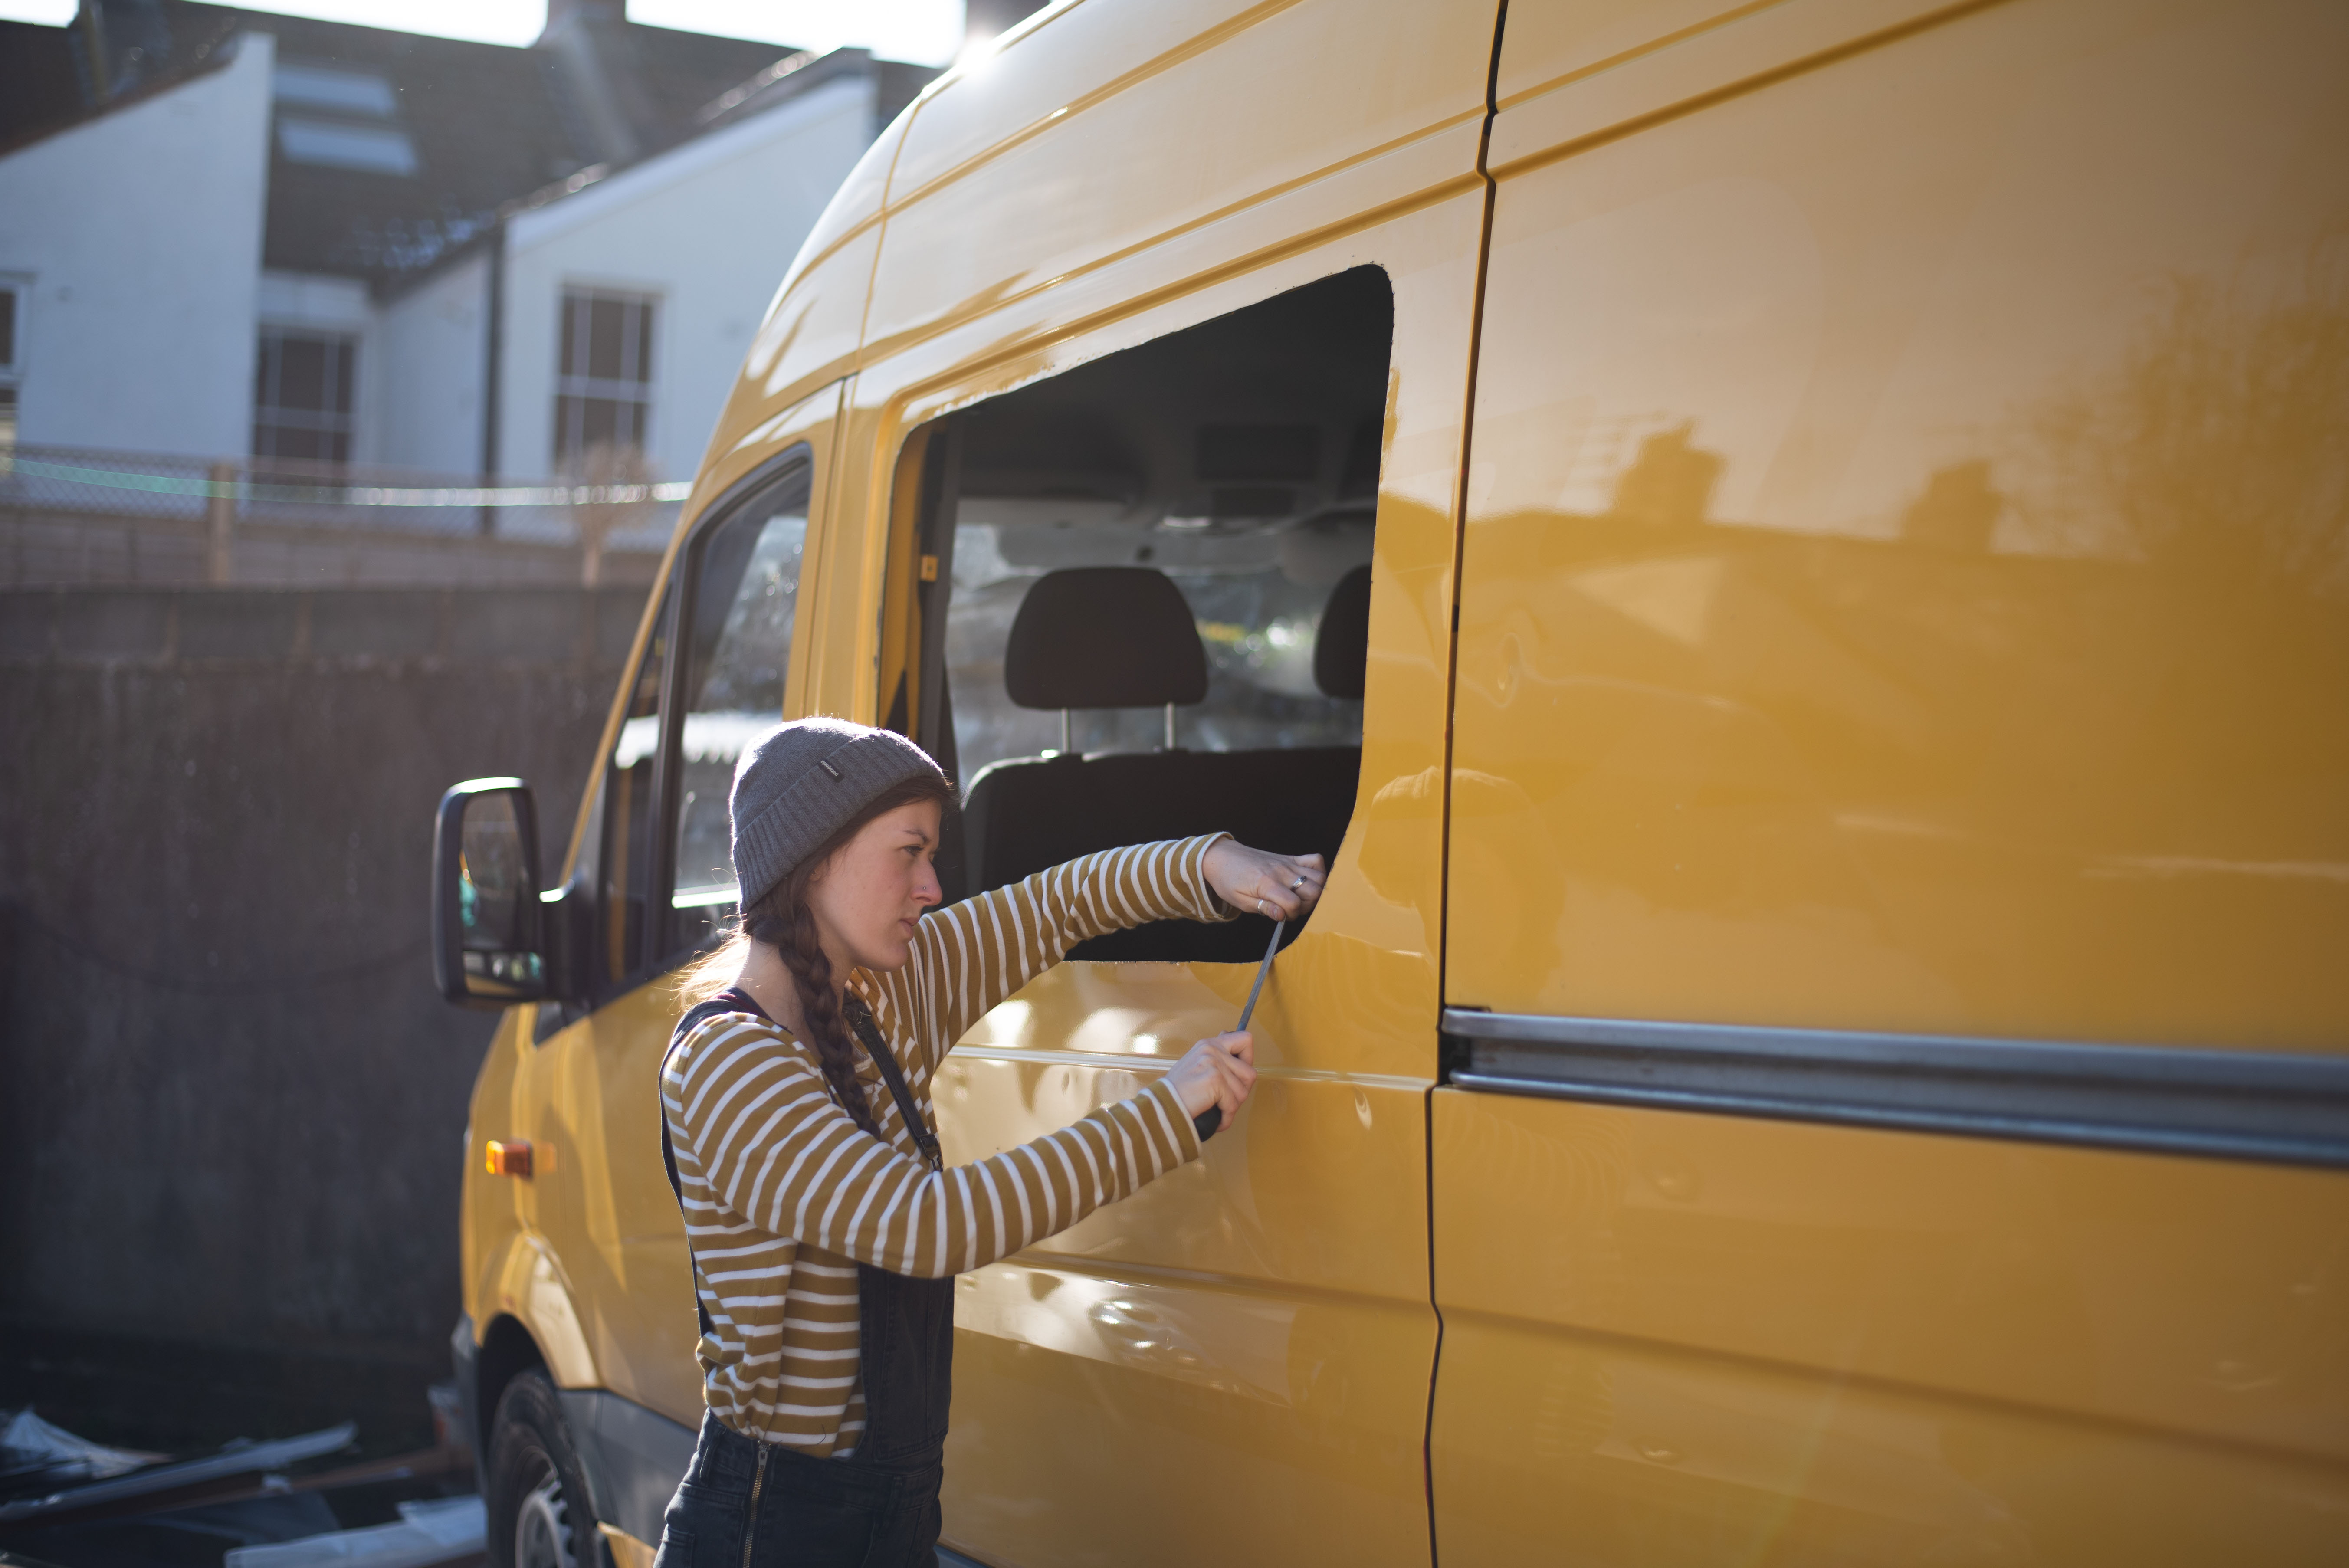
Once you’ve found your base van and you’re ready to start work, you should tackle all of the exterior jobs first. This includes fitting any windows and skylights you may want to include, as well as solar panels, and any exterior mounted inlets such as water fill points and shore power inlets.
The process for installing any of these products is similar, and starts with cutting a hole in the side of your van – which can be slightly nerve wracking! For this reason, we’d recommend measuring everything out and then check and check again. Measure twice, cut once, not the other way around. Once you’ve cut your hole, you will need to file any rough edges and then use the recommended adhesive for the product you’re installing to fix it in place. Once it’s firmly attached firmly, don’t drive your vehicle for at least 24 hours to ensure the adhesive is fully set.
Cutting a hole in the side of your van can be pretty daunting – make sure to double check your measurements! | Photo: Nohma
Insulating
Although your insulation will end up completely hidden, it is perhaps one of the most critical jobs in a van build. Insulating your van well will ensure that it stays cosy in winter and cool in summer. We’d recommend using a mixture of eurothane insulation board such as Celotex, combined with a loose fill polyester (recycled bottle) wool. The insulation board can be used to quickly fill large cavities, and the loose fill wool can be packed into any harder to reach areas such as the metal pillars found along the length of the van. These materials have the best combination of thermal performance, cost and weight.
Once you’re done stuffing every cavity with insulation, you’ll need to attach a vapour barrier to prevent condensation build up. Using spray glue to hold it in place, an aluminium foil bubble wrap material can be used to completely cover the van, and make sure to seal all of the gaps with an aluminium tape. This will leave your van looking like a spaceship (or a conspiracy theorist’s hideout!).
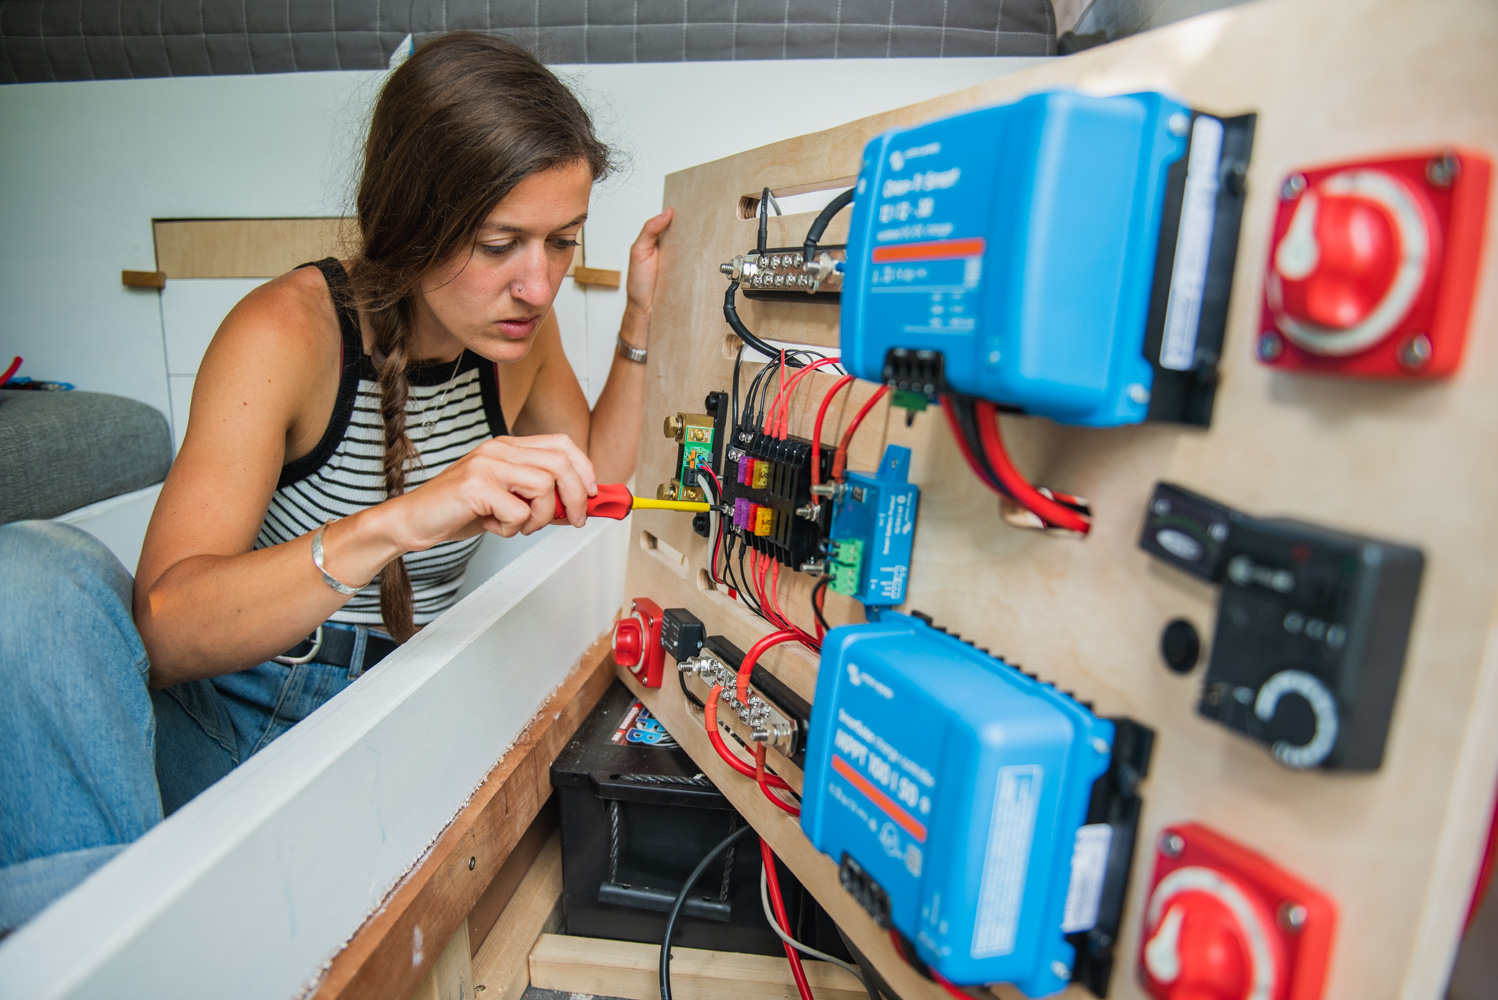
Electrics
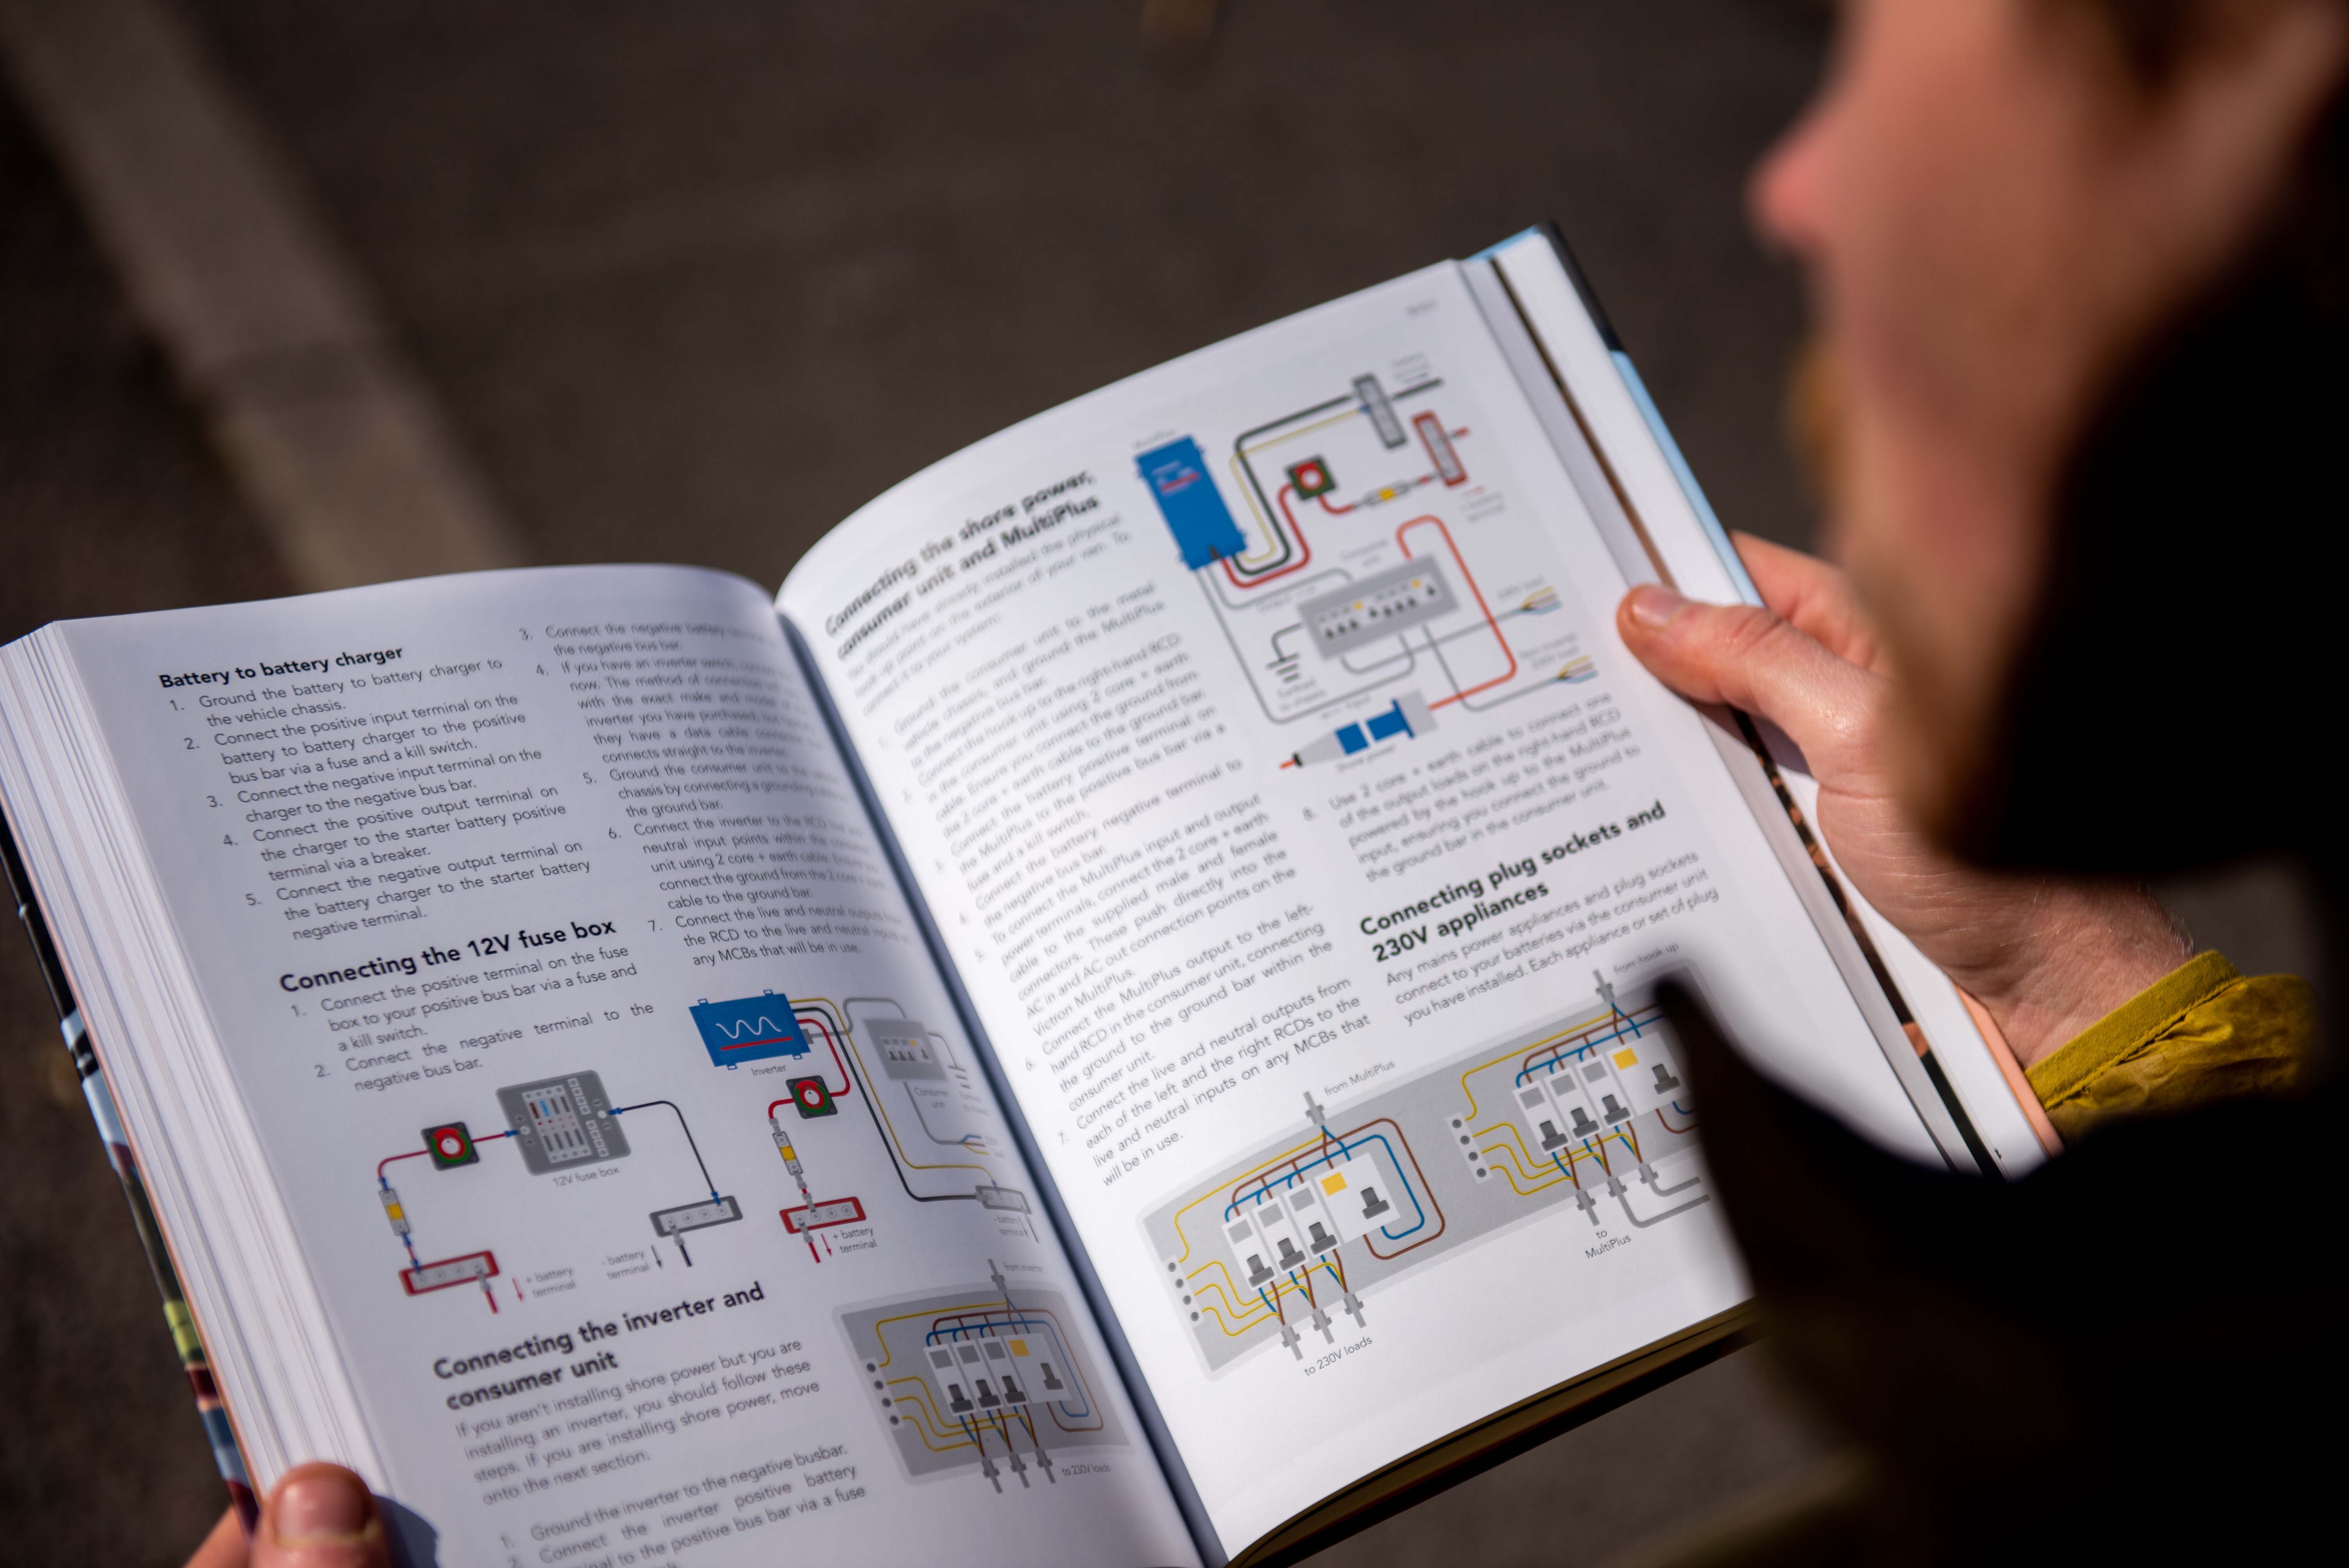
Now you’re ready to tackle your electrical system. For many, this is the most daunting job, as typically it’s the most expensive part of a van build, and there are a lot of different factors to consider. You will need to decide whether you want to opt for AGM or lithium leisure batteries, what size battery bank you need, how you will recharge them (solar power, electric hookup, whilst driving using a battery to battery charger, or a mixture of the three), and whether or not you need to install an inverter to provide 230V power.
Charlie putting her Physics degree to good use, installing our campervan electrical system. | Photo: Nohma
Luckily once you’ve figured all of this out, the installation process itself is rather simple. Each product will be connected to the system using the relevant thickness cable, and all components will be connected to a central negative and positive busbar, which in turn are connected to the leisure batteries. All products should be correctly fused to protect both them and the leisure batteries from any current spikes.
If you’re worried about tackling the electrics yourself, we’ve created an electrical system design service. When we first published our book, we started to receive lots of questions from people specifically about the electrical system, and it quickly became apparent that this was the area people needed the most help with. We hope that Nomadic Energy can alleviate stress around campervan electrics and instead make off-grid energy simple and fun.
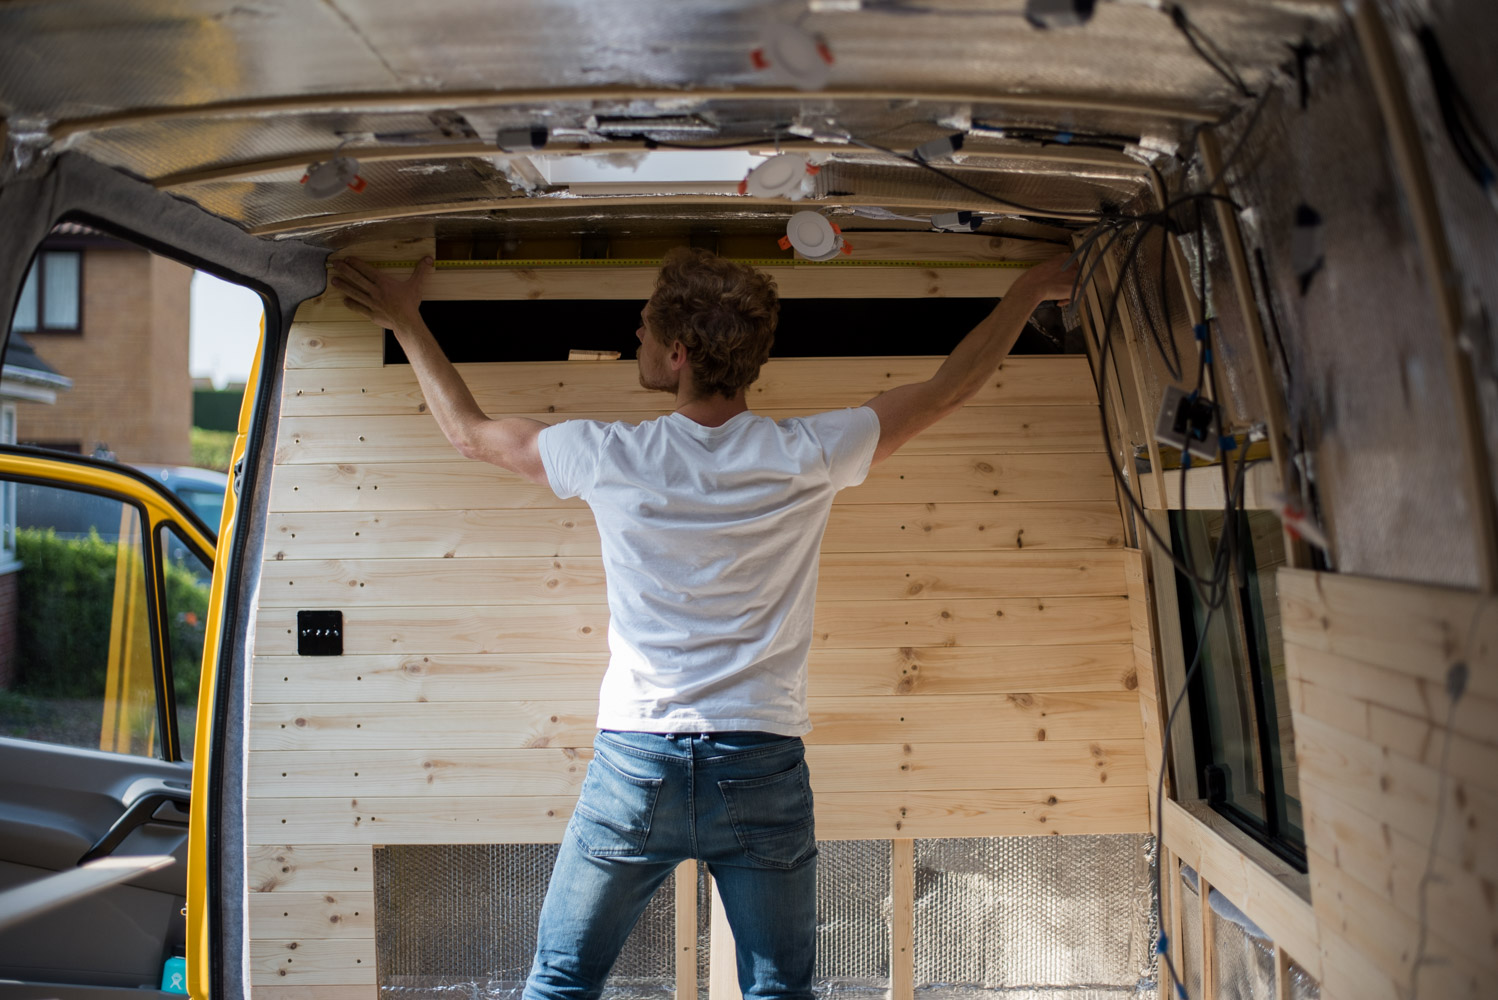
Cladding
Now you can start to make some big visual progress! Cladding your campervan will quickly turn your van from spaceship mode to the beginnings of an actual campervan. You have a few options with cladding – you can opt to use thin sheets of ply which can be painted or covered in autocarpet, or you can use strips of cladding, either painted or just protected with a wax or varnish, to create a more cosy, cabin vibe.
The option you choose is mainly down to your personal preference on aesthetics. We went for painted cladding in our own van with the walls painted white and the ceiling left natural to create a Scandinavian inspired interior. If you do plan to paint your cladding, you should save this job for the end, as if you paint early on, you will inevitably end up getting everything dirty and having to repaint later down the line!
Cladding your van turns takes it from the spaceship phase to the sauna phase! | Photo: Nohma
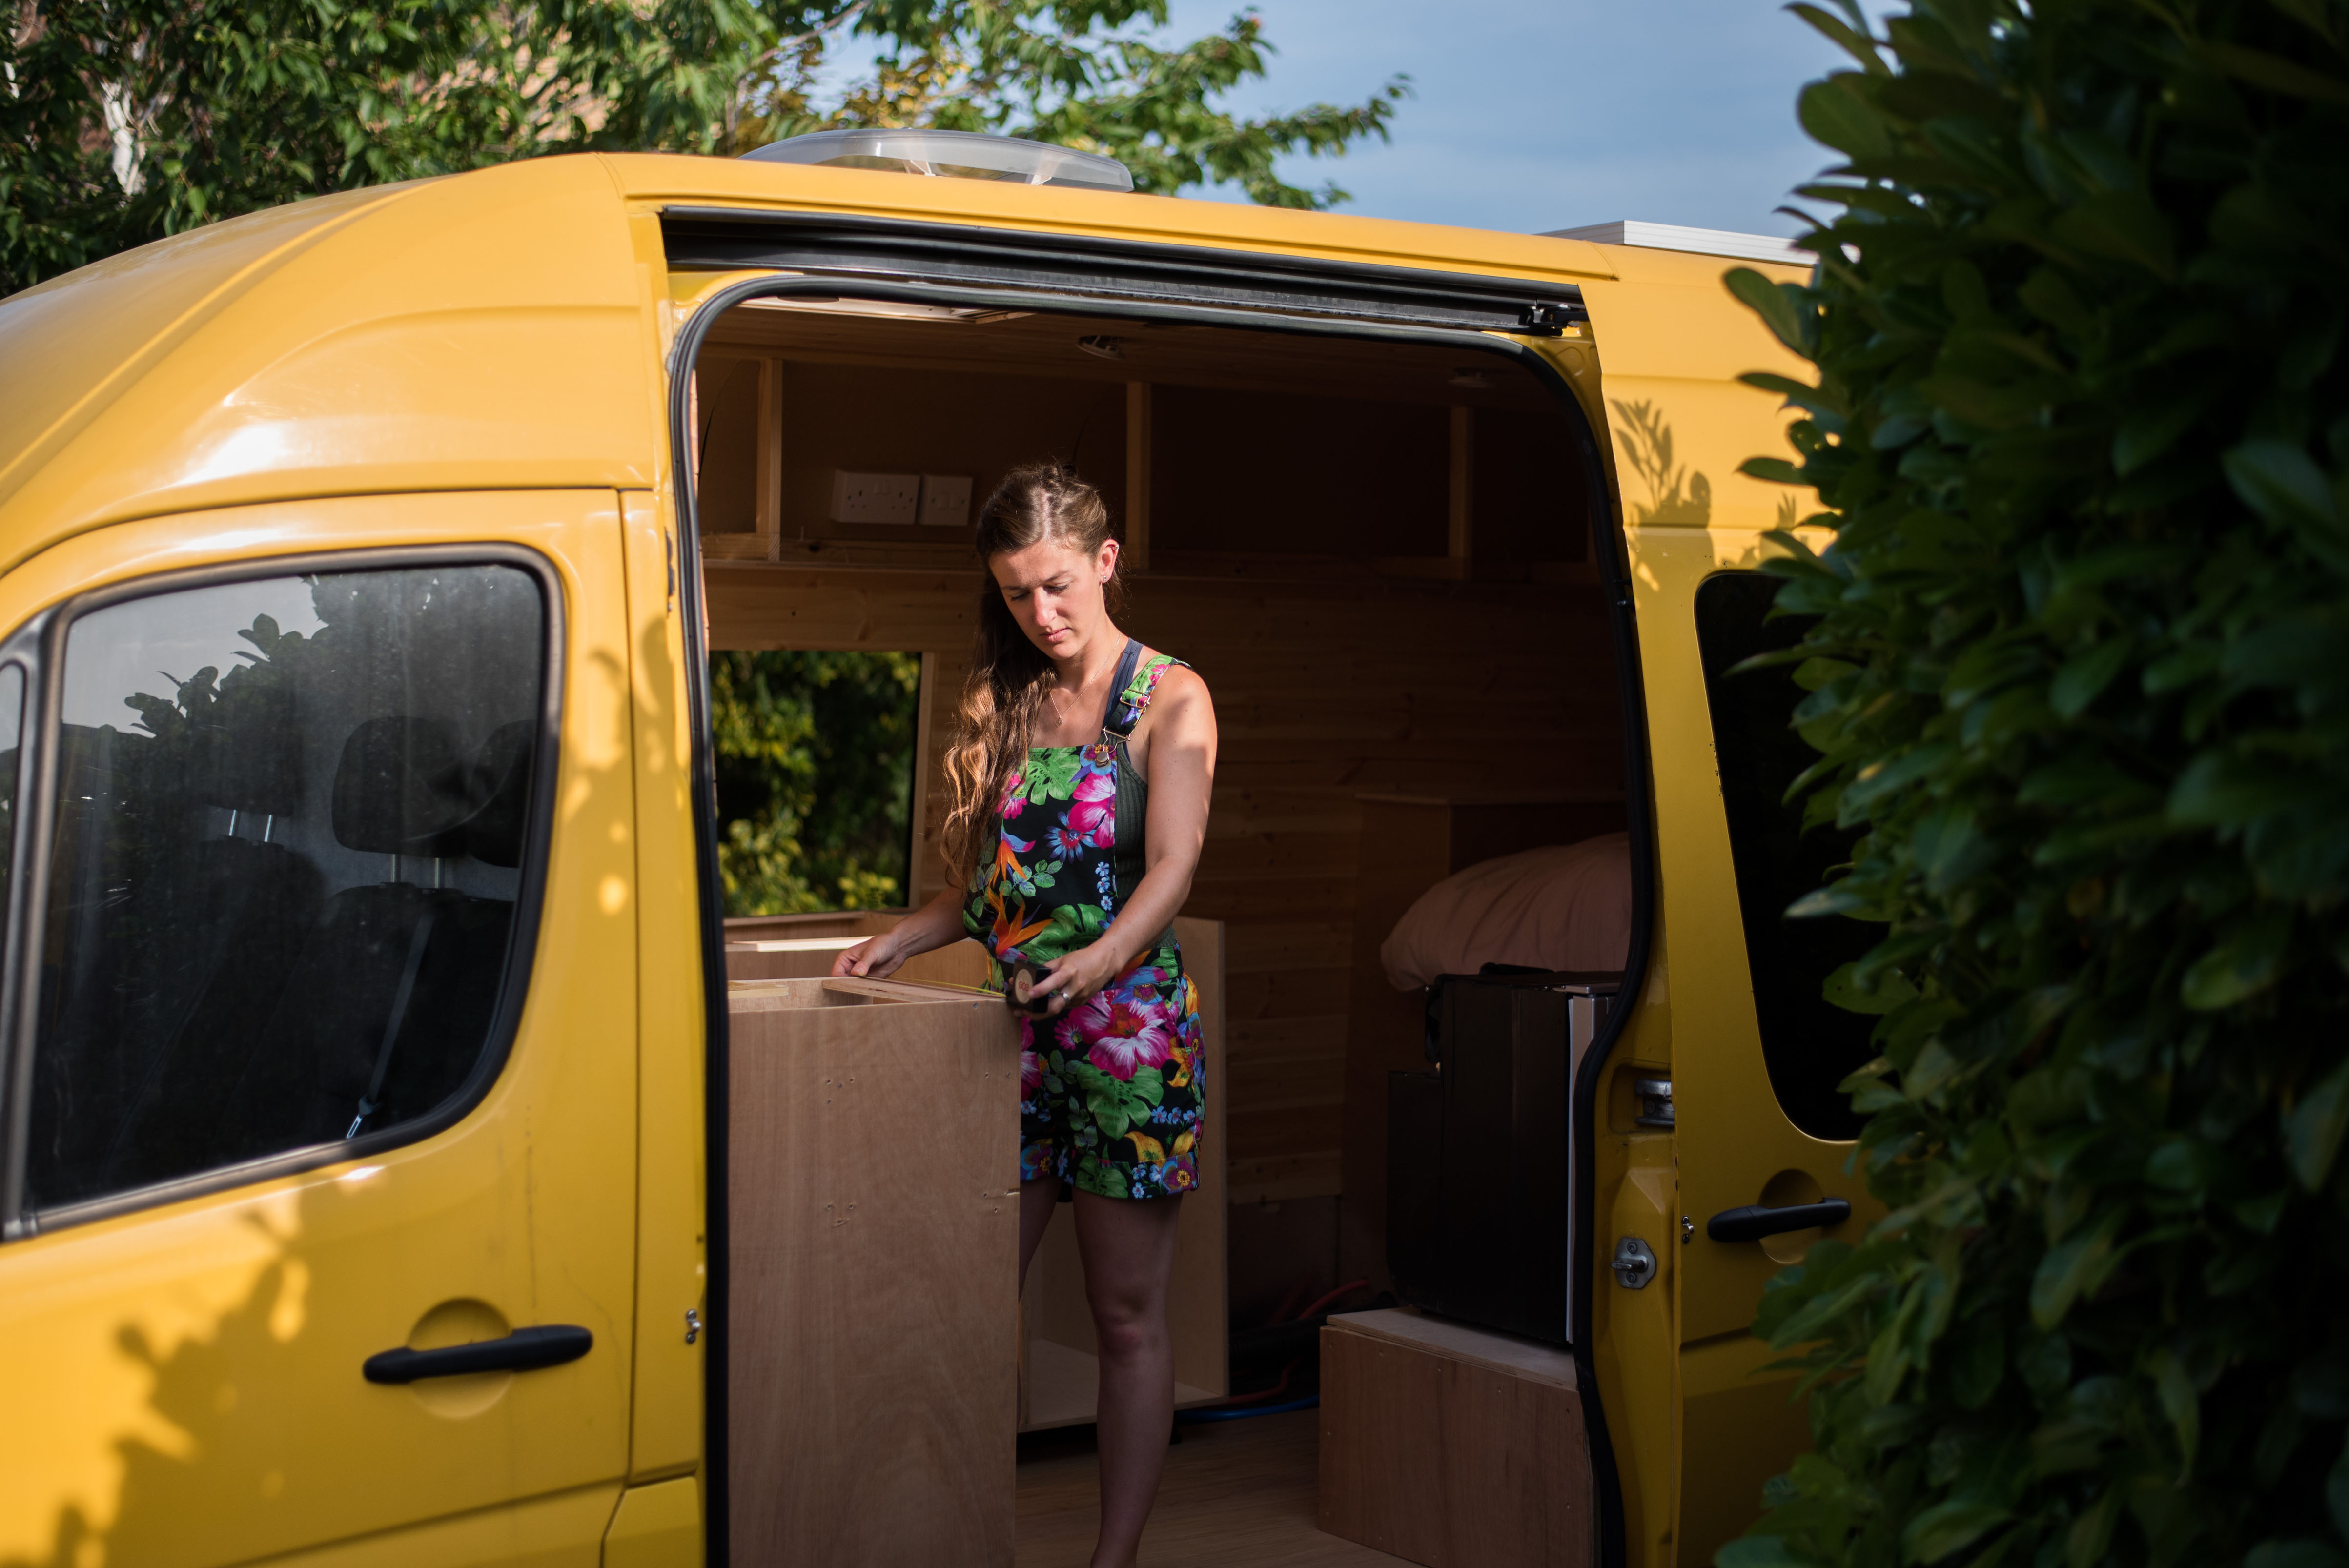
Building Beds, Kitchens and other Structures
Once you’ve finished cladding your campervan, you can make a start on building your internal structures. Using wooden battens and sheet plywood, you can create beds, kitchen cabinets, seats, even shower cubicles! Make sure to measure everything out first – it’s a good idea to use masking tape to mark out your layout on the floor before you start construction. This way you can quickly find out if everything is going to fit as expected before you spend lots of time building something that doesn’t quite fit!
Installing our kitchen units, we started to see our vision take shape… | Photo: Nohma
Water & Gas
The water and gas systems in a campervan can really be as complicated or as simple as you want them to be. For some, a simple jerry can, a washing up bowl and a portable gas stove may be sufficient, whereas for others a full four-ring hob, a combi boiler and an indoor shower might be on the wishlist! If you have a more complex system, just remember to break it down into manageable chunks. First, install your water and gas tanks, then fit any fixtures and appliances such as sinks, taps, ovens and hobs that will rely on gas and water to run. Once both are in place, you can connect the two together using the relevant pipes and fittings, installing water pumps and gas manifolds as you go.
Any internal gas bottles should be mounted in a sealed metal locker, and drop out vents need to be installed next to any potential leak spots such as pipe connections and appliances. We’d recommend getting a GasSafe engineer to check your system before testing any appliances.
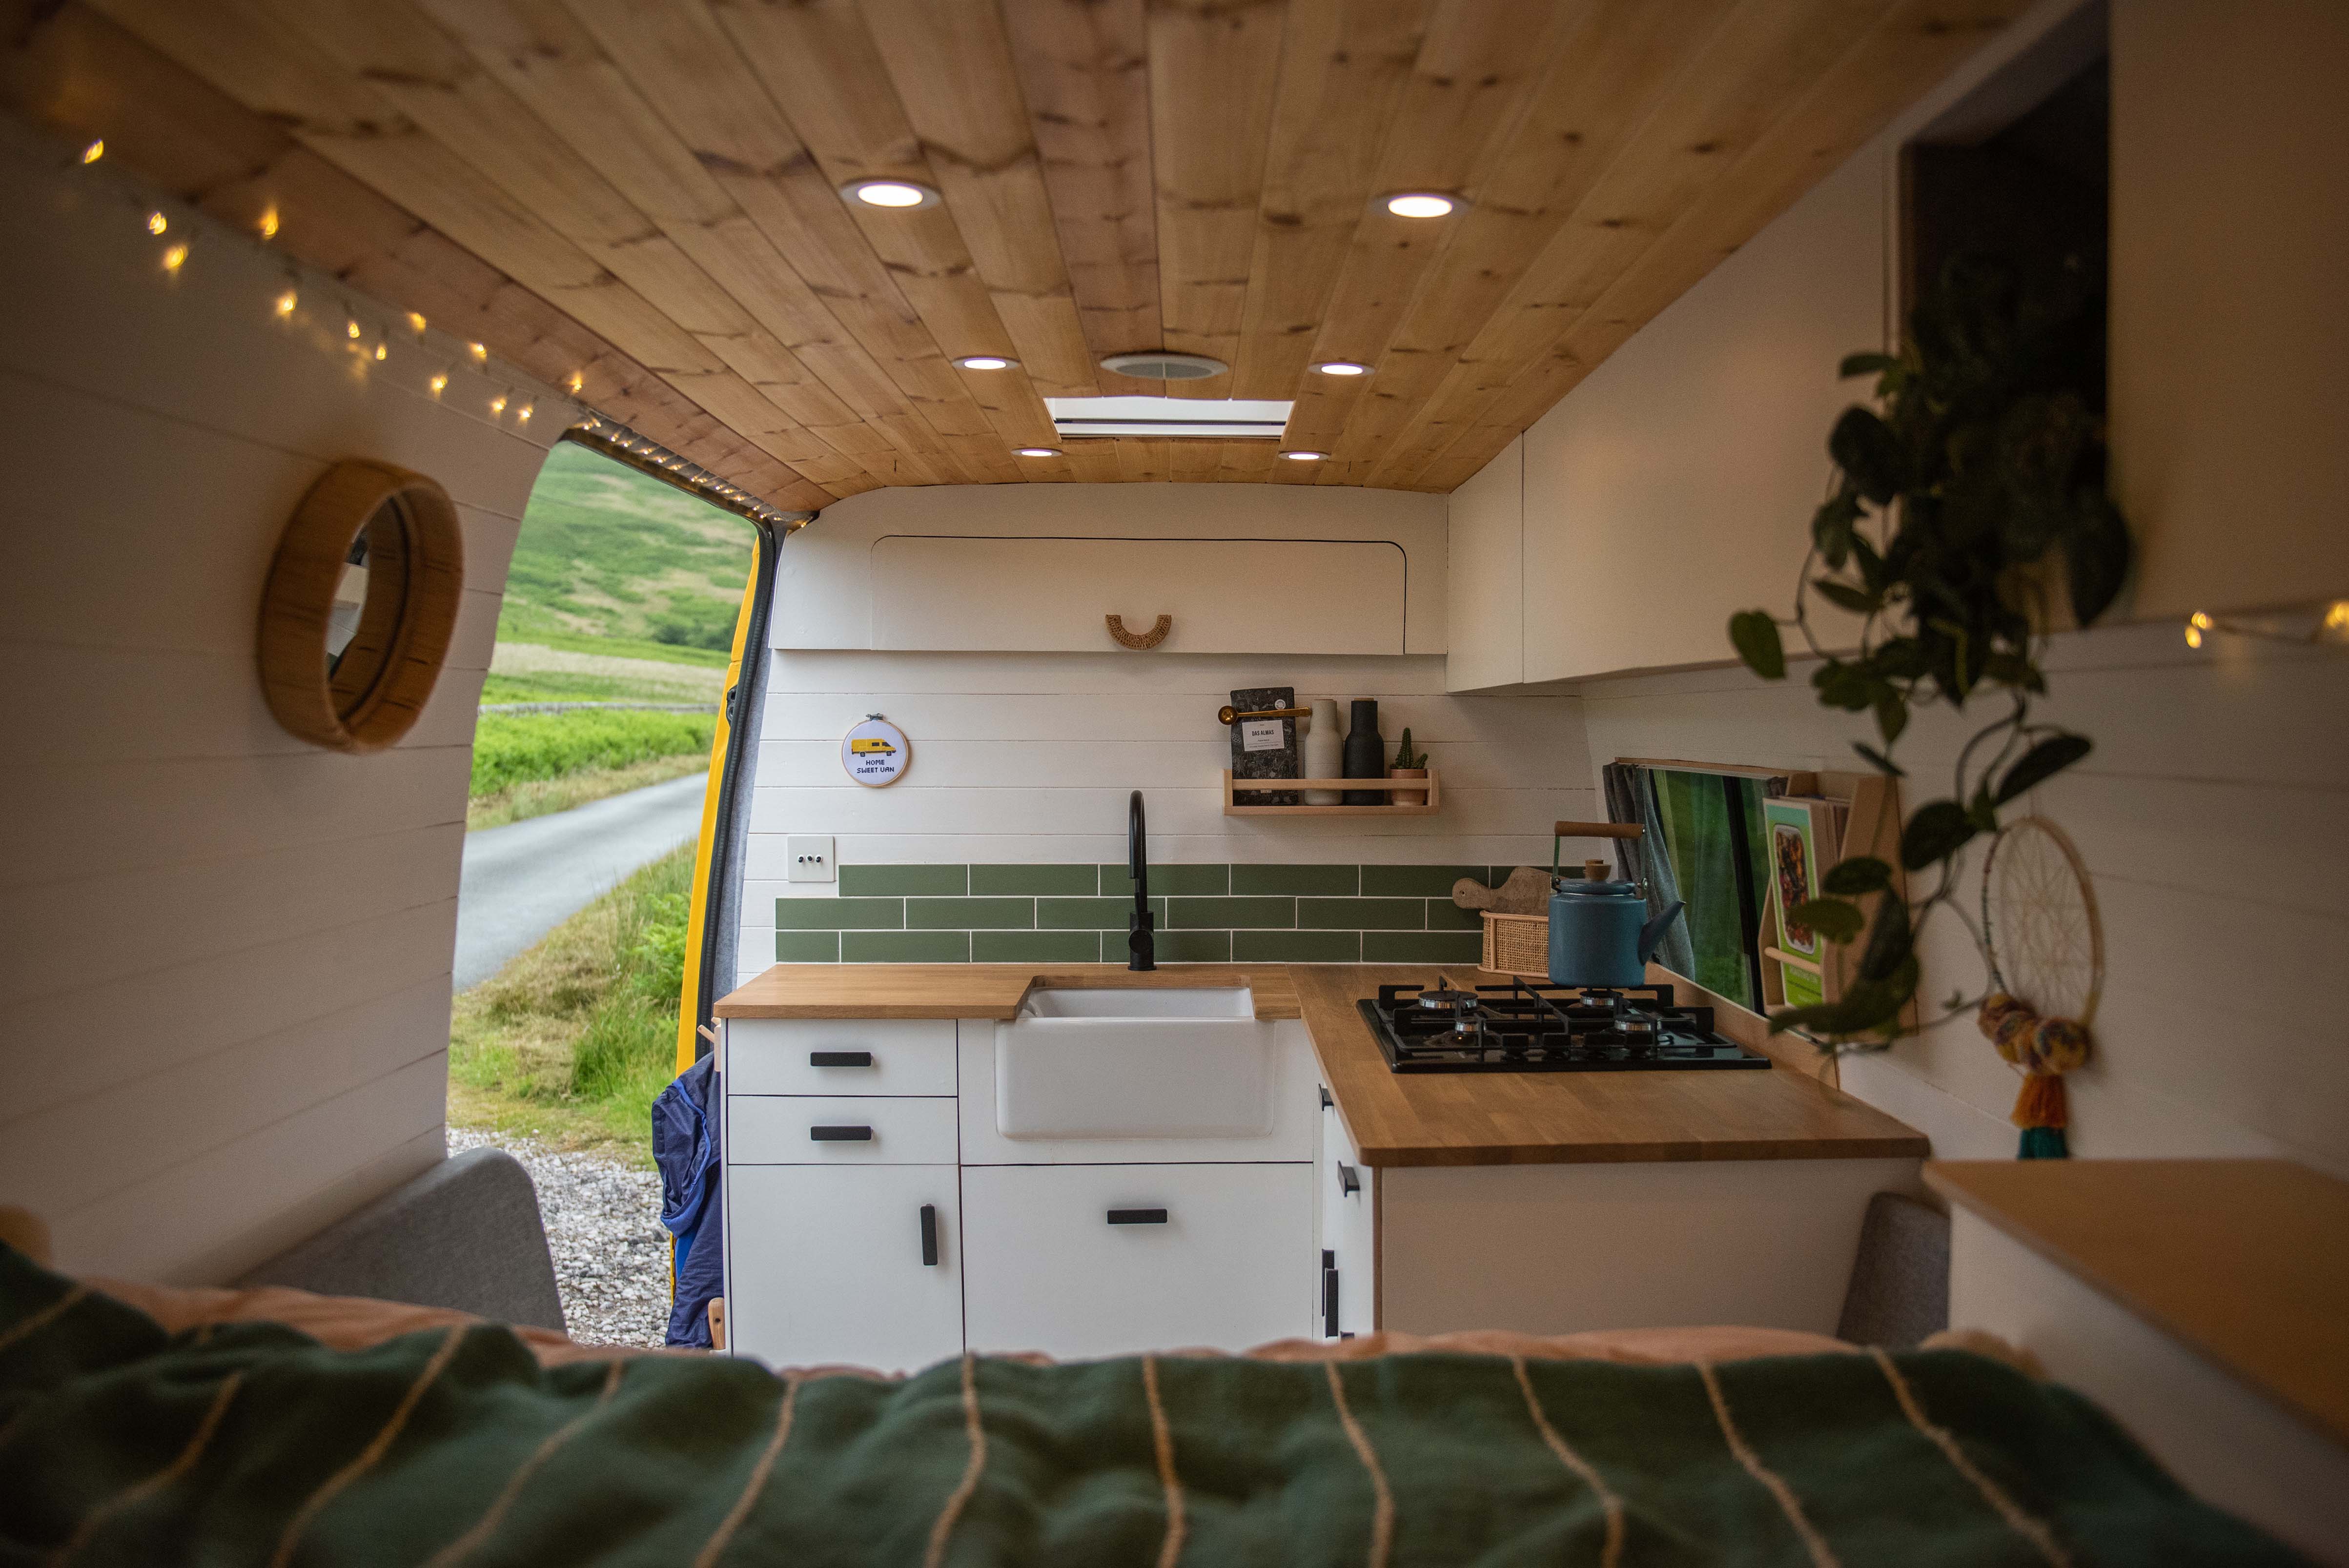
Decorating
Now comes the exciting job! You can turn your van build from an almost finished campervan into a little rolling home by painting and upholstering, putting up shelves and hooks, adding a few plants and pictures. The magic of converting your own van is that you really can do anything, so put your own mark on your camper and make that vision in your head a reality.
Then just take a moment to sit back and appreciate everything that you’ve created.
Our cosy climbing home on wheels, Ringo. | Photo: Nohma
Hitting the Road
Once your conversion is finished, there’s only a couple of jobs left to do before you’re ready to hit the road. You should make sure you have adequate campervan insurance and breakdown cover, and install any additional security measures such as a tracker and a steering wheel lock for added protection. Then you can start planning your first adventure!
When travelling in your campervan, there’s a few guiding principles you should try to follow. Wherever you stay, try to leave the area better than you found it. Be considerate with where you park up and how you act. Support the communities you travel through by shopping locally. These are just a few ways that the van life community can give something back.
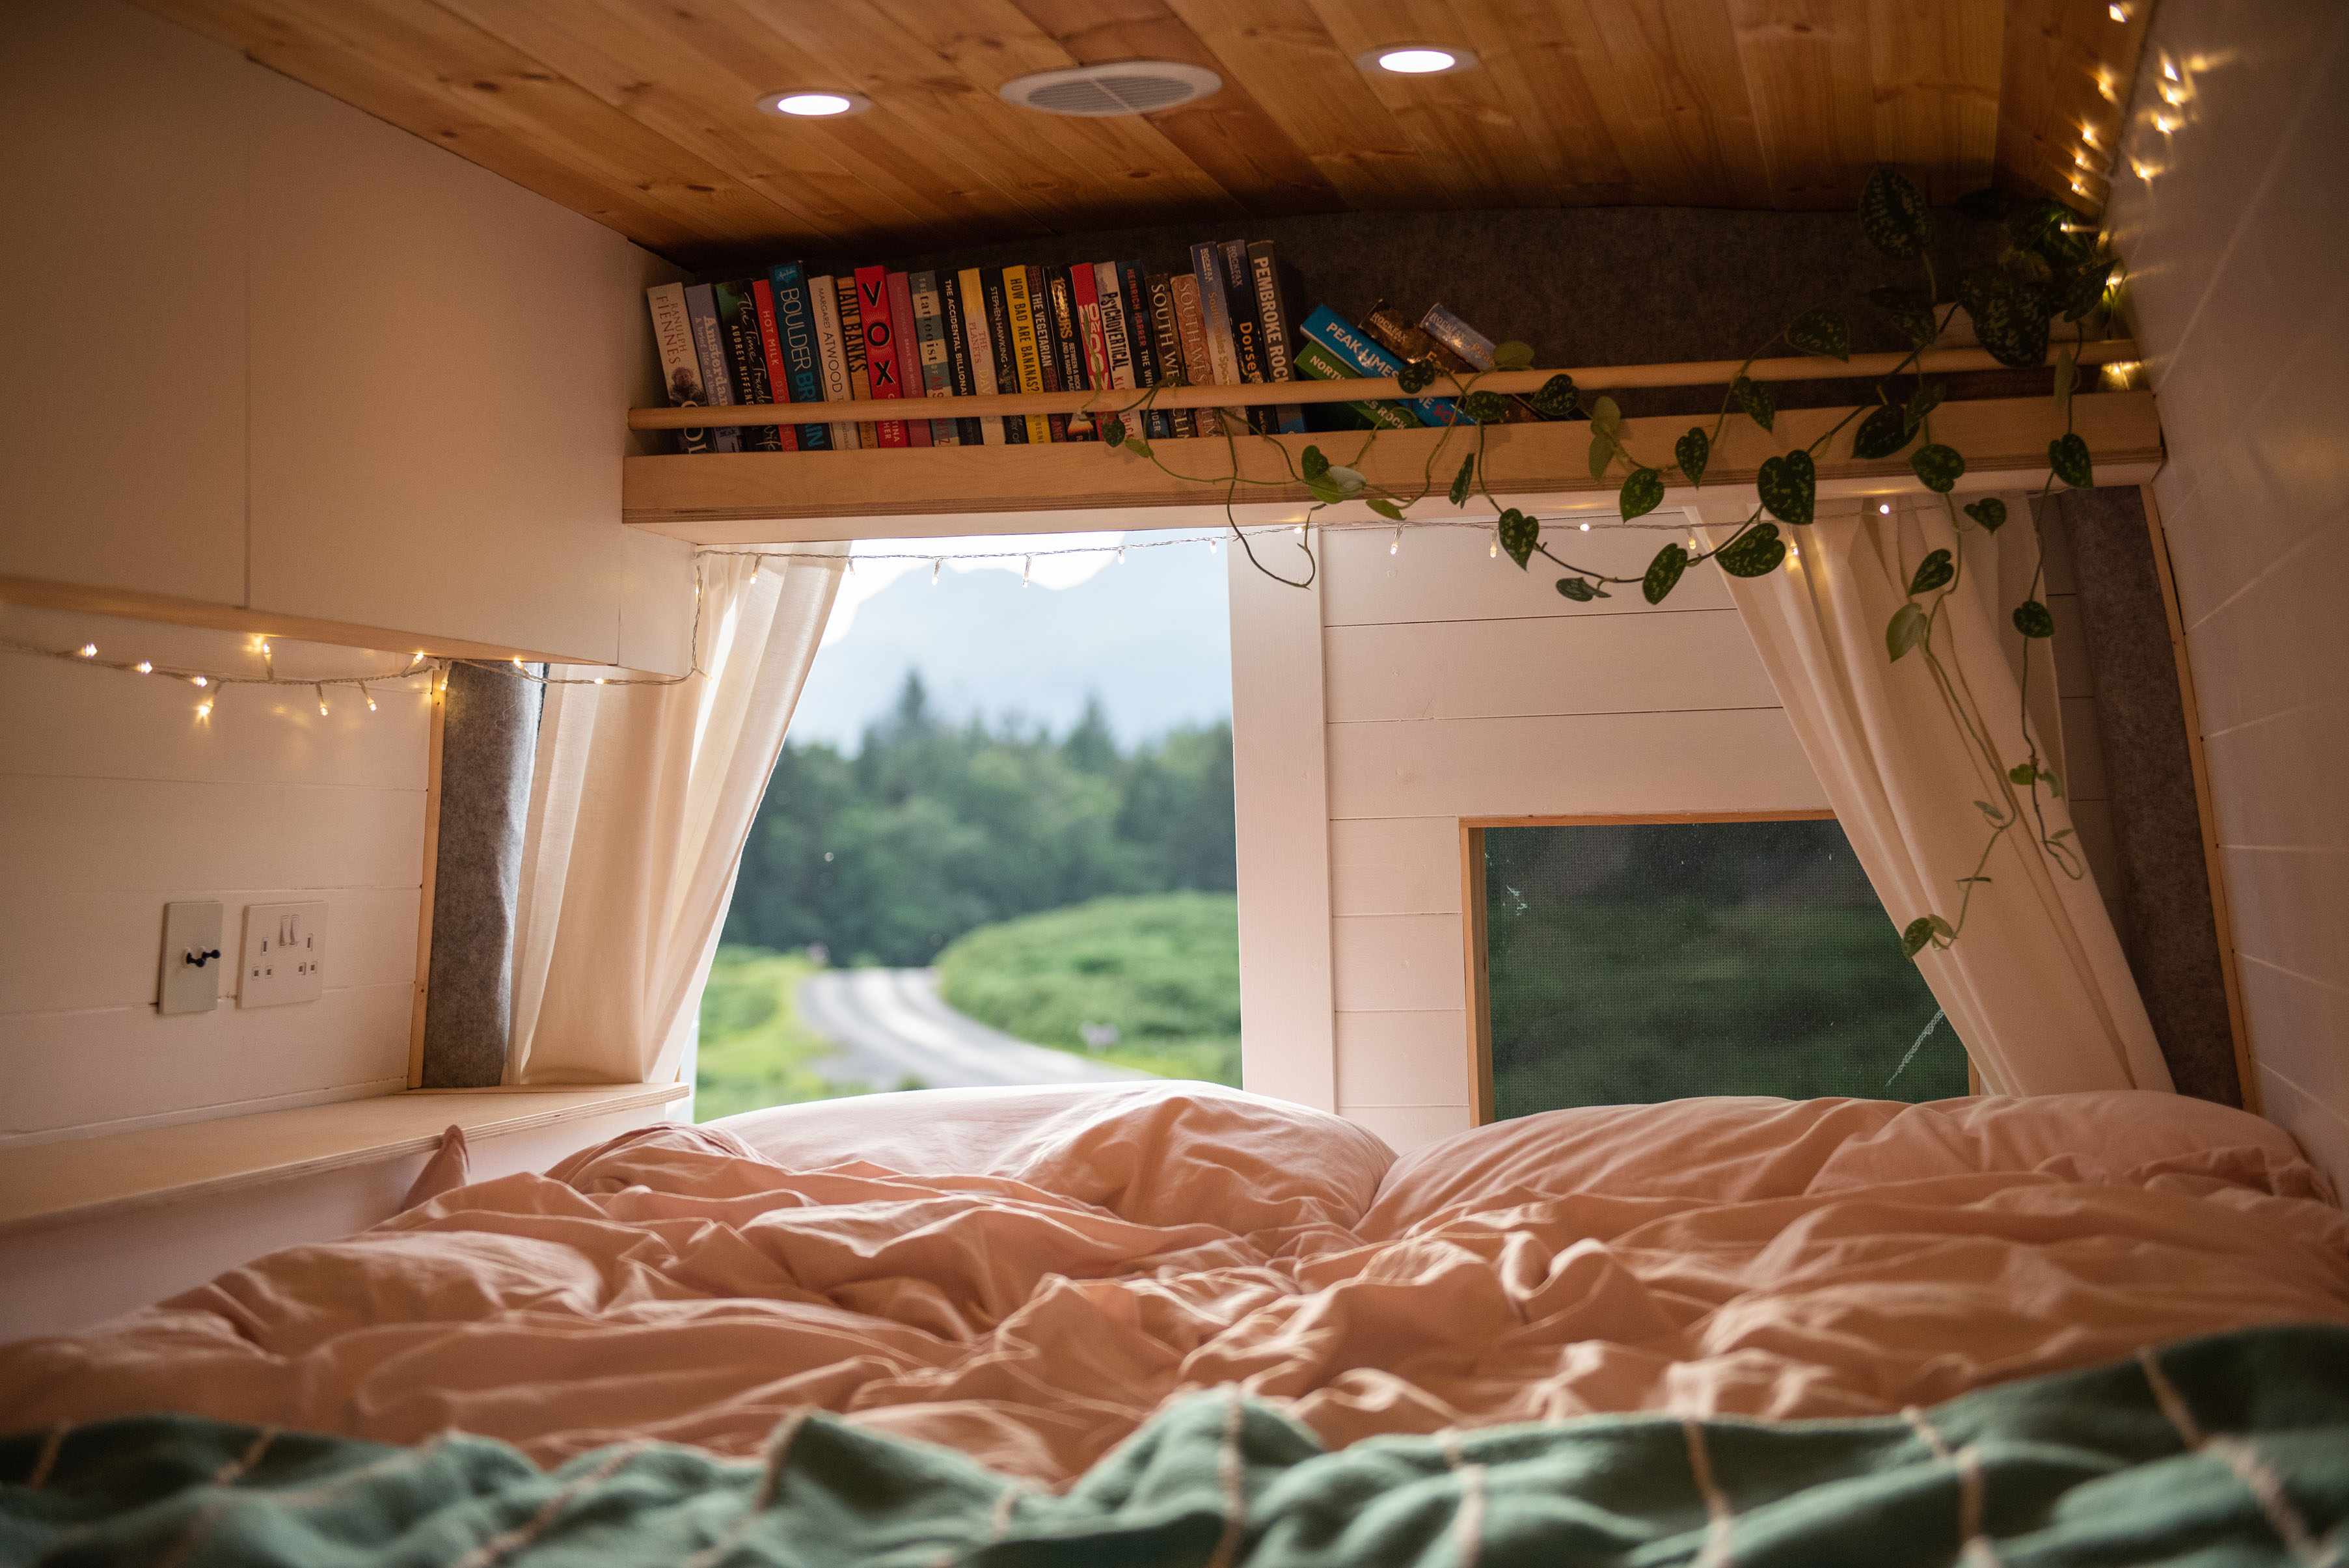
Van life gives you the opportunity to lie in bed, look out the window and appreciate a different view every single day. | Photo: Nohma
And finally, we thought we’d leave you with some of our van conversion top tips:
If you’re worried about tackling something yourself, outsource it to a professional. There’s no shame in getting some help if it enables you to make your campervan dreams a reality.
Invest in a workbench – we can confirm this is a sensible idea after completing most of our own van build on top of a wheelie bin!
Rent a campervan to test out van life before committing to converting your own van.
We mentioned it before, but make sure to plan each part of the van build before you’re ready to start working on it. This will save you a lot of time and money!
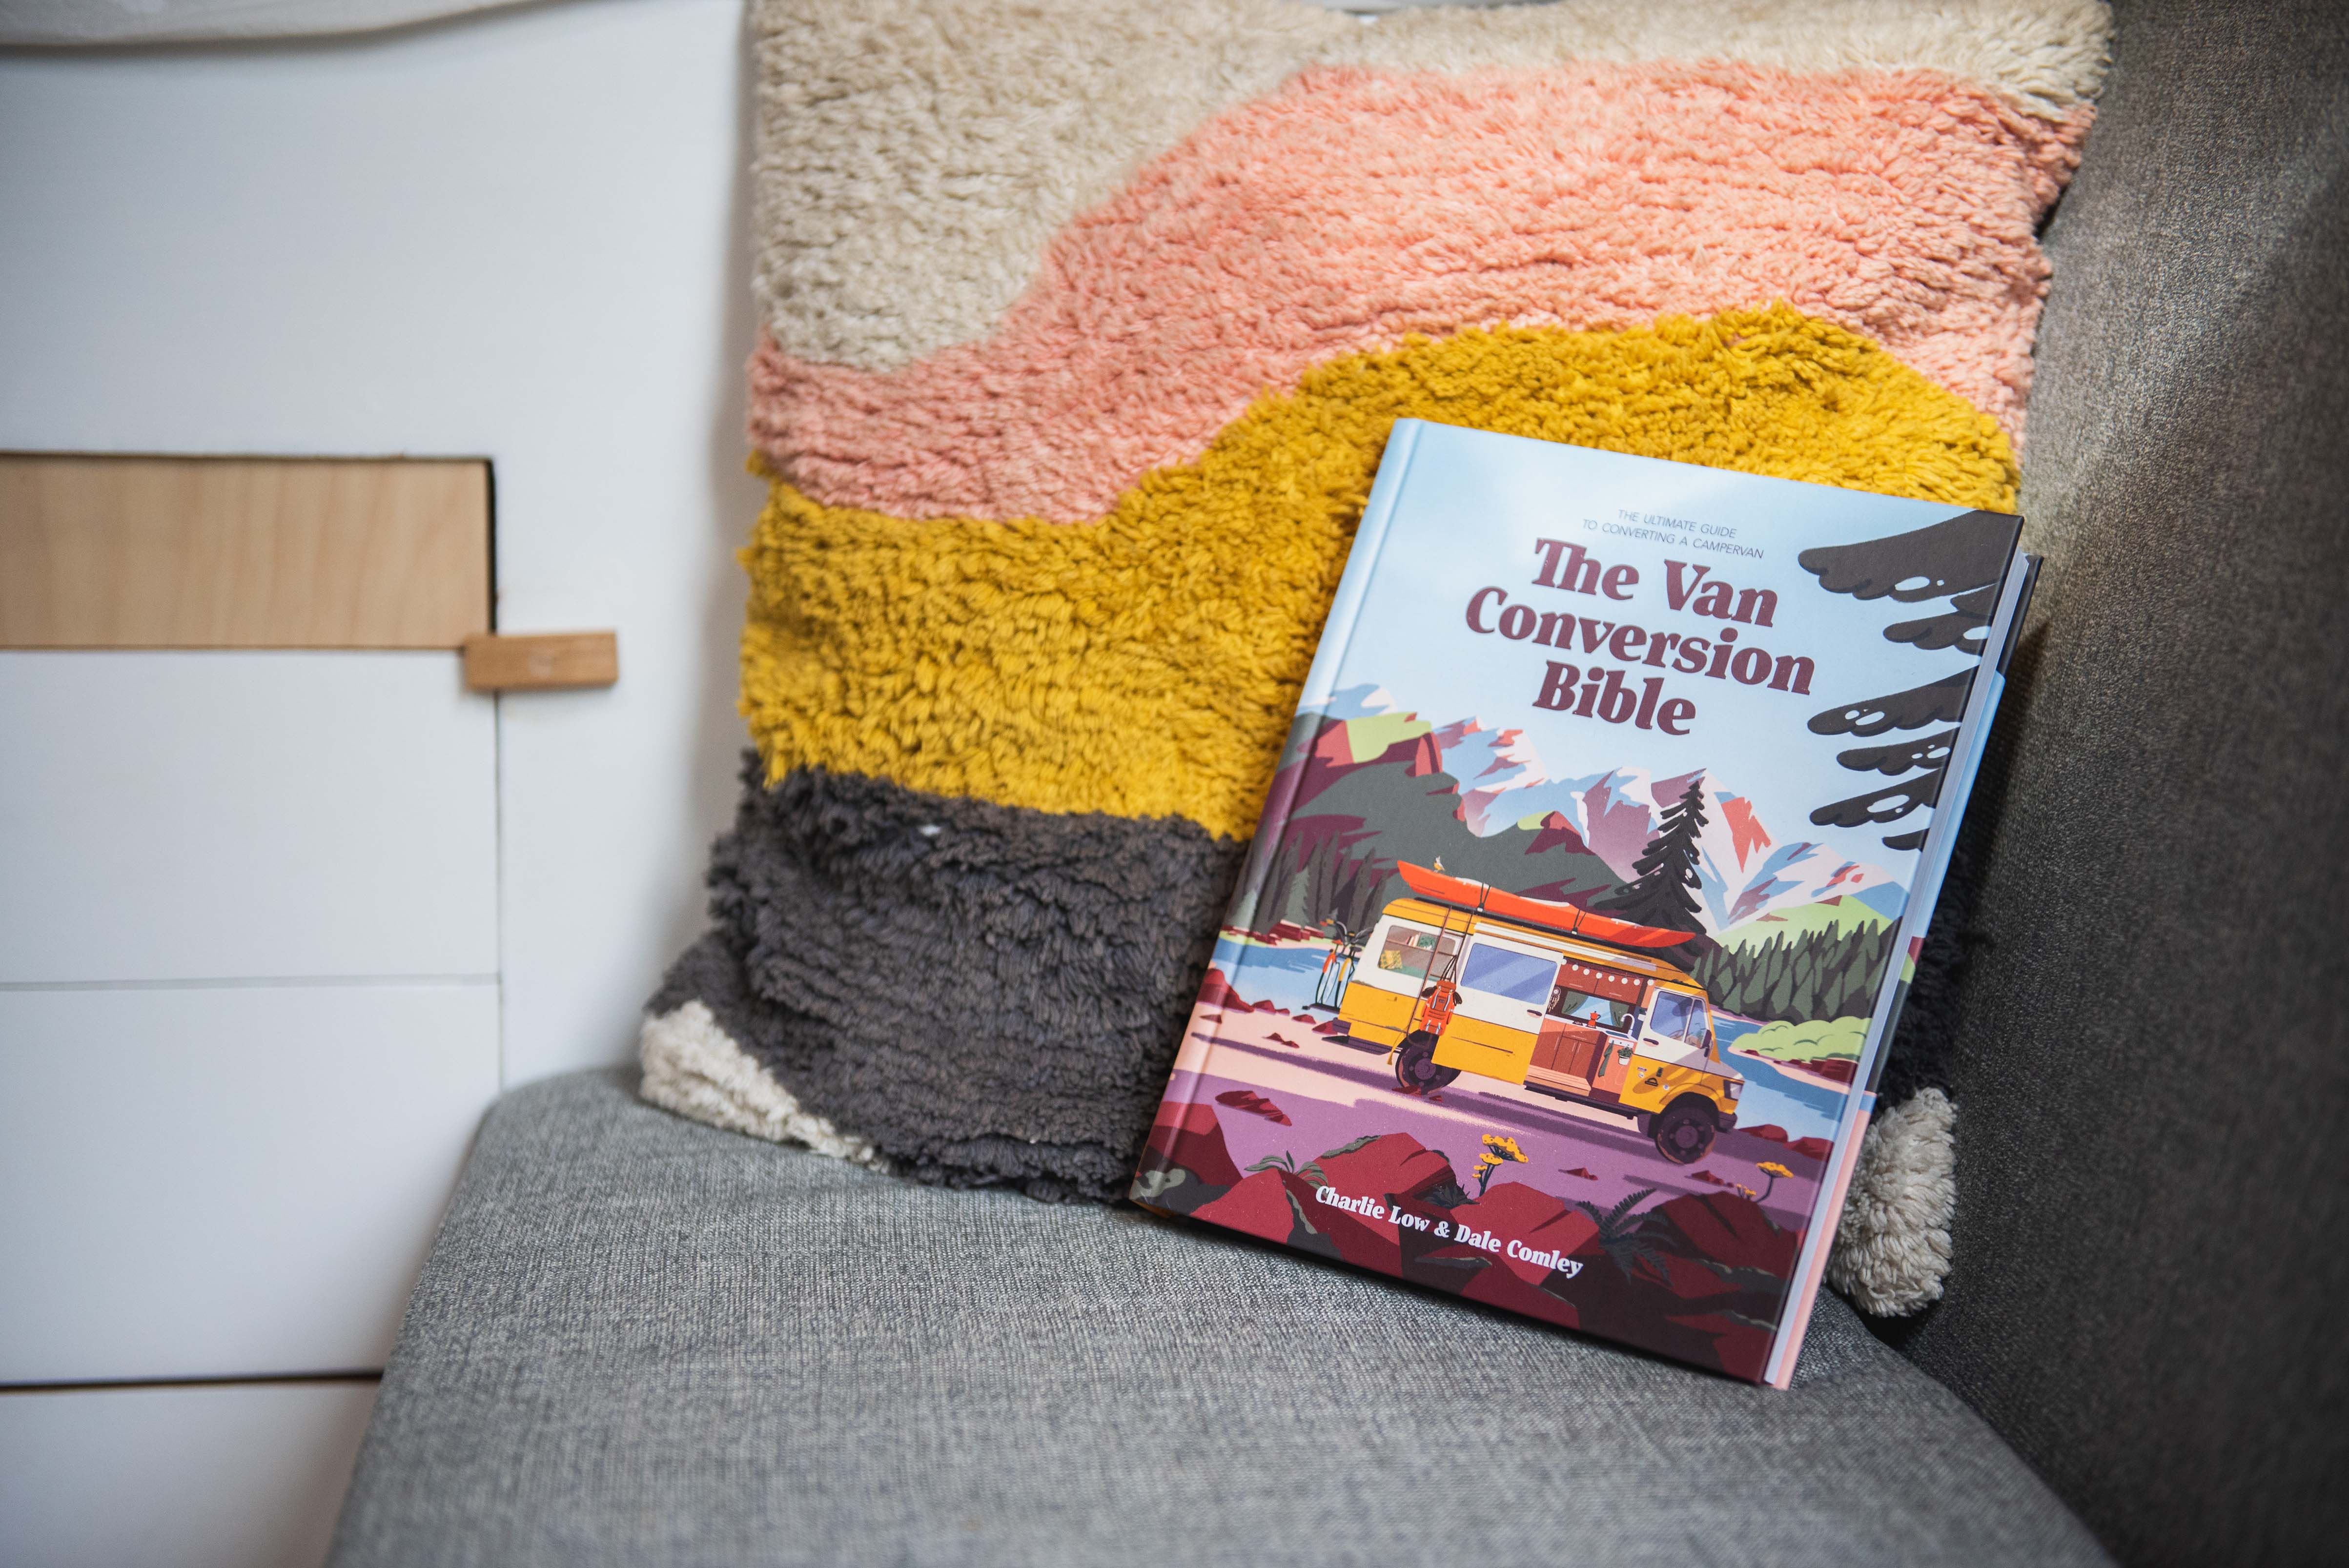
Follow Dale and Charlie at @nohmaadventure or find out more via their website, nohma.com. Their book, The Van Conversion Bible, costs £27 for the hardback or £18 for the ebook.