Photographing a Tent at Night | Expert Advice - Outdoors Magic

Outdoors Gear, Equipment, News, Reviews, Forums, Walking Routes and More at OutdoorsMagic.com

Share

How To Guides

Photographing a Tent at Night | Expert Advice

Alyn Wallace is a photographer from South Wales who's been breaking new ground in astro photography over the last few years (just check out his Instagram page). He's kindly shared some of his secrets with OutdoorsMagic, explaining how he gets that perfect shot of an illuminated tent at night

The memories of a wild camp will stick with you forever; the sodden ground on which you pitched, the weather you endured, that delicious dry meal, that sunset, that incredible silence, that momentary feeling of total escapism.

Sometimes we need a little help with jogging these memories though, that’s why it’s useful to take a souvenir from the evening, and as the saying goes ‘take nothing but photographs’.

One of my favourite captures is of my glowing tent under a starry sky. Taking a picture in fading light, or in total darkness has its challenges though, and it’s useful to know a thing or two beforehand to make sure to do enough justice to the moment.

Before I go into the details, here’s a quick video guide.

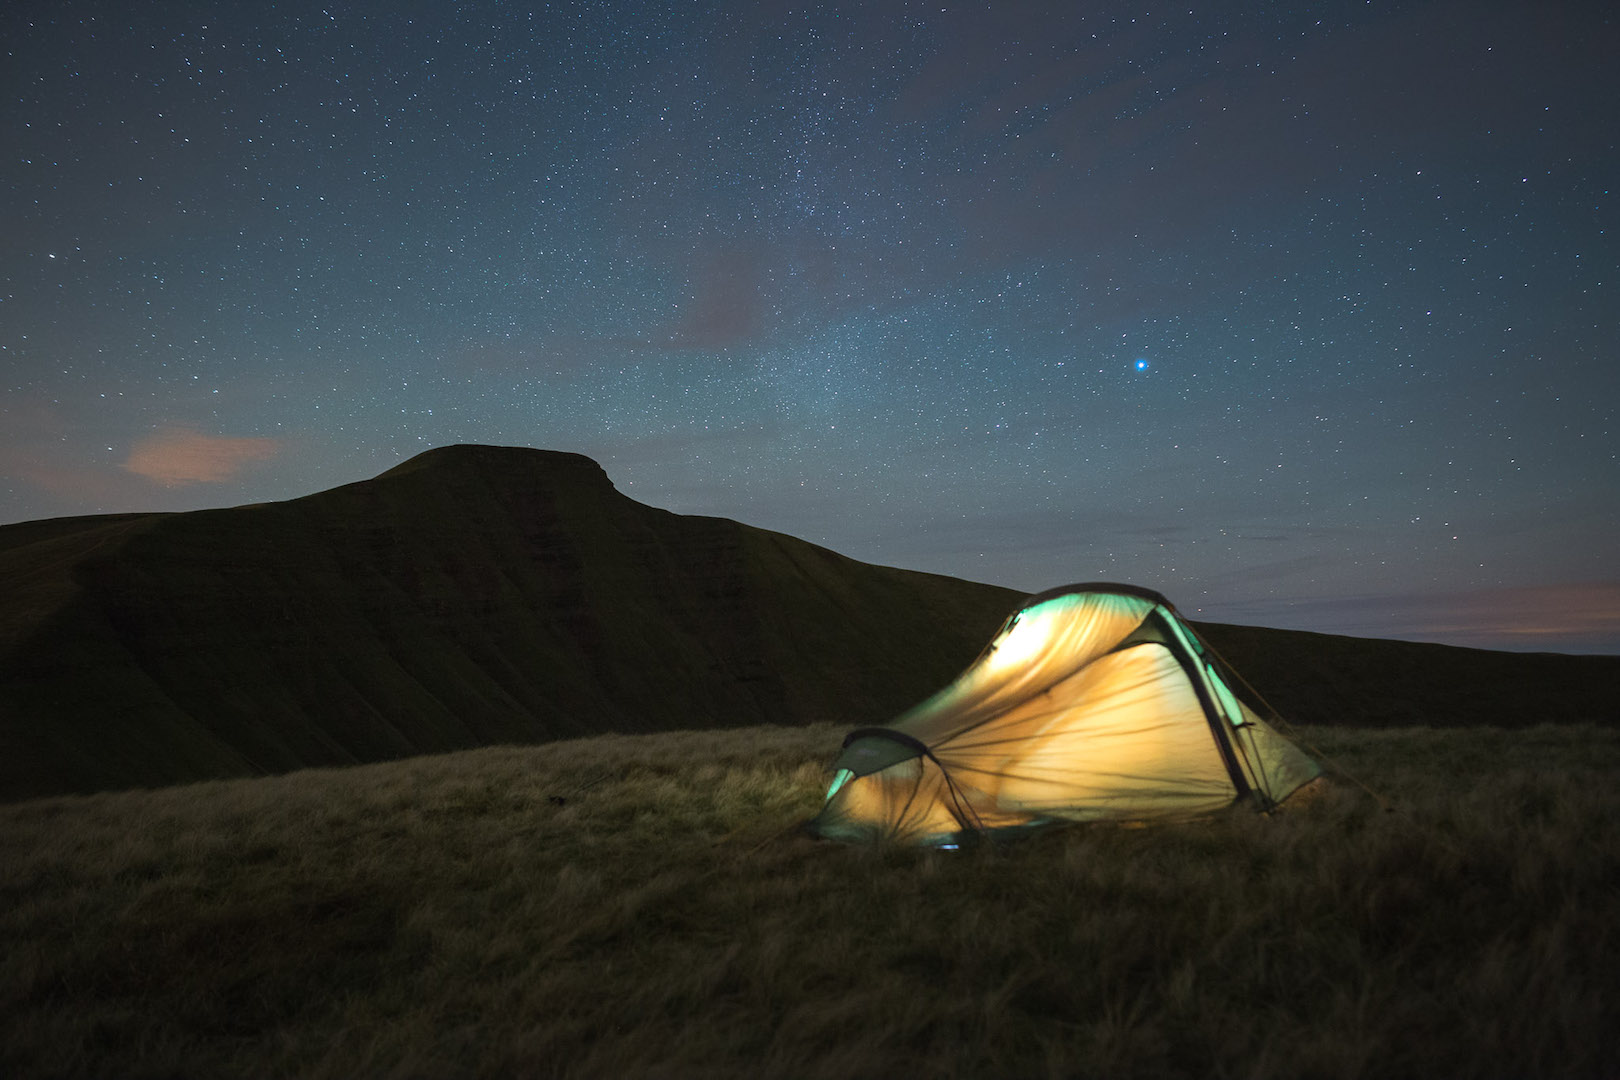
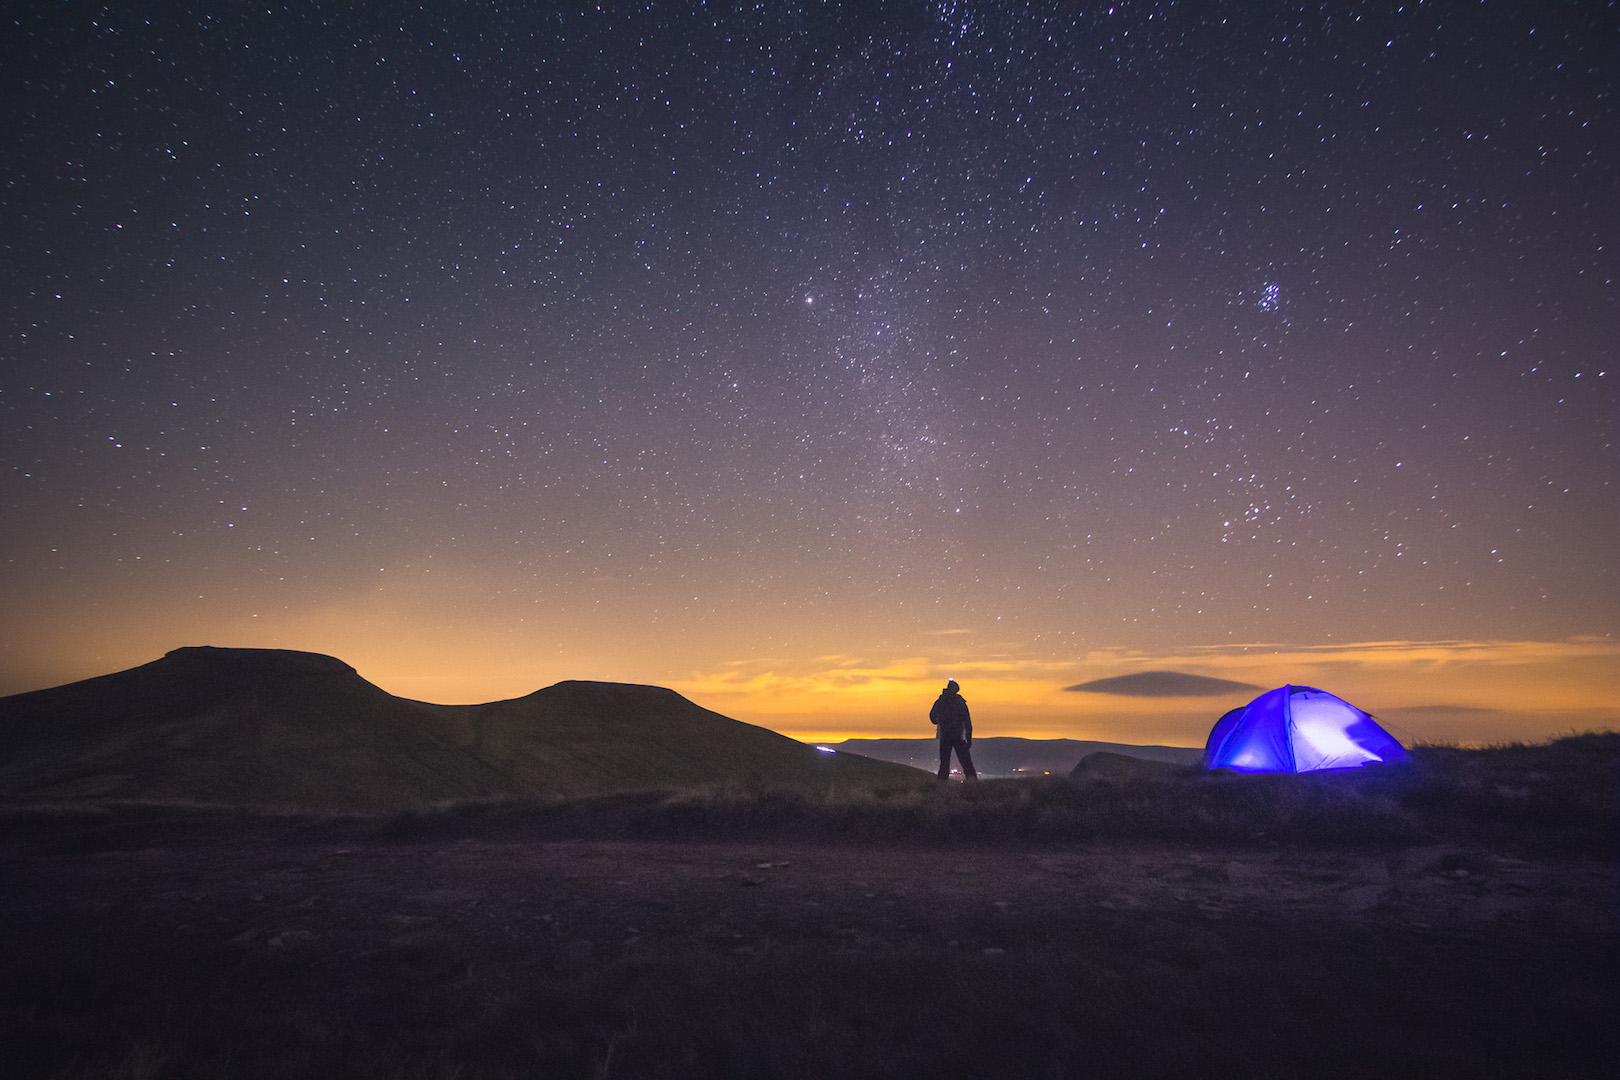
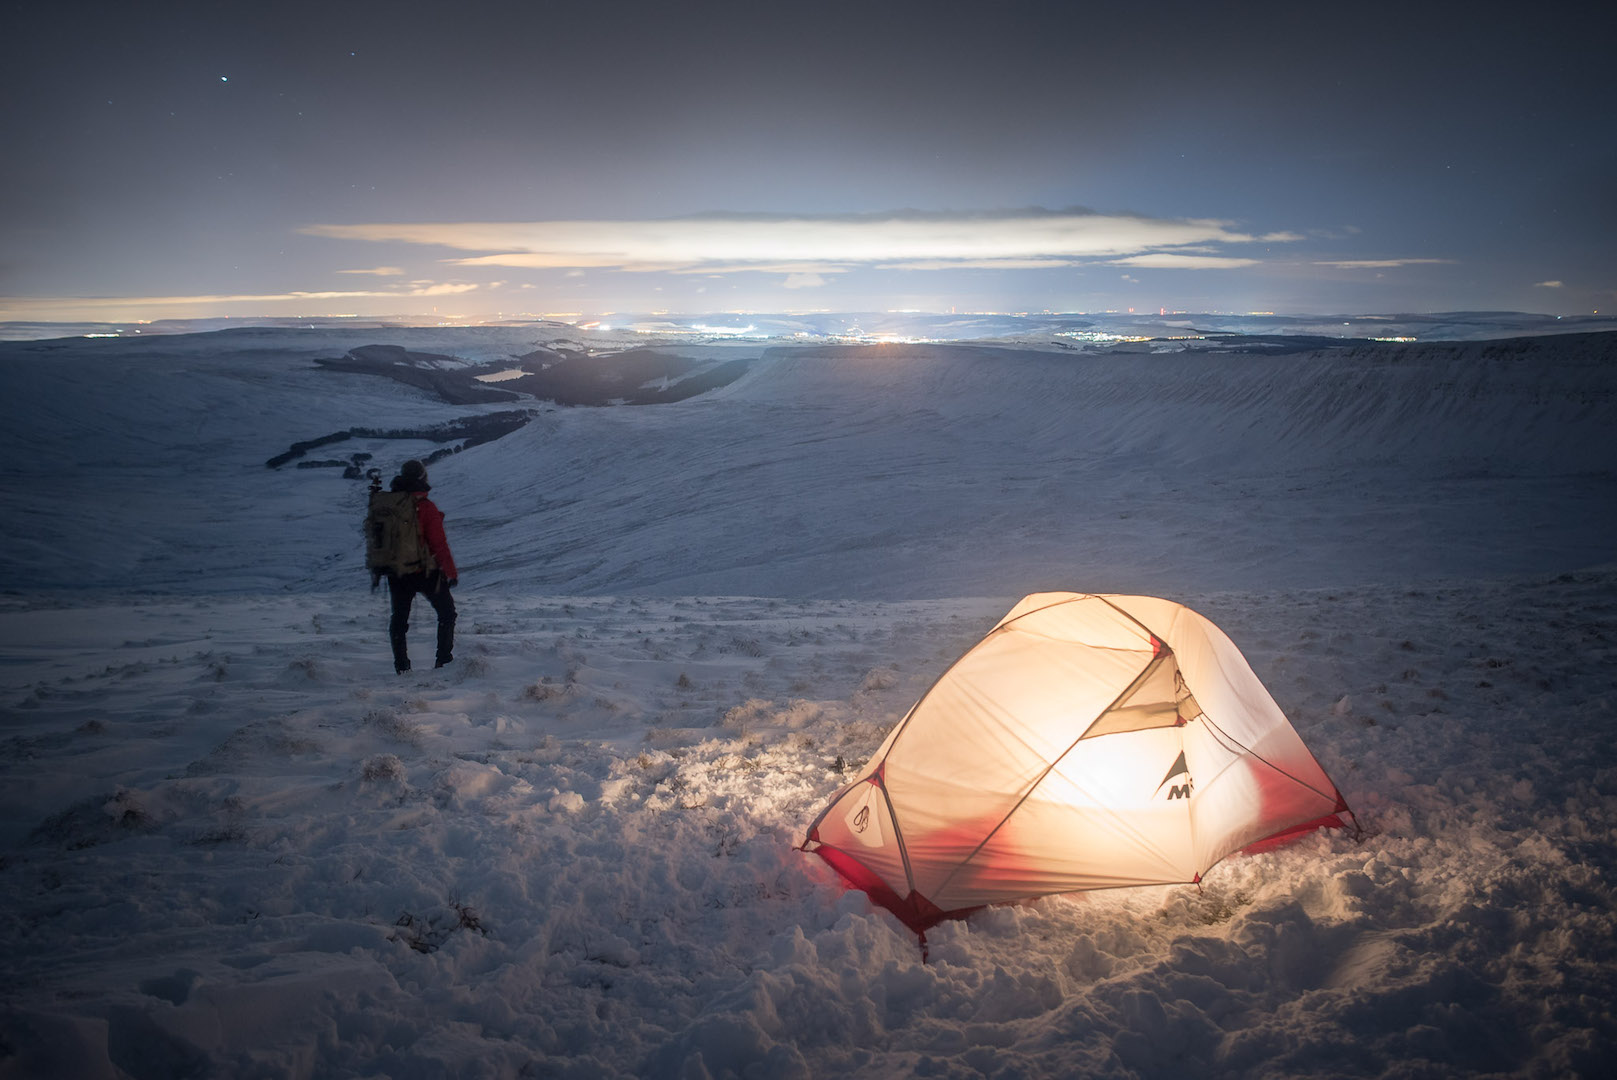
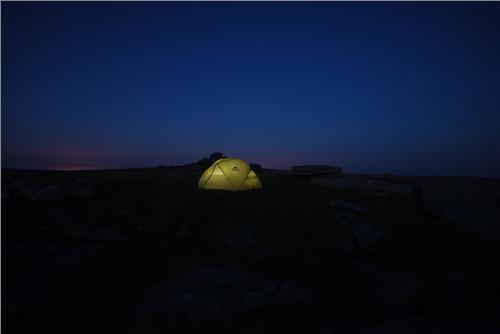
Photographing a Tent at Night: What Do You Need?

Camera
Cameras have come a long way in recent years with entry-level models now perfectly capable of stunning night time photography. Ideally you’d want a DSLR or a Compact System Camera. If you can change the lens you can always upgrade in the future too. Smartphones are trickier, but try photographing your tent during twilight and your tent will still be visibly lit-up.

Tripod
This will allow you to do long exposures, creating a brighter image in the dark. If you’re not willing to carry a photography tripod then something like a Gorillapod will save you the weight (and a bit of money). That said you can just as well use a nice flat rock or surface, I even remember a friend telling me they used their shoe as a tripod for a shot of the Milky Way!

Light
Using your headtorch is perfectly fine or even the flash on your smartphone. As a bonus tip you can put a tissue or a t-shirt over the light source to dim and soften the light so that the tent is not too bright.

A tent (stating the obvious!)
For those interested in what kind of lens is best, a wide-angle that allows for an aperture of f/2.8 or wider will allow you to capture stunning images with the stars and Milky Way (best shot between April-September in the UK).

Photographing a Tent at Night: Camera Settings

When out in the dark your camera loses all its intelligence and the auto-modes don’t tend to work as you’d want them to. Some cameras may come with a low-light or star mode so it’s worth trying that but for best results you should go full manual – and don’t worry, it’s not as daunting as it sounds.

There are three settings that control how bright your image is:

Shutter Speed
The longer you leave the shutter open the more light is recorded, so the longer the shutter speed the brighter the image. For photographing a tent at night, try something in the range of 5-30 seconds.

ISO
This is how sensitive your camera is to light, so a higher ISO means a brighter image. Try the different settings between ISO 800 and 3200. The problem with increasing the ISO is that you get noise in your image, a grainy texture that simply looks ugly. If you own a new DSLR you may be able to go as high as ISO 6400 but for compact cameras stick to ISO 800-1600.

A snow-covered Pen y Fan. Photo: Alyn Wallace

Aperture
The lens lets light in through a hole and the aperture is how wide that hole is. At night you want to set a wide aperture to let more light into your camera. Aperture settings come in the form of f-numbers and the wider the hole the smaller the f-number. Set your camera to the lowest f-number possible, typically f/2.8 or f/4.

You should focus manually too. To get everything including the stars in focus you need to turn the focus-ring to a point known as infinity. Some lenses have a marker on them to show where this is or if you’re using a digital compact camera you will probably see it appear on the the rear-LCD as you begin to turn the focus-ring. Check your images and adjust if they’re a bit blurry.

Think about where you want to place your camera too. Point it in the direction of the best view or maybe the best scene that tells a story about your temporary home. You could even set the shutter to a timer, giving you time to run into the shot for a hands-free selfie.

Lastly, print your photos and collect them somewhere. And don’t forget to upload them to social media and tag @Outdoors_Magic ‏so we can share your adventures too.

Follow Alyn on his Instagram page @AlynWallace

Newsletter Terms & Conditions

Please enter your email so we can keep you updated with news, features and the latest offers. If you are not interested you can unsubscribe at any time. We will never sell your data and you'll only get messages from us and our partners whose products and services we think you'll enjoy.

Read our full Privacy Policy as well as Terms & Conditions.

production