Winter Landscape Photography | Advice - Outdoors Magic

Outdoors Gear, Equipment, News, Reviews, Forums, Walking Routes and More at OutdoorsMagic.com

Share

How To Guides

Winter Landscape Photography | Advice

Scottish adventurer Will Copestake shares his advice for capturing that perfect shot, even when the conditions seem to be against you

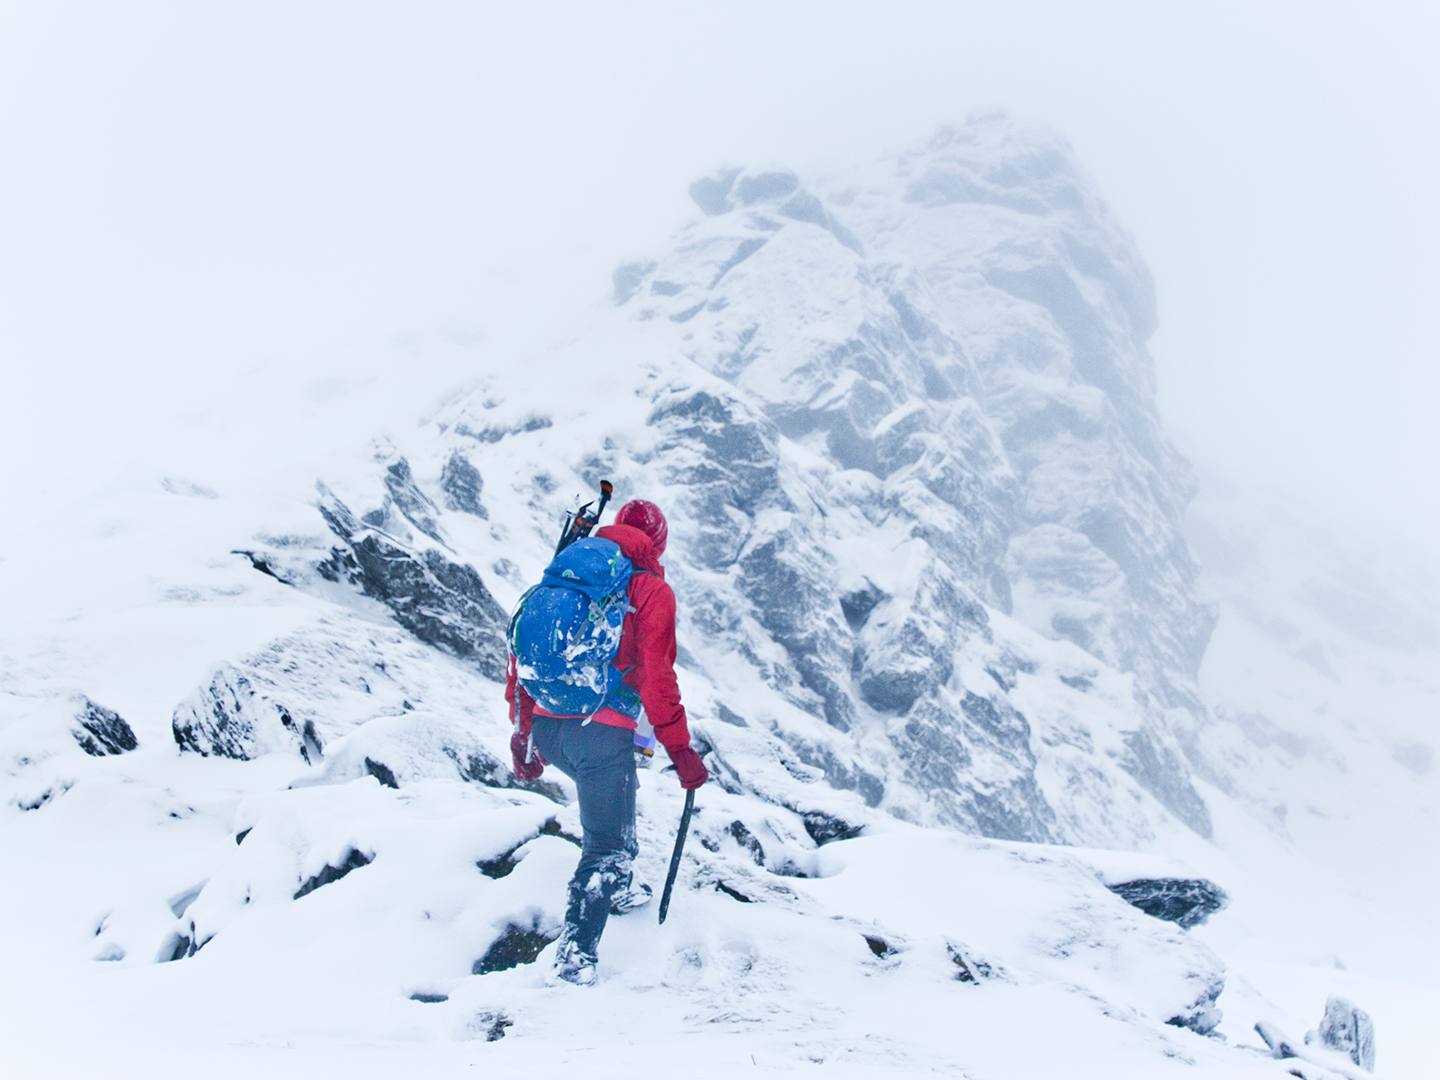
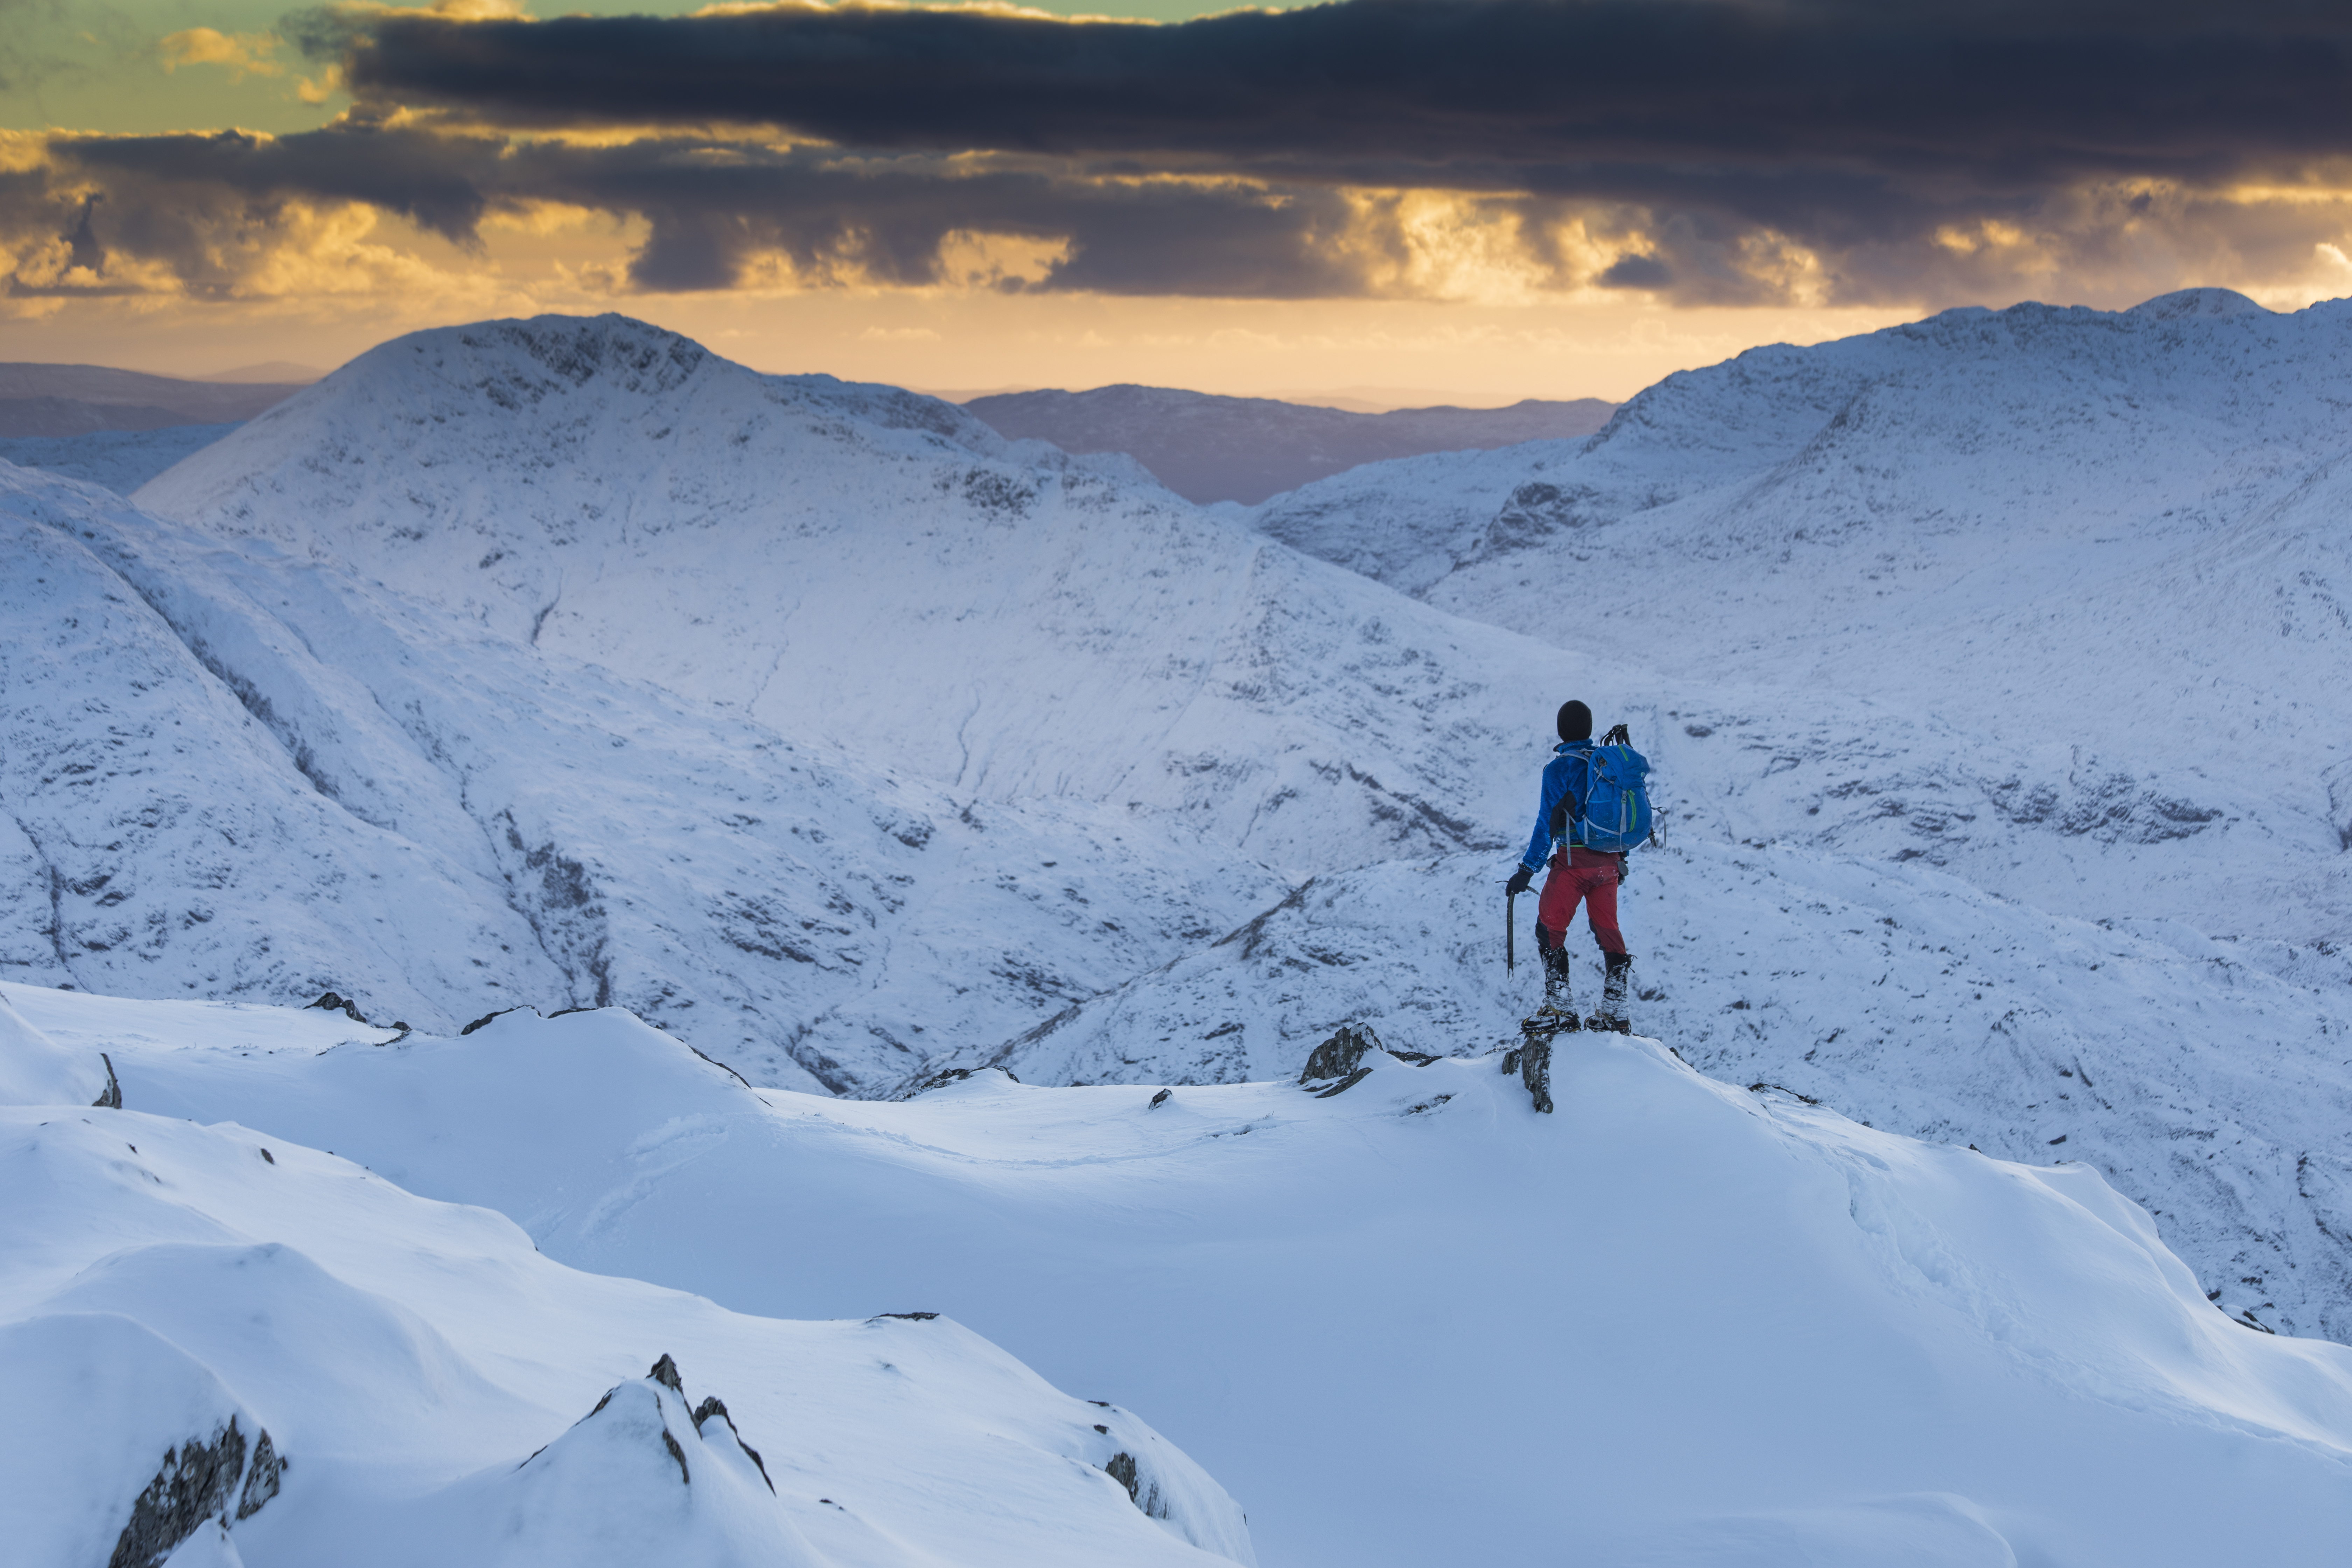
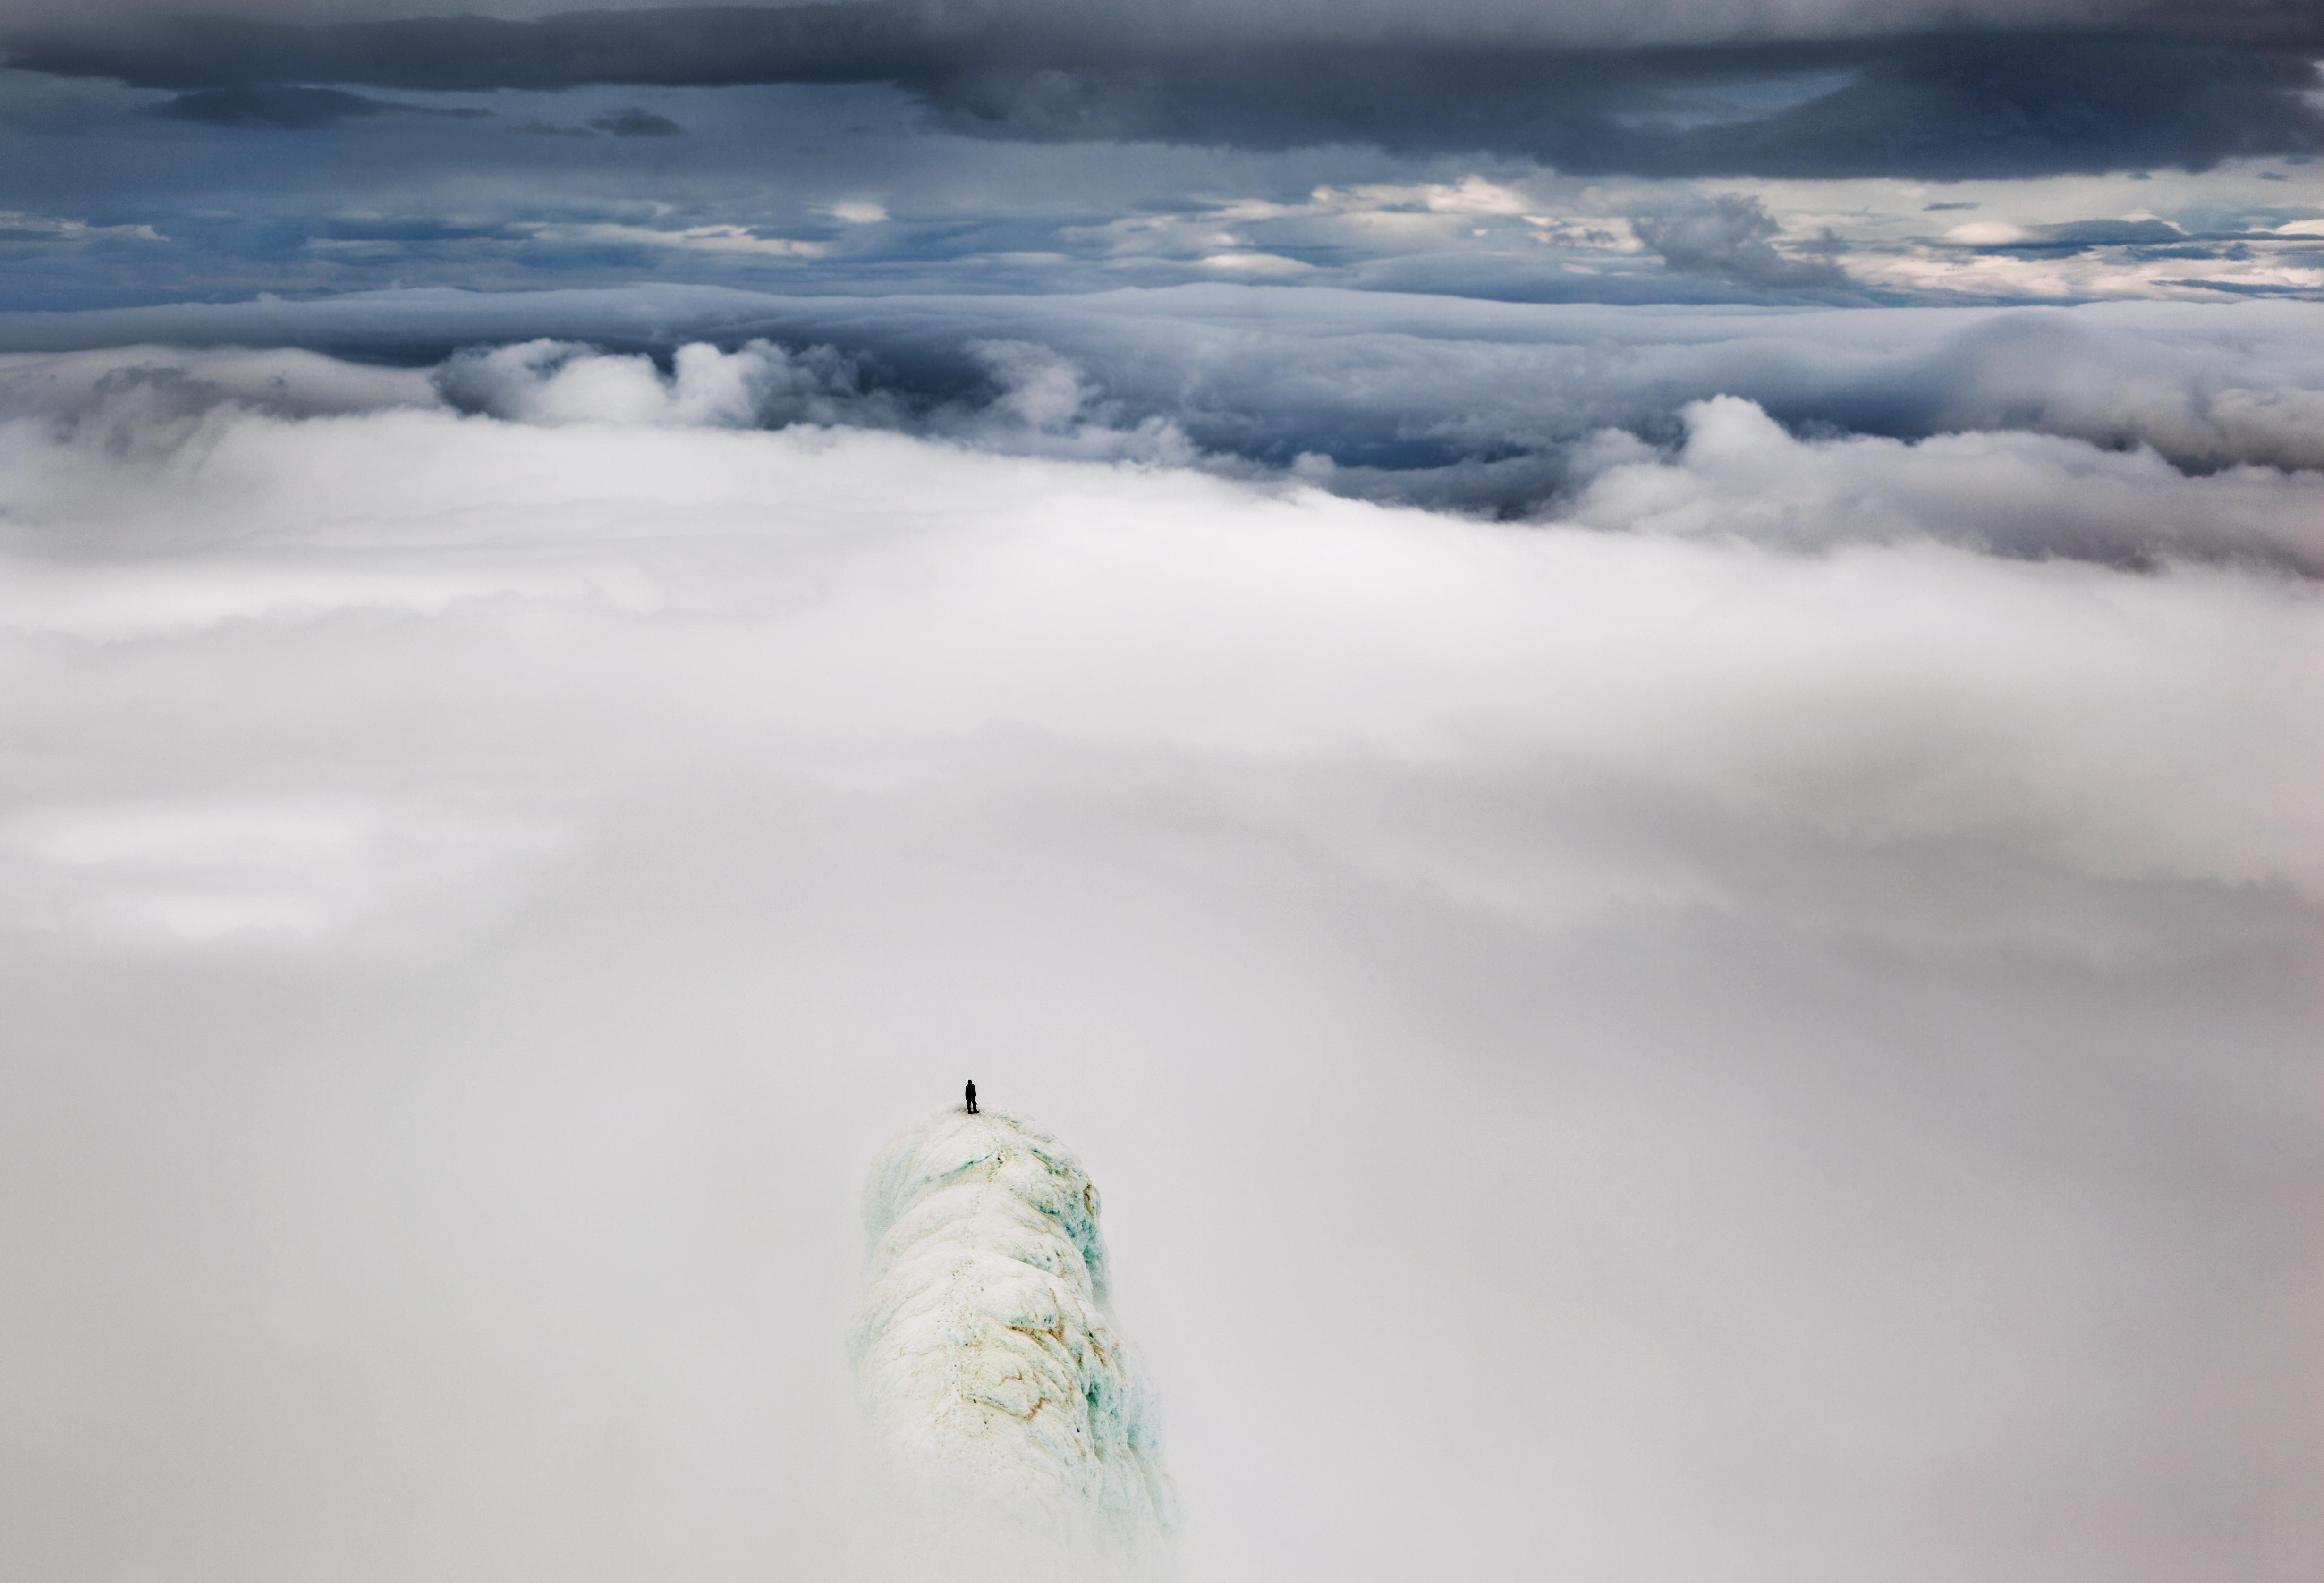
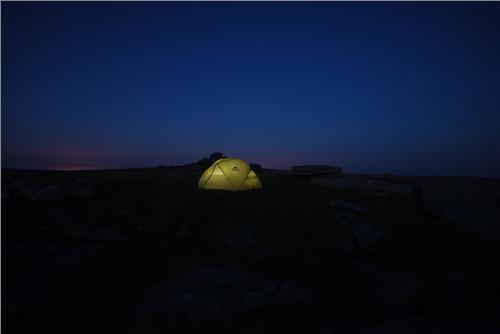
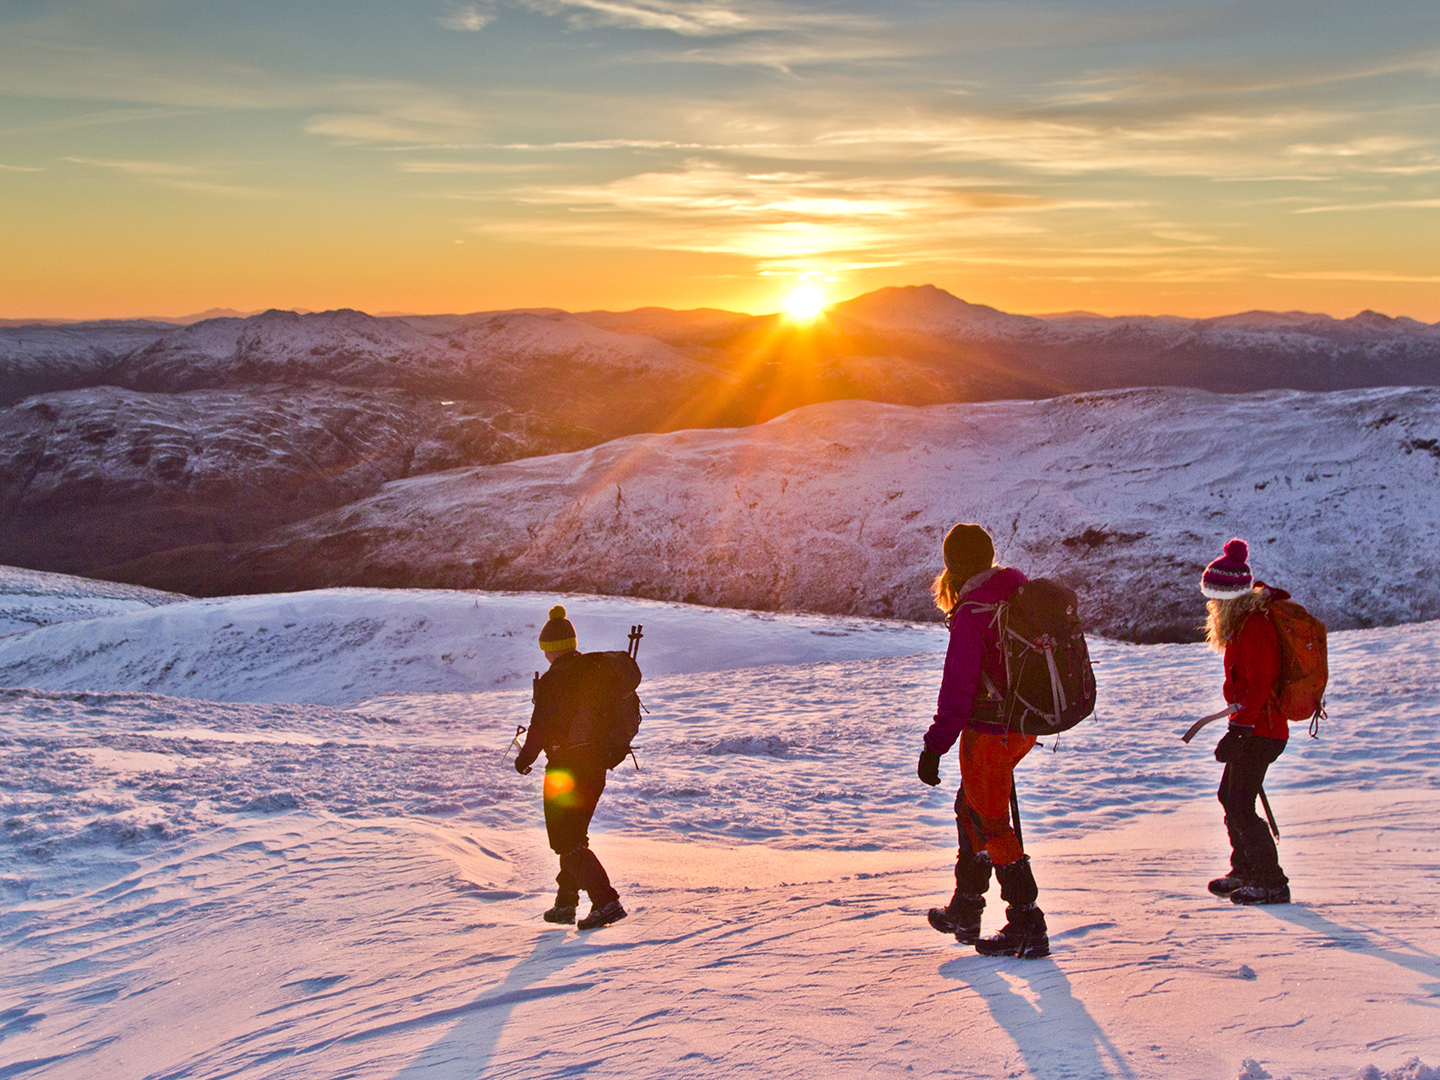
Winter is my favourite time for taking photos of the landscape, but while the short days bring low golden light and long evocative shadows, and the weather dusts peaks with a frosting of photogenic snow, there are also struggles and challenges.

Over several expeditions through Scottish winters, and more abroad, I have been fortunate to capture hundreds of images portraying fleeting moments of beauty, scattered between countless days in blizzards, gales and mist. In the process I have destroyed two cameras, shattered lenses, broken filters and filled countless memory cards. So here are a few tips so you can avoid the accidents, and get the most of a winter day behind the lens.

For the purpose of this article, I will focus solely on shooting in the mountains and introduce five quick tips rather than getting all too technical as this is after all a predominately hillwalking website, not a photography one.

Batteries

In the modern age of digital film, cameras have a greater struggle with the cold, it is no longer a frozen shutter that stops a shoot, but a battery dying. Like ourselves, to keep a camera, or a smartphone alive we must wrap it up and take good care of it in the cold.

Below 0ºC Lithium batteries, which power most modern electronics, start to suffer. It is not the cold draining the power but the lowering of the the battery’s discharge capacity. When shooting in the winter, I now carry my spare batteries inside a vacuum insulated flask which I’ll heat up inside with a hairdryer before leaving home.

“Embrace the environment you are going into as a day out rather than a shooting opportunity”

For phones or cameras where batteries cannot be removed, you can keep them going by storing them inside a warm pocket of your jacket, or better yet in an armpit. If they do die mid shoot, it is sometimes possible to coax them back to life by vigorously rubbing the screen with a hand. I call this technique, which I learned on my DSLR batteries during my Munro round, ‘the ‘iKiss of Life’.

Keeping your camera cosy will also help. Take an old set of wooly hiking socks, and cut the end off to make a tube, this will fit neatly over the camera body and insulate it against the elements. Do not be tempted to fix a hand warmer inside, this dramatic temperature difference can crack the glass of your lens, or affect the sensor inside.

Moisture

Below -10ºC keeping a camera dry often becomes a easier, but in the UK’s usual +10 to -10ºC band of moist cold, it is a struggle, and keeping a camera dry is essential to its longevity.

The best way to avoid moisture is to keep a camera inside a dry bag. I used to use a double bag technique to ensure maximum water tightness, however these days I have converted to the far quicker and easier system of the Watershed watertight zip bags, which mean fast access when I want to take a shot. If you are on a budget, a single dry bag with the camera inside a zip lock bag cut into a tube and fixed around the lens with an elastic band will also do the trick just fine.

Probably the worst thing to happen to a photographer is the ‘lens ring of death’ – when moisture builds up inside the lens between two or more of the glass elements. In the field, particularly in wind and rain it’s damn near impossible to fix as it requires the lens to be slowly aired and dried out in a warm dry place. This can be avoided by stashing silicon gel packs from your local shoe store and stuffing as many as possible into your camera bag – they will absorb moisture from the air and away from your tech. If this happens on a sunny day, removing the lens and repeatedly opening and closing the focus button will assist moisture to leave.

Winter Landscape Photography Advice: Exposure Yourself

(Double meaning intended)

Expose Your Camera
Master the technical side of your camera by taking hundreds of photos, don’t be afraid to switch it to manual and experiment in difficult conditions.

When in the snow or wind it is often hard to review photos on screen, and this wastes precious battery time, instead learn to read the histograms displayed in the information of each shot. These show a graph denoting the details of shadows and highlights. Your aim is to shoot so that the caps, troughs and outer edges of the wave all remain inside the axis of the graph; if they are too far to the left your image is underexposed and you should stop your shutter up, too far to the right it is over exposed and you should stop down. Adjust your ISO to keep it as low as possible to achieve a steady shutter speed – this will reduce grain in your final image – then use aperture to adjust your depth of field to suit the image.

Snow can often mess with the auto white balance sensor on some cameras, so instead use manual control to estimate a close match to the white you see around you. ‘Cloudy filter’ works best for overcast days, and ‘sunny’ if you want to emphasise blue in your image.

Rarely do I use the ‘shade’ option, even on the darkest winter day. By shooting images in Raw, and paying attention to your histogram you have all the tools to change this later at the comfort of your computer screen.

Expose Yourself
For every day I have had a memorable photo, there were ten in the mist. Embrace the environment you are going into as a day out rather than a shooting opportunity, and don’t be afraid to venture into rough weather, so long as you are safely prepared and equipped to do so. By viewing photography as a bonus to an adventure and not the other way round we maximise the amount of fun to be had and often get the best shots. A particularly fun challenge is to try and capture the moments between the ‘glory shots’ as those in the nasty stuff make the best stories.

Early Starts Suck… But They’re Worth It

Wintertime casts without doubt the finest light. Before the sun breaks the horizon, an hour of increasingly vibrant colour turns the sky into glowing tissue-paper-soft hues of blue and purple. At this time the contrast is low on the landscape and colours and detail in the snow are at their best, this is known as the purple hour and one well worth waking in the darkness to experience. Once the sun comes higher, the golden hour then begins and an equally exciting and spectacular time of day emerges in the dazzling oranges and yellows of sunrise.

Use Scale

When I started taking photos I loved trying to capture empty spaces. Yet as I have grown as a photographer, soaking in the knowledge and experience passed by strangers along the road, I have found a value in adding a tactfully placed person in the frame. A small figure in the distance can ground an image; it makes it relatable and tells a story in the final print.

If going alone I use either a tripod or my trusty tweed flat cap which has the same effect as a beanbag camera mount. I then use a time-lapse shutter to take tens of images as I position myself in frame. Even easier, and arguably far more fun: take a friend.

So with your camera dressed in a sock and zip lock bag, a sweaty armpit phone, a Thermos full of batteries and a bag full of Clarks shoe packets, you are ready to go. Now that I mention it all together, it all sounds quite odd… but honestly it works! Most of all, enjoy being out in the mountains, for once in awhile they truly do deliver.

Words and Pictures: Will Copestake (Instagram: @willcopestake)

Newsletter Terms & Conditions

Please enter your email so we can keep you updated with news, features and the latest offers. If you are not interested you can unsubscribe at any time. We will never sell your data and you'll only get messages from us and our partners whose products and services we think you'll enjoy.

Read our full Privacy Policy as well as Terms & Conditions.

production