We don’t know about you, but everyone in the Outdoors Magic office is champing at the bit for some big outdoor adventures now that we’ve all been let loose and the warmer seasons are round the corner. And with those good times coming we’ve all been busy getting our gear all nice and ready. Our waterproof jackets have been washed and the holes in our down jackets repaired. We’ve even done some tent reproofing. Most importantly of all, however, we’ve spring cleaned our walking boots.
You see, walking boots are arguably the bits of kit that are the most important to look after. Treat them right and you could genuinely get years and years out of your footwear instead of just months. That’s right, things can go wrong very quickly if you don’t give them a bit of TLC.
Mud is the biggest culprit, especially for leather. Leave it on too long and it will quite literally suck the leather dry, causing cracks to appear. Dust, sand and salt can cause problems too. Once that kind of stuff has been allowed to embed itself within the fabric of your boots, it’ll get deeper and deeper over time, gnawing away with each step. Leave your boots in a particularly bad state and you’ll also find that the fabrics, stitching and glues could all start to rot and decompose, bringing your lovely, potentially quite expensive boots to an untimely death.
Have no fear though, because there’s a very, very simple solution to all this and it comes from our friends at Nikwax.
Here’s what you need to do….

Cleaning Your Walking Boots
First of all, remove the laces. It might be a good idea to take a picture of the lacing beforehand, just so you know how to weave it back in at the end of your cleaning process.
Next, make sure to chip off any thick, baked on mud. It’ll be a good idea to do this outside or into a bin if you’re doing it indoors.
After that, get those boots into a sink and rinse them with clean water to remove any loose dirt. You want to make sure that the surface of each boot is dampened a bit before going onto the next step.
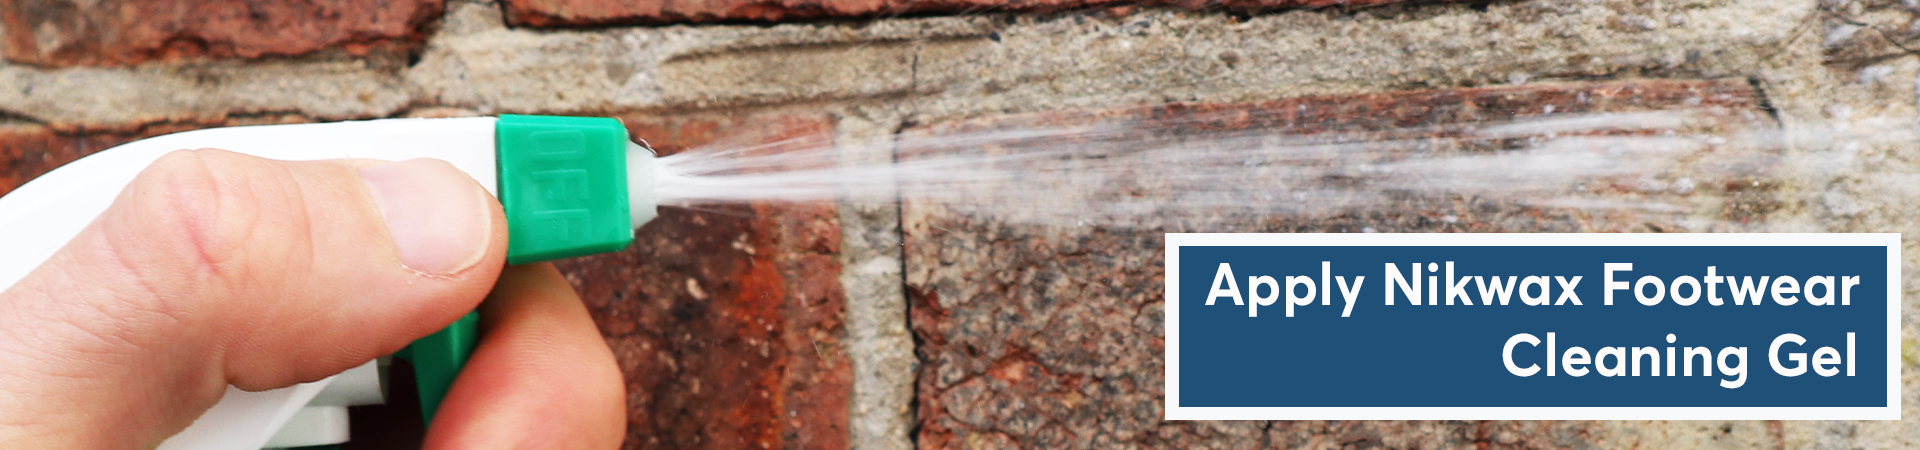
Now it’s time to call upon the first Nikwax product involved here: Nikwax Footwear Cleaning Gel. This stuff, which can be used on leather and synthetics, is going to safely clean your boots making sure that the materials aren’t damaged and that any existing water repellent treatments don’t get washed away. What’s particularly good about this stuff, and it’s the case with all of Nikwax’s other products actually, is that it’s completely eco-friendly – there are no nasty chemicals here.
Our advice is to really get the boot covered with this stuff while making sure that you’re spraying from about six inches away. If you’ve got a particularly dirty boot, it’s worth having a good scrub with a stiff nylon brush at this point. Next, give the boots a rinse with clean water.
At this point, your boots will already be wet if you’ve just applied Nikwax Footwear Cleaning Gel, and that’s exactly how you want them before starting this phase, which is the reproofing. This is where you’ll be adding on a new water resistant layer to your boots in order to stop them from getting saturated when you’re out and about.
Now, you might be wondering why you need to reproof your boots if they already have a waterproof membrane, and the answer to that is that it’s actually all about maintaining breathability. If the outer materials of your boots become saturated, hot moist air won’t be able to escape through the membrane and out into the atmosphere. Instead, it’ll sit within your boots, turning your feet wet through condensation. That’s a surefire way to land yourself with a blister or two.
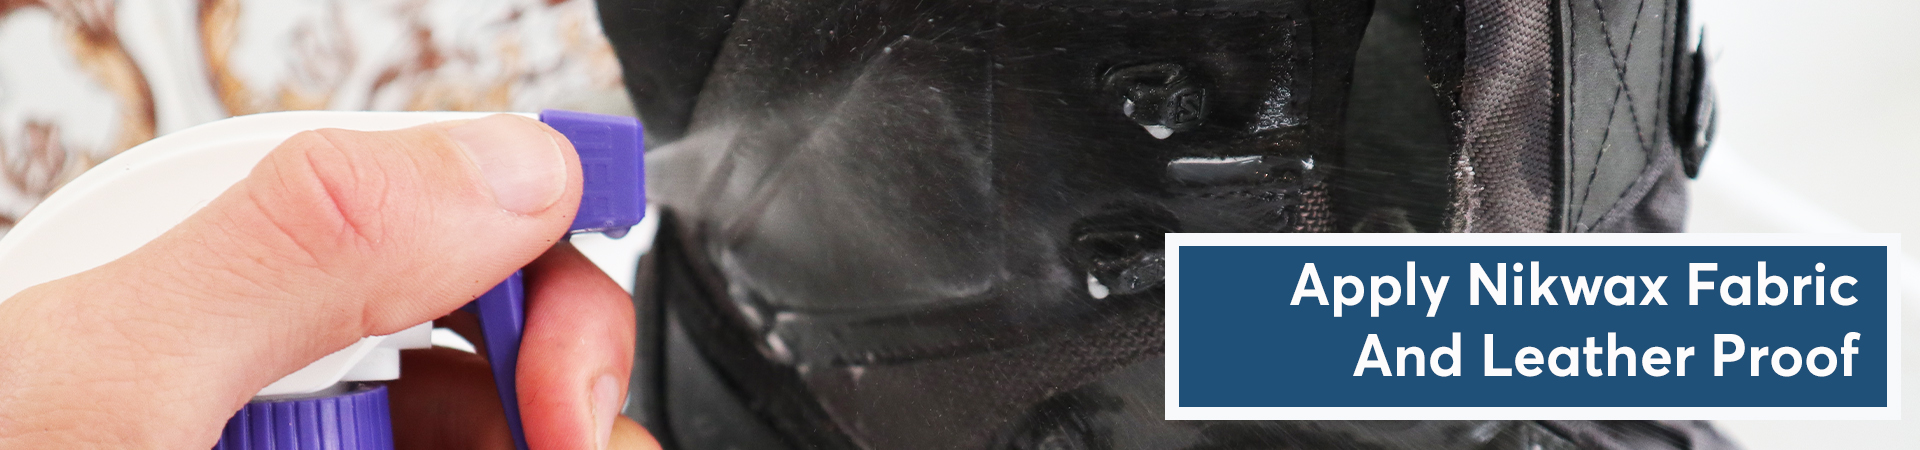
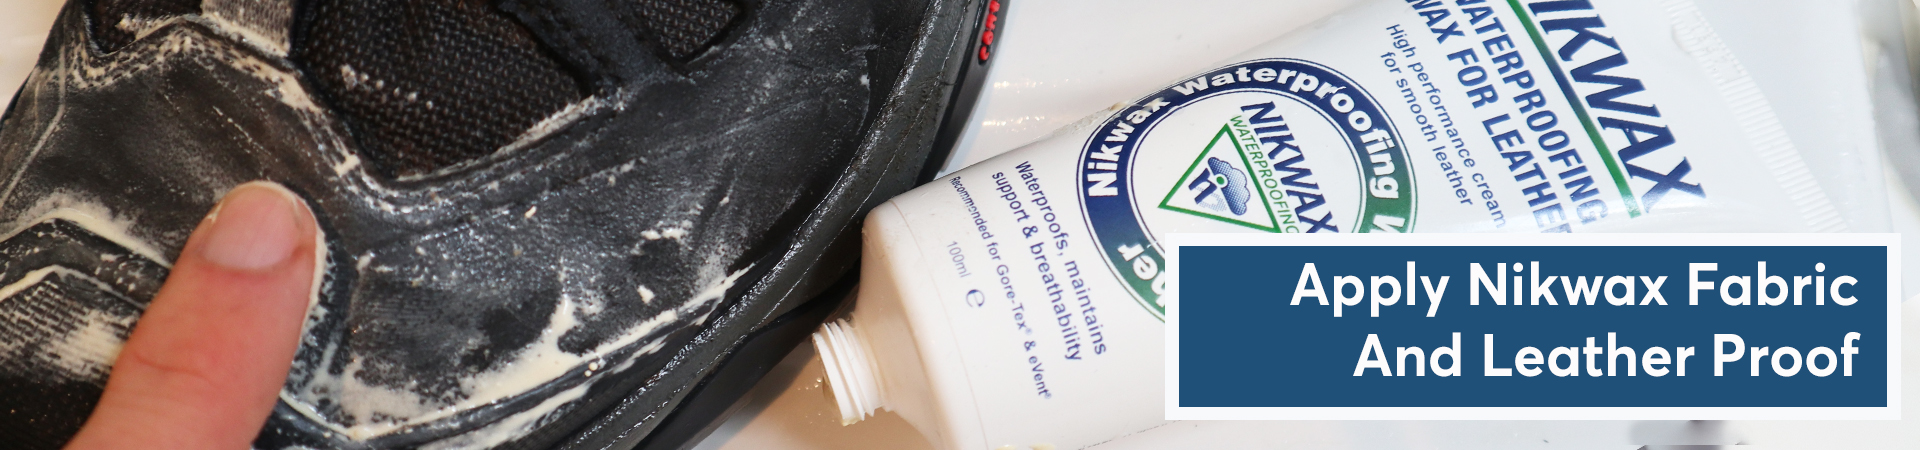
The process for applying Nikwax Fabric and Leather Proof is similar to the process with the cleaning gel. Spray it on from about six inches away from the boot and really make sure you get right into every nook and cranny. Now, just carefully remove any excess solution with the corner of a cloth.
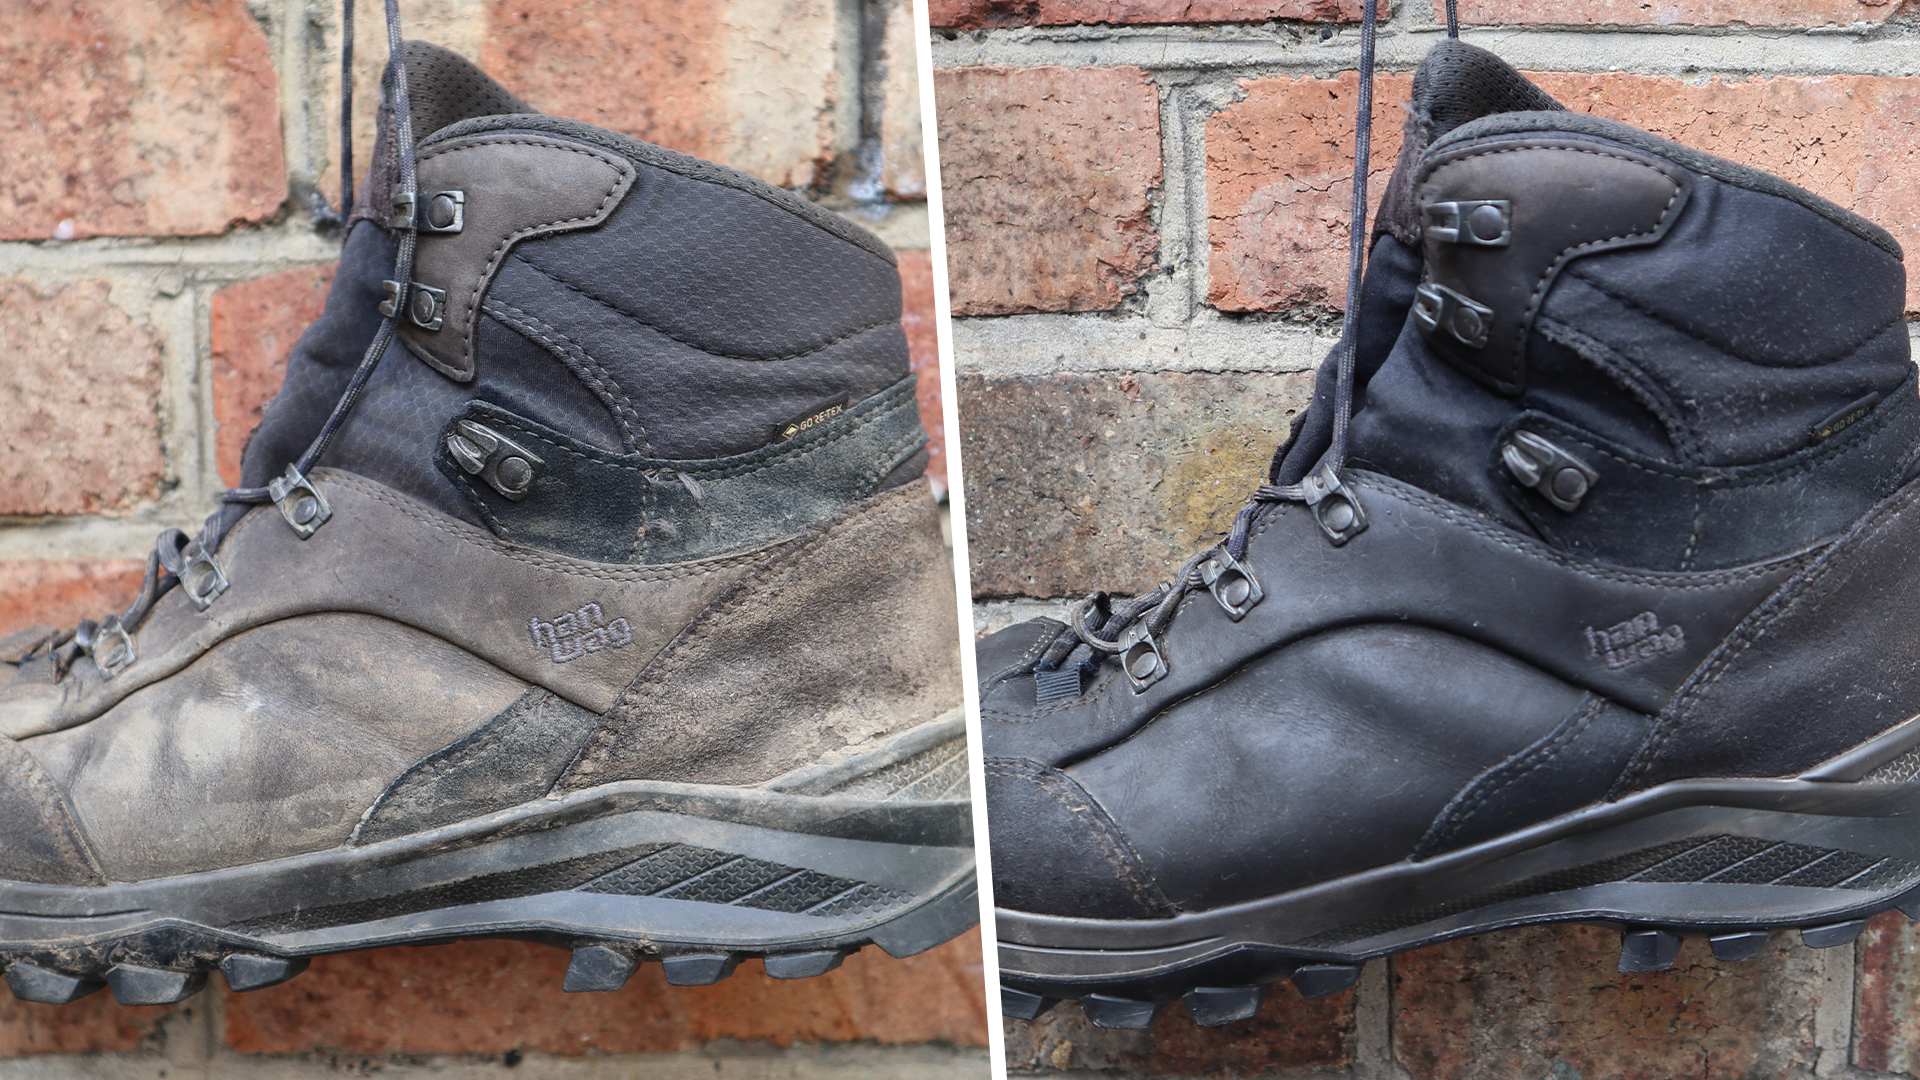
If you’re boots are made from leather there’s one final job and that’s the waxing. After the first two steps you might not feel you need to carry out this stage, but we’d certainly recommend it. By applying Nikwax’s Waterproof Wax for Leather to your boots you’ll be massively adding to their overall breathability, water resistance and ultimately longevity. This stuff ensures that the leather remains nice and moist and supple, helping it to maintain the tanning agents that allow it to perform at its best (lose these and the leather will get dry and stiff and will start to crack).
To apply this, shake the bottle well before use and rub the wax into your boots with a sponge or even just your fingers, paying close attention to the seams. By the way, it doesn’t matter if your boots are wet or dry before this stage. After you’ve applied a nice coat throughout, remove any excess wax with a cloth and buff to shine.
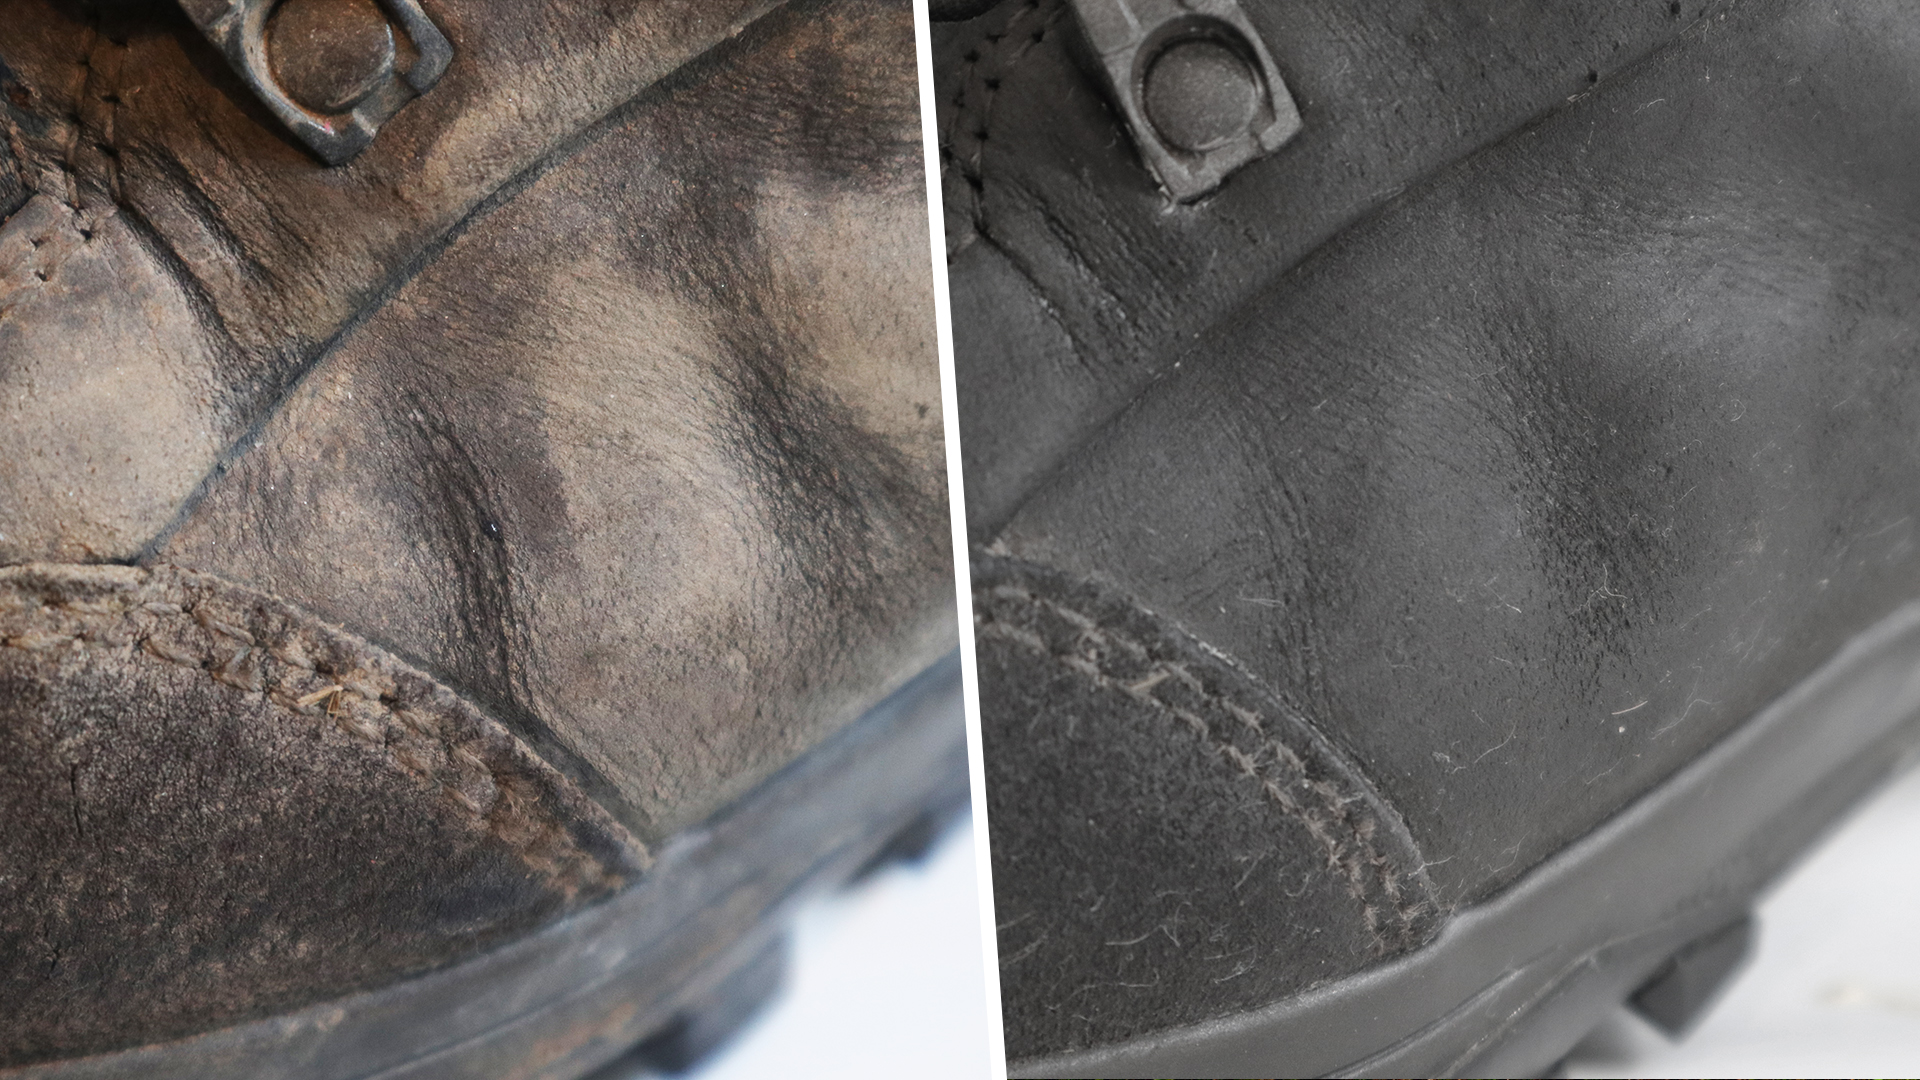
Job done. You’re boots are at their best, ready to hit the hills and work in the way you need them to. It might sound like there’s a lot to do here, but it should only really take about 15 minutes and we absolutely guarantee you’ll notice the difference in performance.
Discover more cleaning solutions from Nikwax:
nikwax.com