10 Winter Walking Tips From Glenmore Lodge Experts

Outdoors Gear, Equipment, News, Reviews, Forums, Walking Routes and More at OutdoorsMagic.com

Share

How To Guides

Ten Winter Walking Tips From Glenmore Lodge

We visited Glenmore Lodge, the UK's top mountain sports centre, for some expert winter walking tips.

Last year, we visited the Cairngorms in Scotland to find out what the Scottish National Outdoor Training Centre at Glenmore Lodge had to offer. After a five-day winter skills introductory course in which we were thoroughly put to the test, we came away with ten important winter skills tips that could well be essential this winter.

The winter skills tips are are in no particular order so scroll through down the page from top to bottom to find out more.

1. Be Bothered

Sounds a bit basic to be the first of our essential winter skills but, trust us, after this phrase was ingrained into our heads over the five-day course, the penny finally dropped. ‘Being bothered’ in winter means thinking carefully and being on the ball about everything you do when you’re either actively on the mountains or during the planning process prior to your big days out.

If there’s one thing we learnt in the Cairngorms it’s not to underestimate winter mountain conditions in the UK. There’s so much more going on than in summer scenarios and winter mountains are unforgiving if you’re careless – a simple navigational error can have you stepping through an unseen cornice for example – and the combination of cold and wind makes getting your clothing right a crucial skill.

We’ll go into more detail in the next few tips about the specifics we were taught to think about, and there are a lot, but the underlying message is that there are plenty of potential dangers on winter mountains which you need to be aware of. Taking that extra few seconds of planning or holding back for a moment before making that next step could be the difference between you returning home or not.

Our Top Tip

Understanding that winter mountains have a lot more potential hazards and knowing what they are is what will help to keep you safe in winter. It’s worth sweating the small things – carrying a spare hat, being aware of snow conditions and so on – because doing that really could save your life.


2. In-depth planning of your Day

As we’ve already pointed out, winter throws up a number of tough challenges and obstacles to overcome that would not necessarily be an issue any other time of year, which means more planning is required to stay safe on the hill.

In summer, even if the weather is offering up strong winds and rain, at least the temperatures tend to be relatively mild and the days are longer, which gives you more leeway on a change of route, for example.

‘Five Days of Planning’

Our Glenmore Lodge instructors said that for a relatively inexperienced winter mountain walker, it may well take five days of ongoing planning to be sure of a safe day out.

All angles need to be covered including the local weather forecast for the days leading up to and including your mountain walk, as well as looking into the various alternative routes you could use as a back up plan. You don’t want to be planning alternative options in the middle of Cairngorm hoolie.

Sweat The Detail

Weather doesn’t just mean rain or shine, there are many facets to a forecast that require a thorough check. The wind’s direction and speed are of huge importance – you might want to adjust your route to avoid walking into an endless headwind for example, or avoid narrow ridges in high winds – as well as the potential avalanche risks, which we’ll cover in more detail.

Crucial Resources

Each day on the course we looked at all this information by visiting three main websites: the Met Office atwww.metoffice.gov.uk, the Mountain Weather information service at www.mwis.org.uk and the Scottish Avalanche Information service at www.sais.gov.uk.

Combining the data of all three of these websites gave us an overall understanding of that day’s conditions and a past history of weather over the previous day or week.

Our Top Tip

Start planning early, check out weather trends and changing snow conditions and think about alternative route options well before you set out.

3. Gear – know what you need and have a system

Always prepare for the worst, especially on mid-winter outings. It was made clear on the course that it it can be essential to take more in your pack than your planned day might strictly require.

It may seem excessive to carry two pairs of gloves, two headtorches, enough food for a whole day, three mid-layers, let alone everything else, but if – and hopefully it won’t happen – you do get benighted and stuck on the mountain then you’ll be extremely grateful that you packed all that spare gear.

Pack The Hardware

As our instructors said repeatedly, if you’re missing even just one component of equipment then there’s no point even stepping foot outside the front door, it’s just too risky. The bare minimum for serious mountain winter walking includes crampons which are properly adjusted to fit your boots, an appropriate ice-axe, a lightweight shovel, two laminated maps – in case one is lost – and a compass along with a spare.

More Detail

For a full list of what you’re required to pack, check out the Glenmore Lodge website at www.glenmorelodge.org.uk, which also includes a list of winter clothing. Or watch how to pack your back for winter moutaineering with Glenmore Lodge instructor Giles Trussell.

Belay Jackets

But one bit of clothing we found particularly handy in the Cairngorms was a big fat, warm belay jacket. This insulated synthetic filled giant jacket is an absolute godsend when you stop for a rest on the mountains as you can pull it over everything you’re wearing as a sort of outdoor duvet – like wearing a sleeping bag. we love it and it could save your butt if you find yourself benighted.

Have a System

Also with your gear, make sure you have a system. What we mean by this is that you need to be habitual with where you put things in your pack or jacket so it’s never in an awkward spot when reaching for it. I.e. map and compass in the two chest pockets.

Our Top Tip

It’s worth having a check-list of everything you need to carry and wear in winter conditions – back up essentials including hats and gloves with spares – and make sure you know where everything is stored in your pack or pockets so finding becomes second nature.

4. Be aware of avalanches – risks and practical skills

Something that our two instructors really drummed into us on the course is the potential risks of avalanches and how wary we need to be of them.

Check The Forecast

Each morning on the course, before heading out, we visited the Scottish Avalanche Information Service website where we learnt about reading up on where and why avalanches could be occurring in conjunction with an OS map, so we could plan our day’s route based on the information we gathered.

Last year in Scotland there were no avalanche fatalities and that could well be down to the increased awareness of avalanche information websites as well as the up-to-date ‘Be Avalanche Aware’ leaflet that was released at the back-end of last year. It’s important to read up on all of this before you head out onto the hill.

Key Avalanche Skills

On the winter skills course we also leaned a number of key avalanche skills for when someone gets caught in an avalanche. It’s something that’s taken very seriously at Glenmore and the Lodge is currently using transceivers , which are essentially homing beacons that have been designed to help to locate avalanche victims even under metres of snow.

Most UK mountaineers won’t be carrying transceivers, however, though it’s a difference scenario in the Alps. For the majority of us, the most important and affordable bits of kit to carry in your pack are without doubt an avalanche probe and lightweight shovel, which you can learn how to use by watching Glenmore Lodge’s videos on using an avalanche probe and deeper digging.

Our Top Tip

The Scottish Avalanche Information Service is a superb resource for those heading out on Scottish winter hills, but don’t assume avalanches don’t happen on other British mountains and learn the skills you need to make your own assessment of the snow-pack. Being able to analyse conditions and altering your plans accordingly could save your life – see our next tip for more details.

5. Snow – knowing what to look out for

Never have we realised how much there is to know about snow until our five days in Scotland. As someone who’s been skiing all their life, to us snow is either pisted, slushy, icy or powder. How uneducated was I!

Wind Slab Is Your Enemy…

One of the guides, Keith, was a semi-frozen fountain of knowledge when it came to snow. He taught us so much about it in terms of its layering, the multiple different types of it and most important, how to recognise the dreaded wind slab – a form of snow formation that is the catalyst for a high number of avalanches.

Usually snow packs with wind slab are situated on the lee side of a slope – the side of a mountain or ridge that lies away from the prevailing wind – and consists of a dull-looking, hard layer or crust of snow which sits on top of a softer under-layer to which it’s barely bonded.

If walkers or skiers wander onto the wind slab the whole top surface can break away with disastrous results.

Avoiding The Slab

We spent a lot of time working out our day’s route to avoid these areas of potential danger from wind slab deposits and learning about how to spot them when we were on the hills. Wind slab isn’t the sole cause of avalanches on Scottish hills, but it’s probably the more common underlying factor.

Our Top Tip

Keeping up to date with weather and avalanche forecasts means you can get a good idea of where wind slab is likely to form, but you also need to be able to recognise it on the ground. Two classic signs are the dullness of the surface caused by the blown snowflakes’ structure being broken up and a distinctive squeaking noise when walking on slab.

More Information

For more information on Wind Slab go to www.fsavalanche.org.

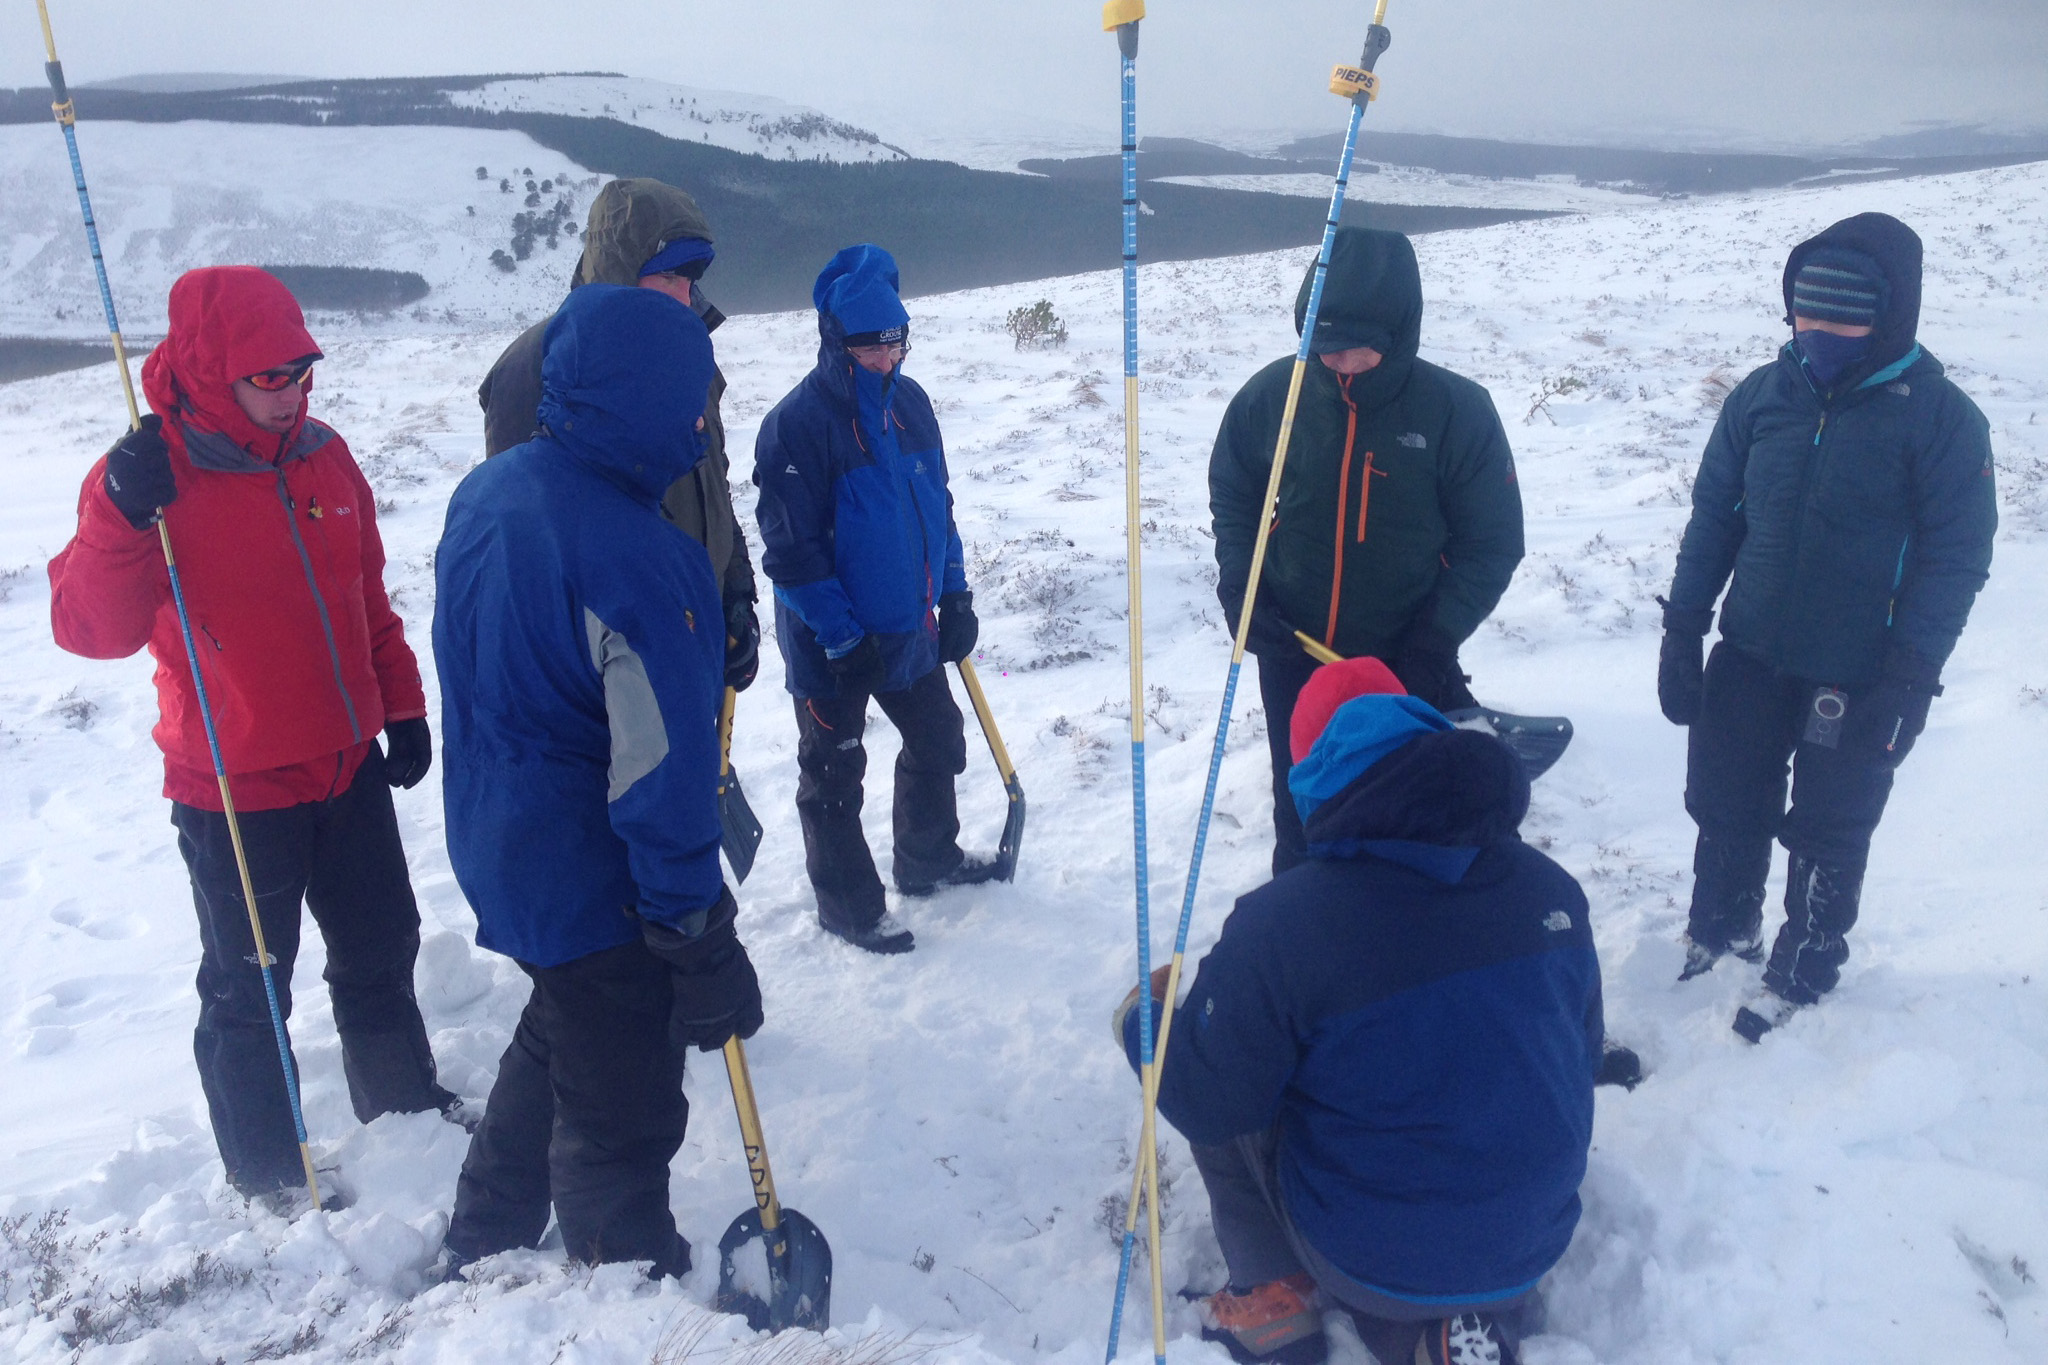
6. Winter navigation

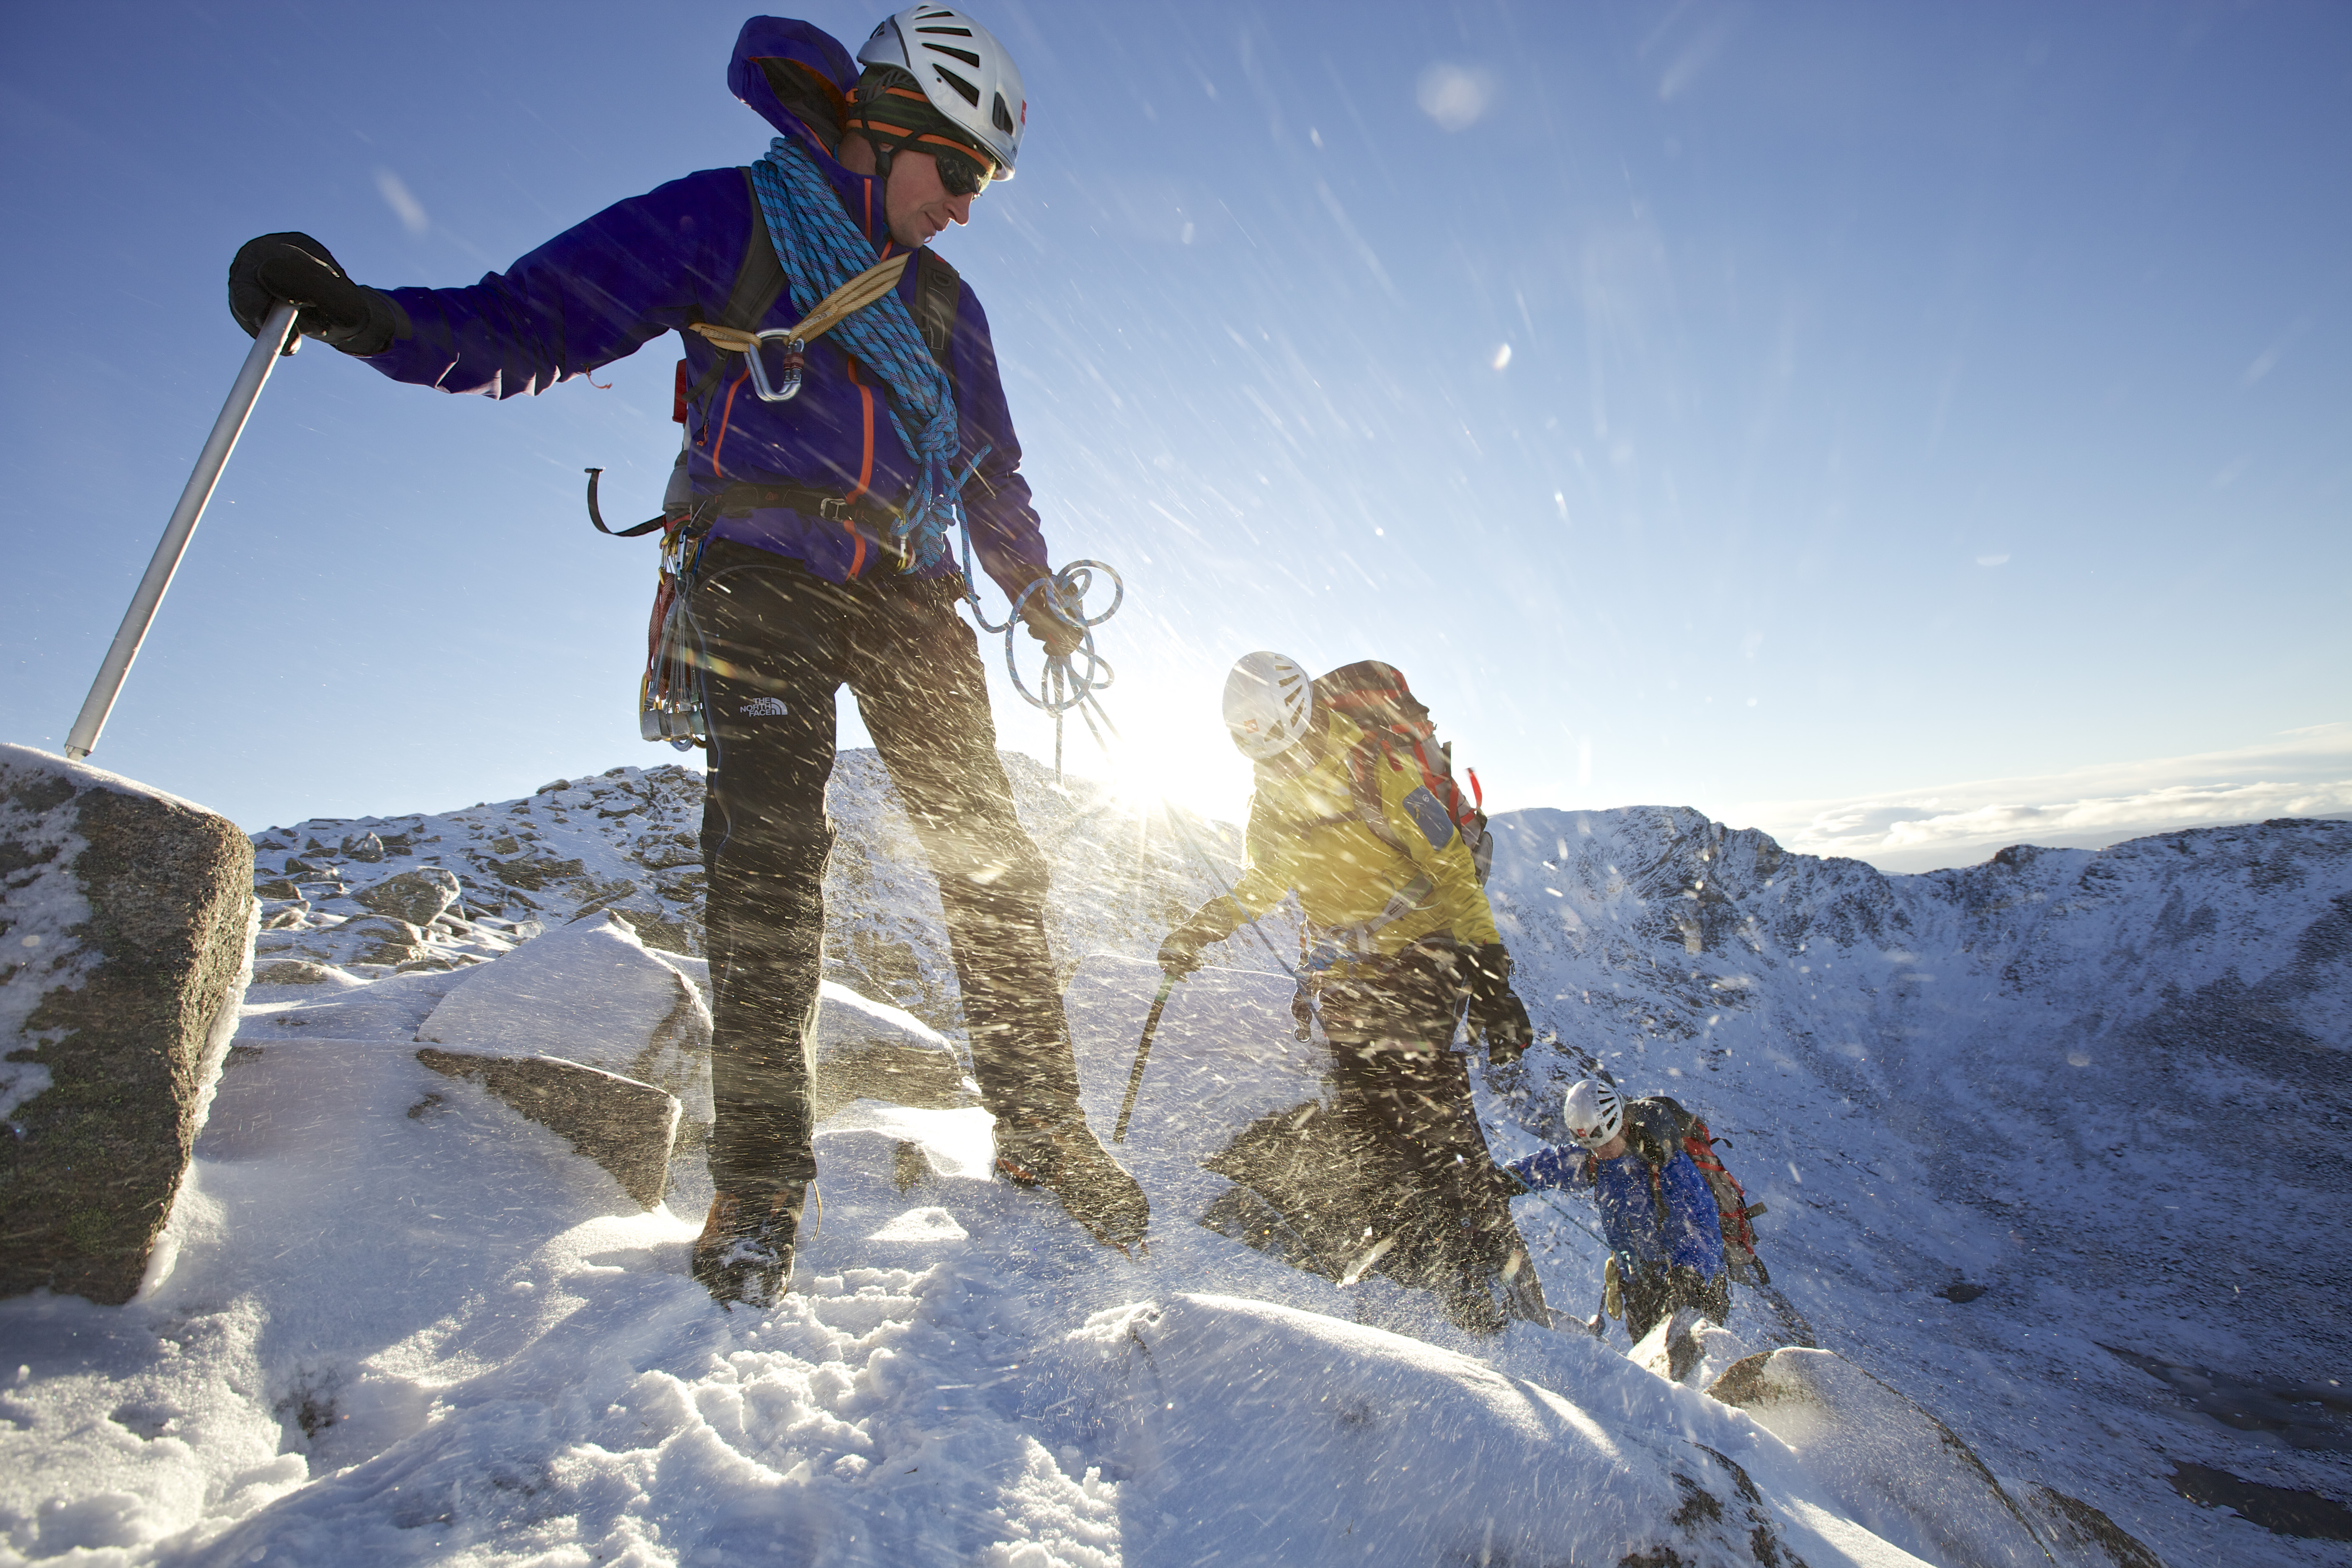
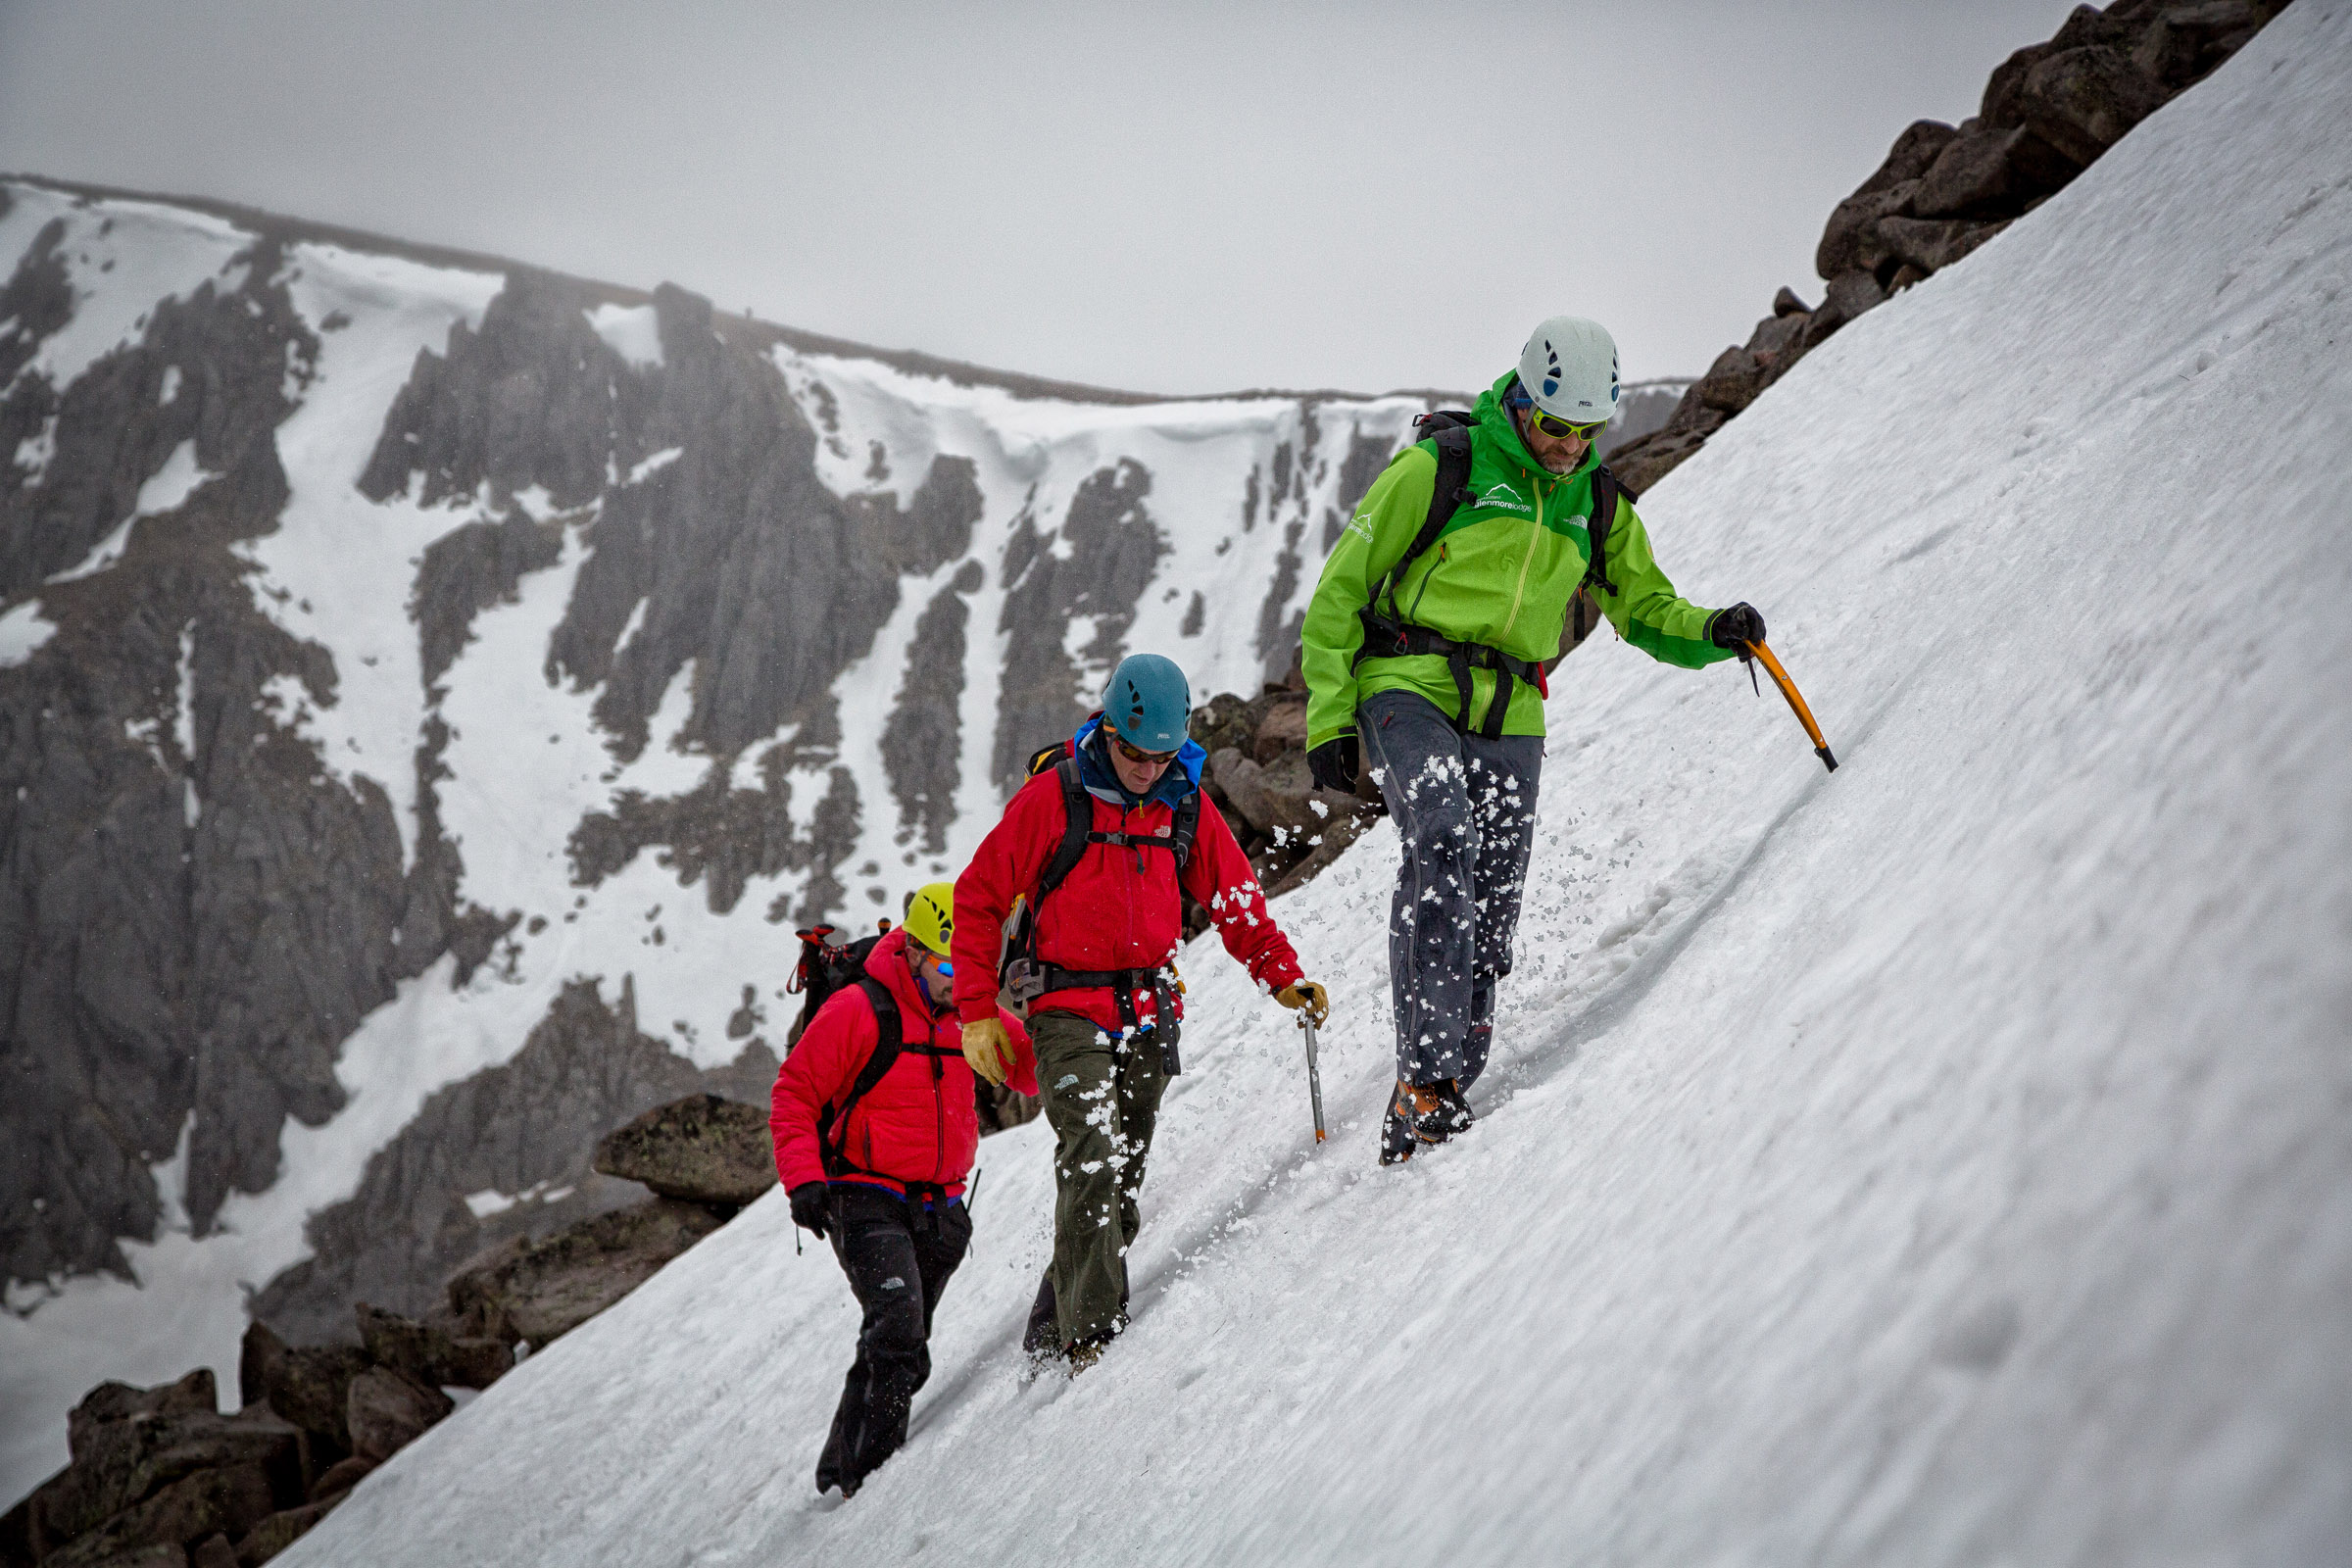
Navigating in the summer, when visibility is as far as the eye can see and there’s little to no chance of your map flying out your hand, is a whole different beast compared with winter navigation.

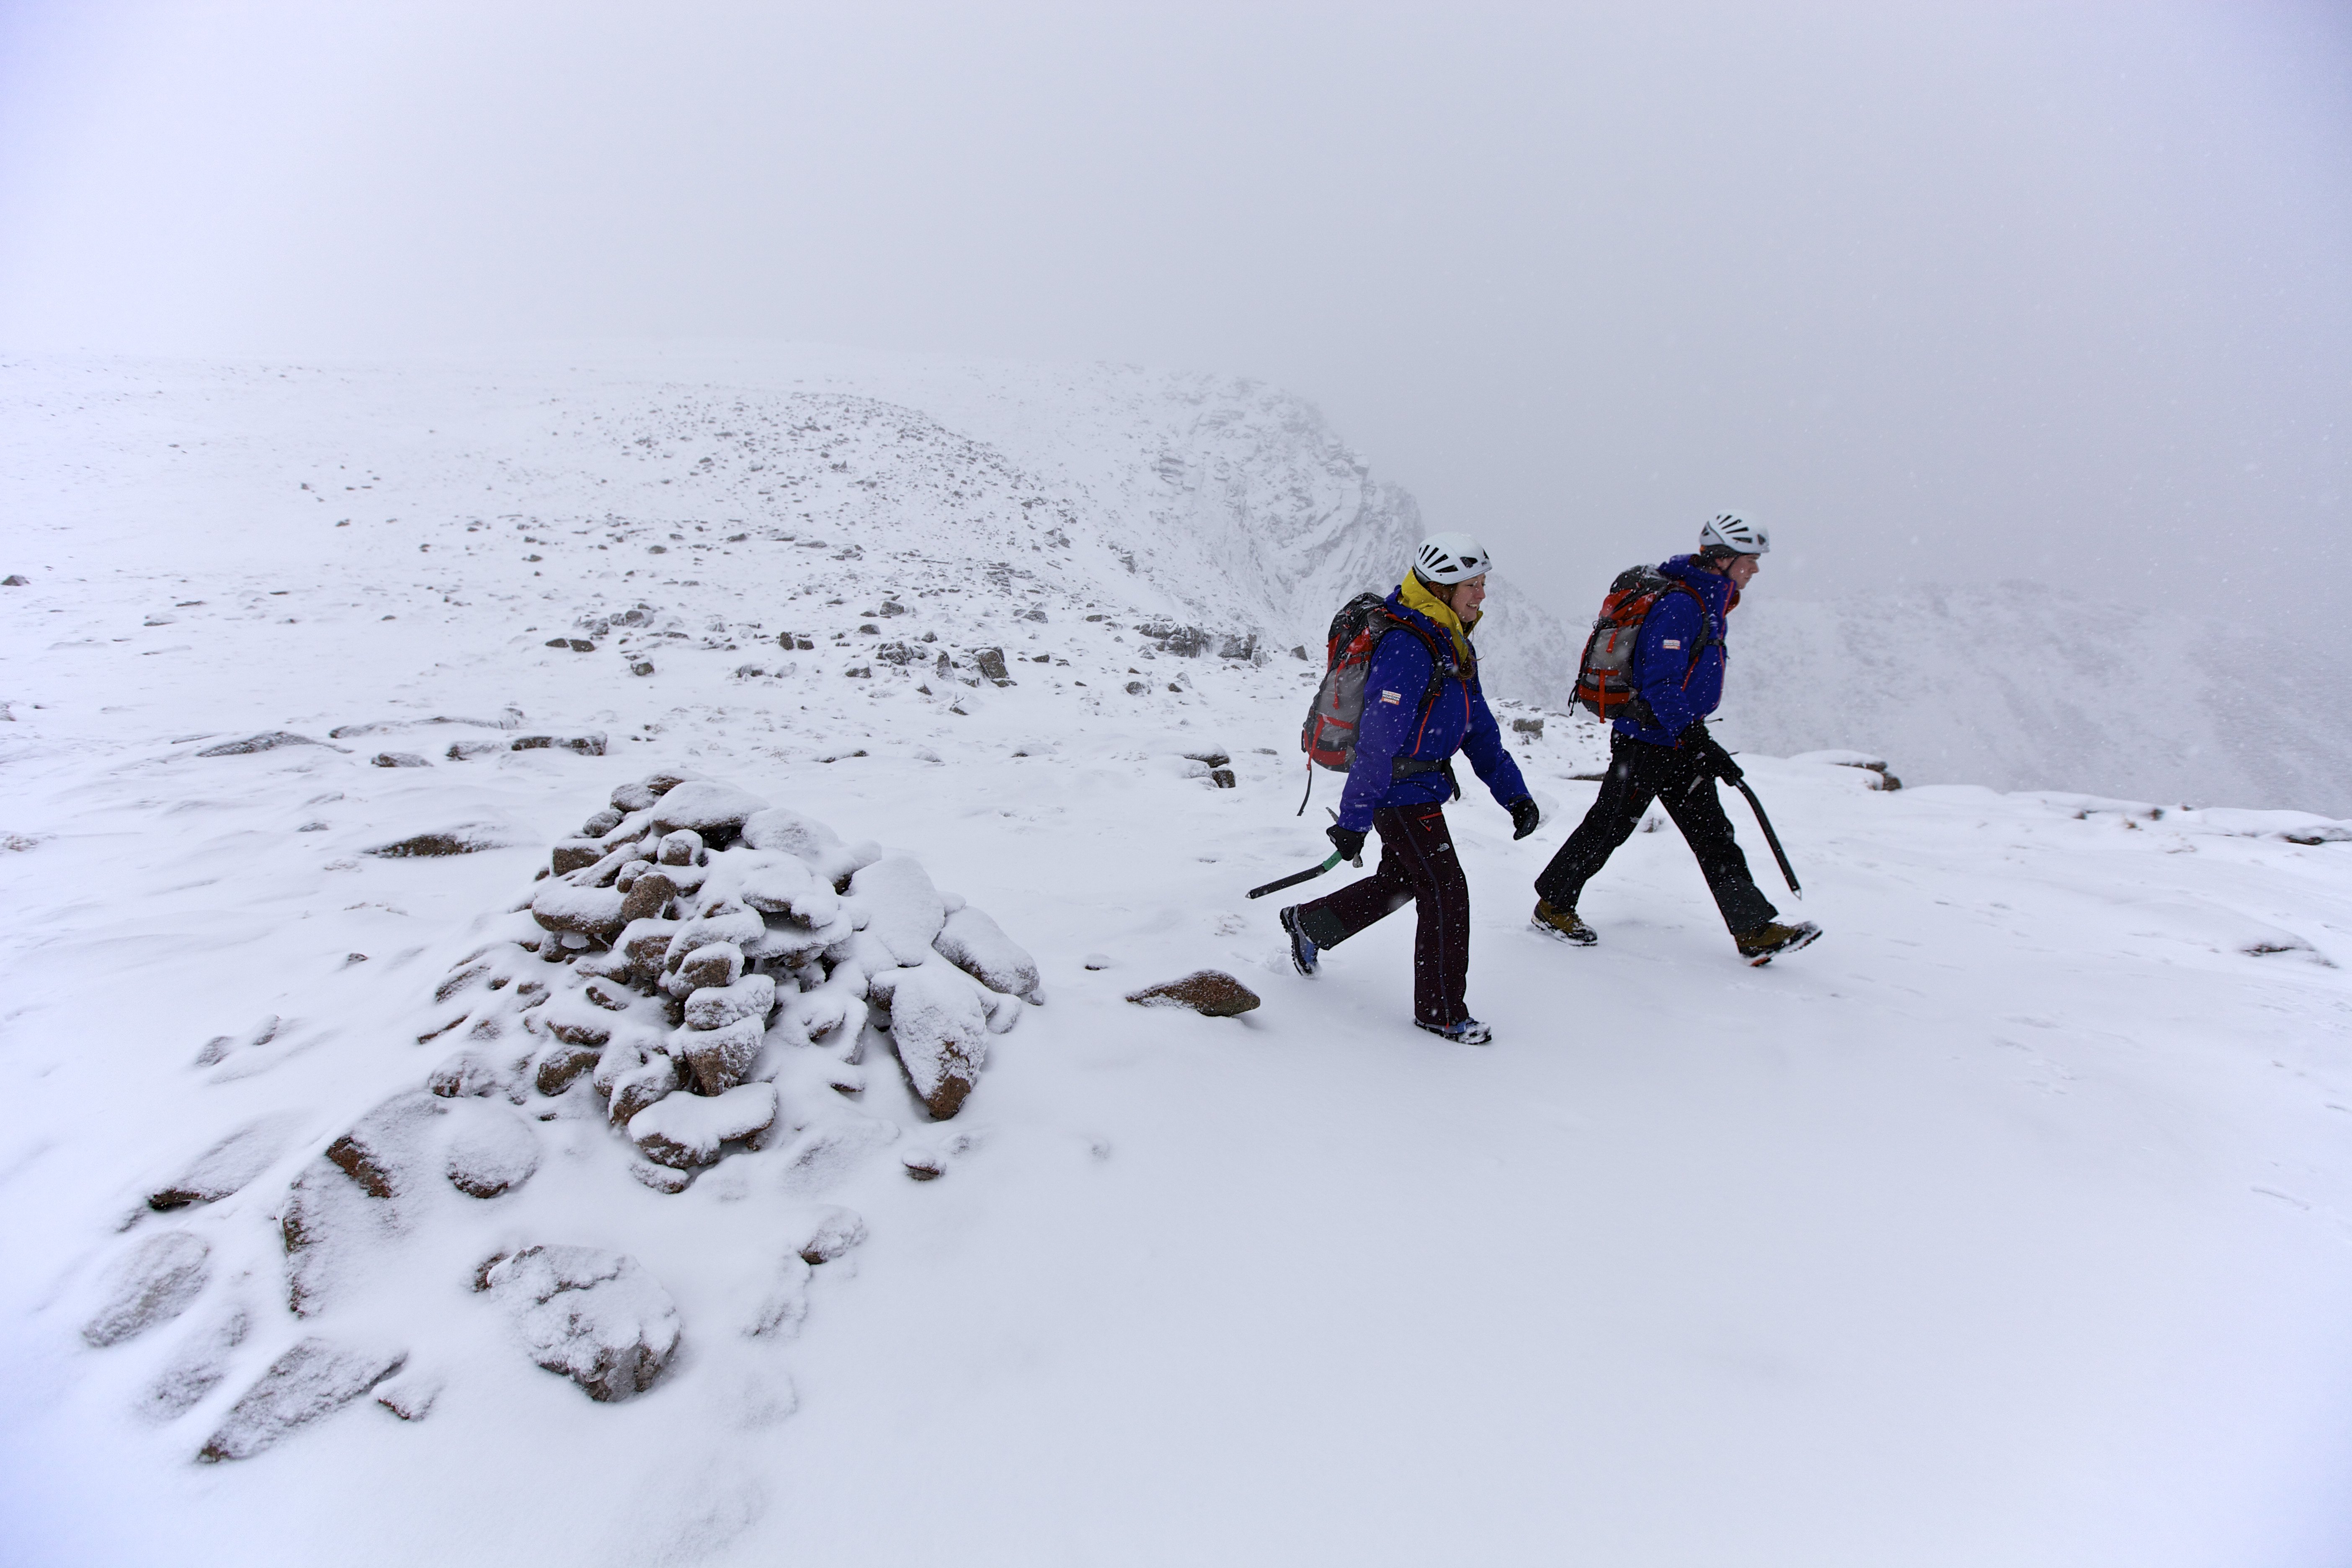
Not being able to see further than your arm is quite a scary prospect and fortunately it didn’t quite get to that level when we were in Scotland, but it’s pretty common in winter conditions so being clued up on all navigational techniques is a must.
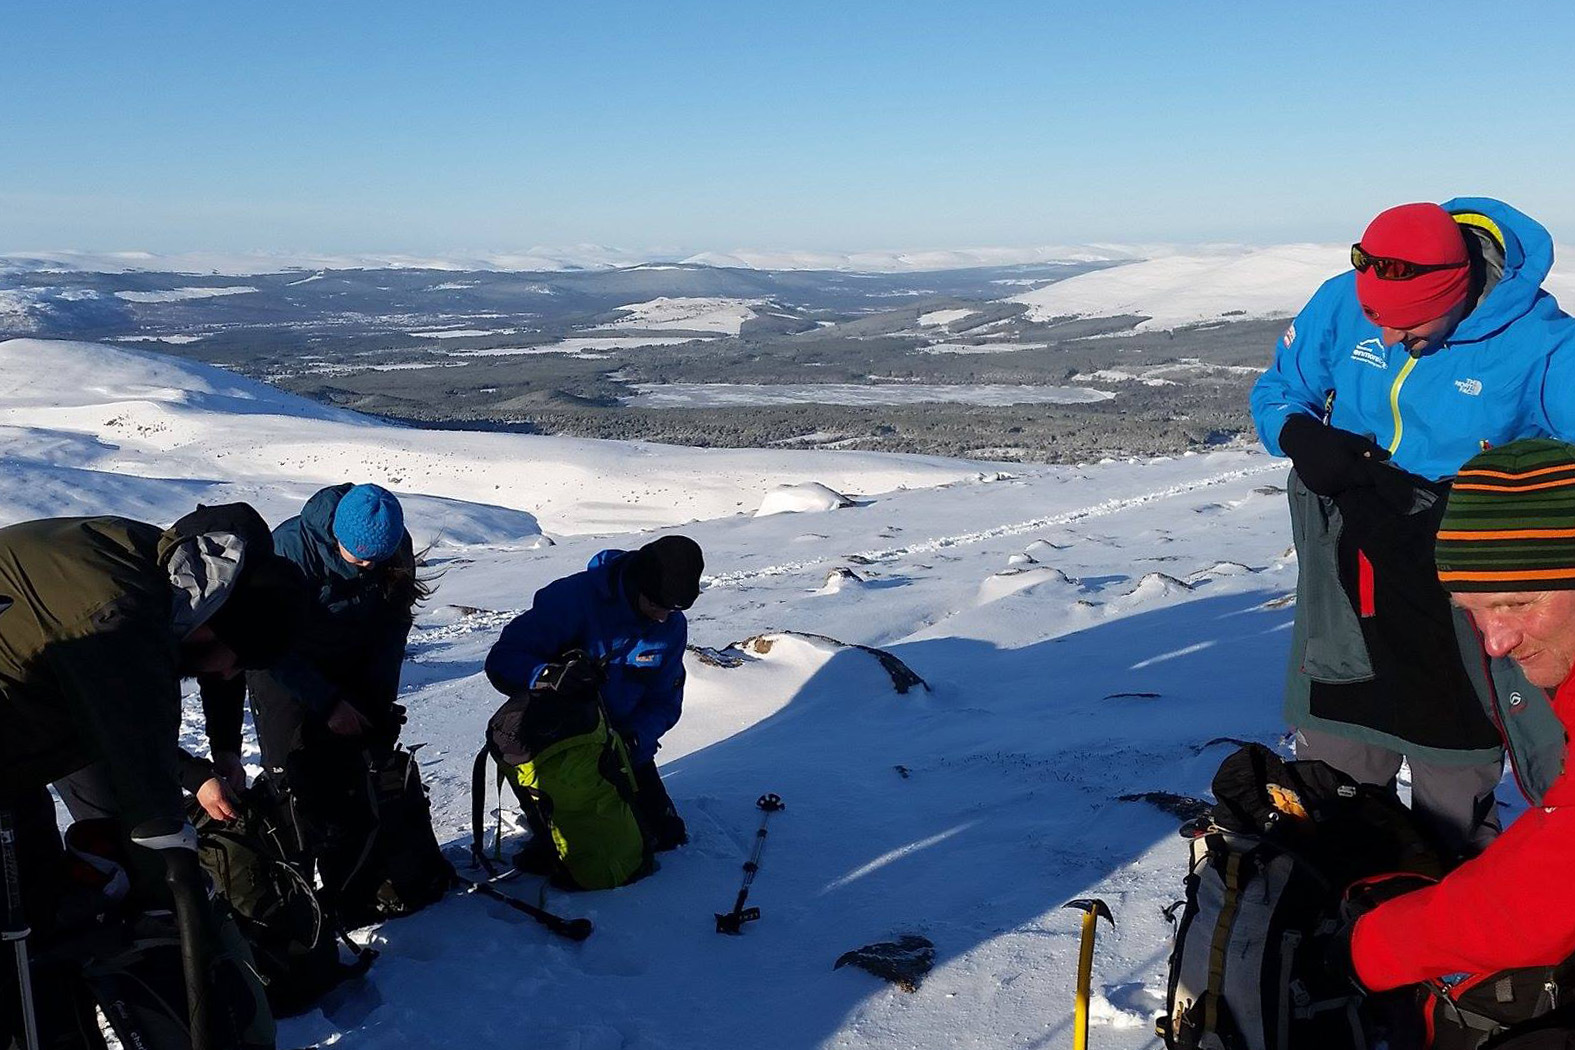
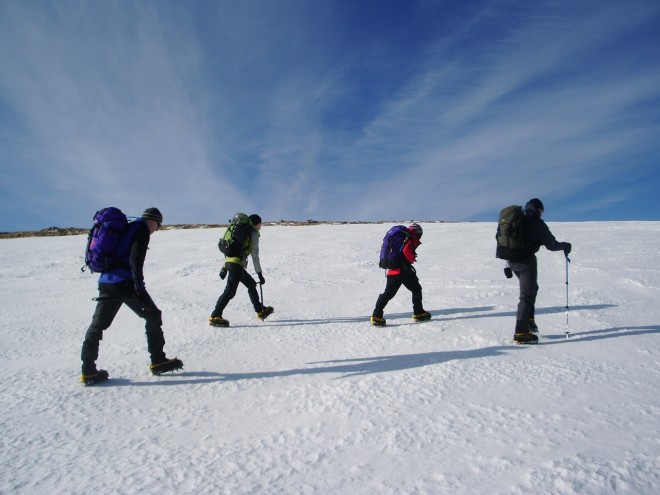
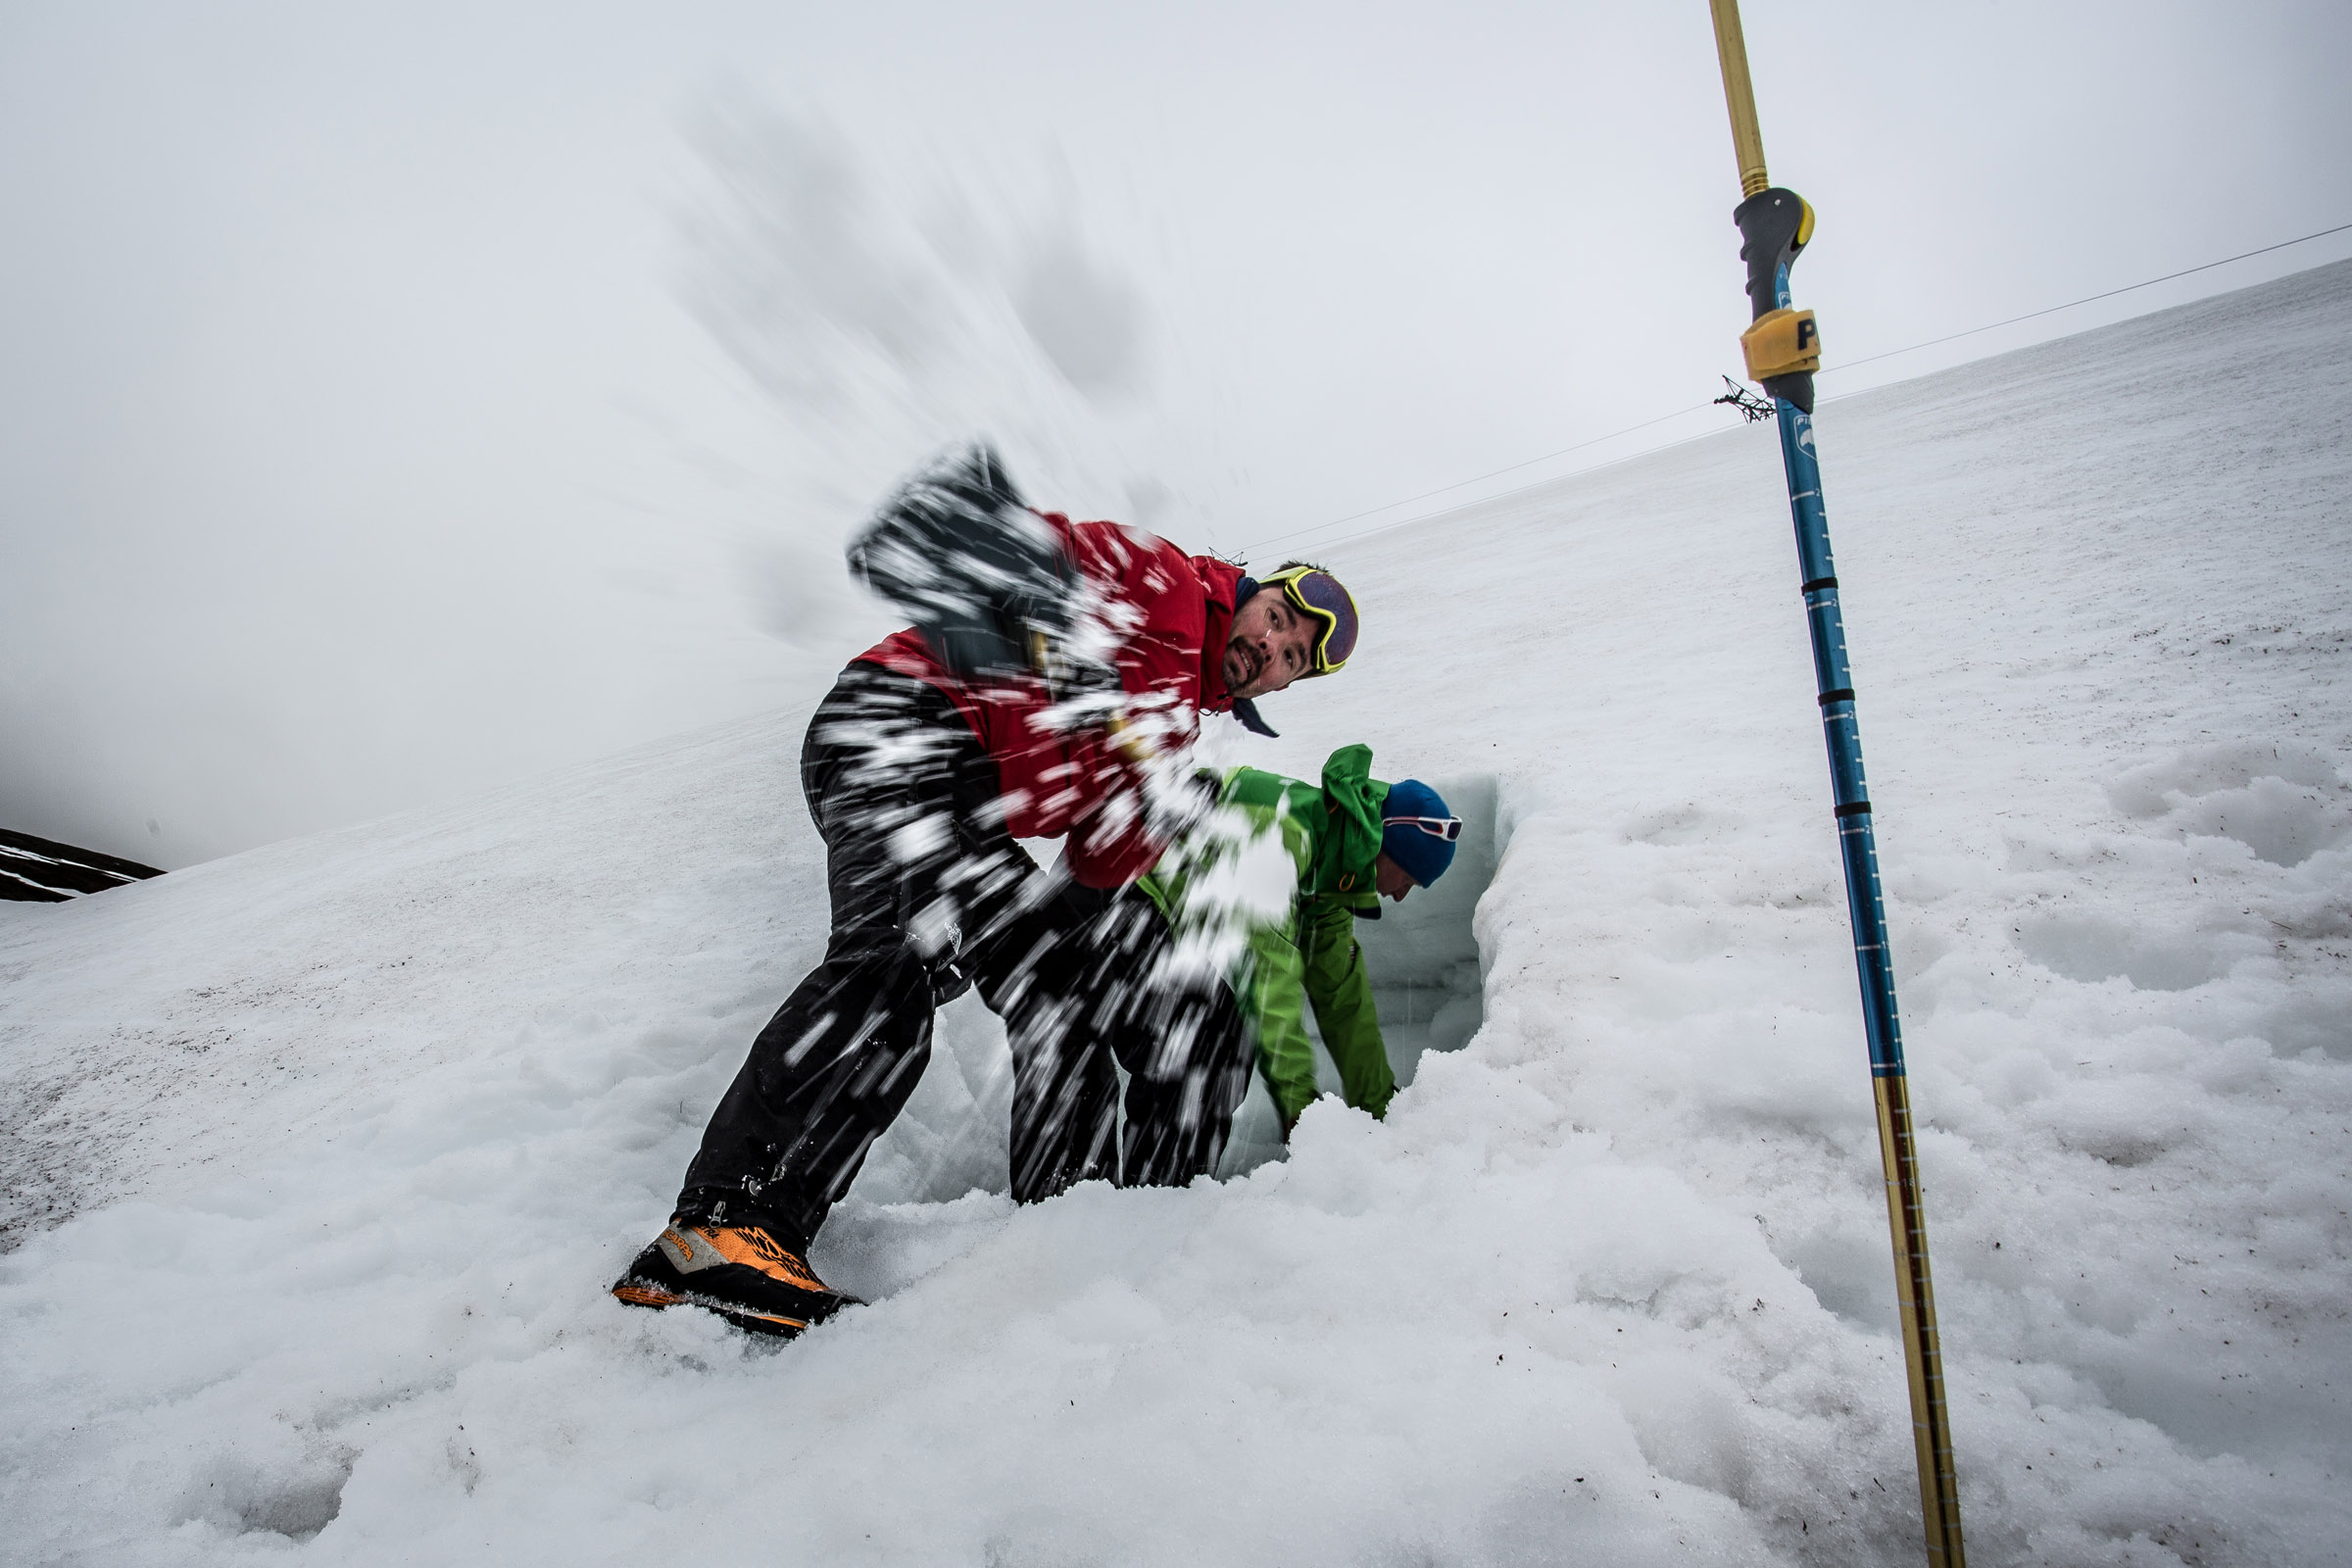
Pacing

The key tips we brought away for winter nav’ were pacing, timing, and using contours. So firstly, pacing. We were told to walk/pace to a pre-measured 100m line. A pace, in this case, is essentially two regular steps put together and for 100 metres we measured 63 steps. So at that point we already knew how to roughly measure that distance even if we had no map or compass.
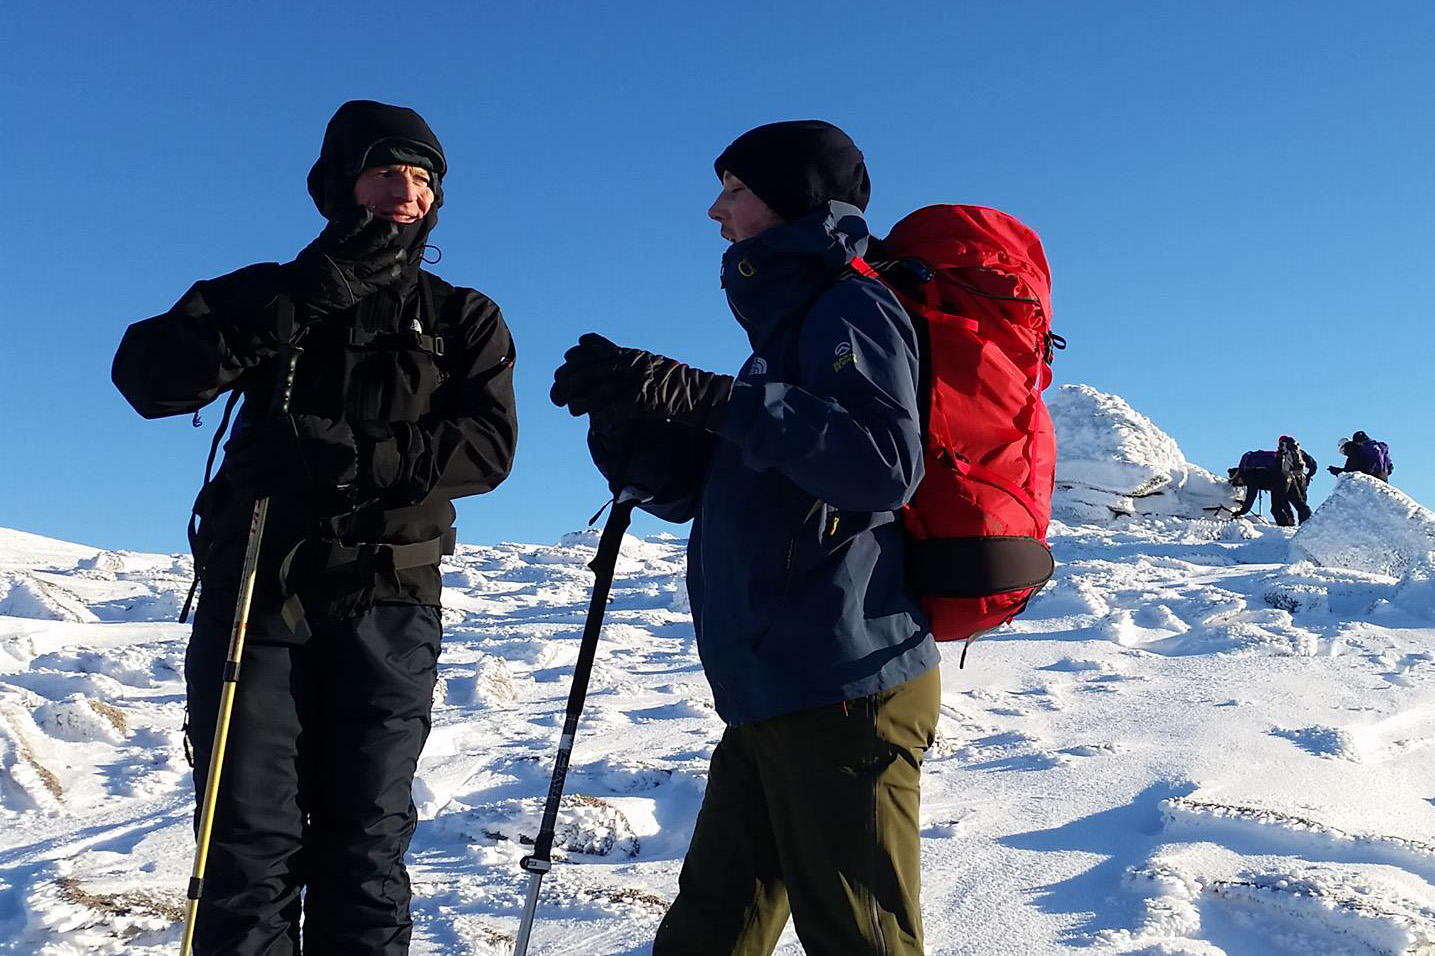
Timing

Secondly, learning the basics of timing is also essential for winter conditions as it gives you a rough ball park of when you are going to reach a point on a map. The most effective and accurate way to achieve this is to estimate how fast you’re walking, generally between 3-4kmph, then calculate your timing based on the exact distance you have to your destination. Then add on one minute journey time for every contour you ascend. To find out more on this watch Glenmore Lodge’s video on how to use timing to improve navigation.
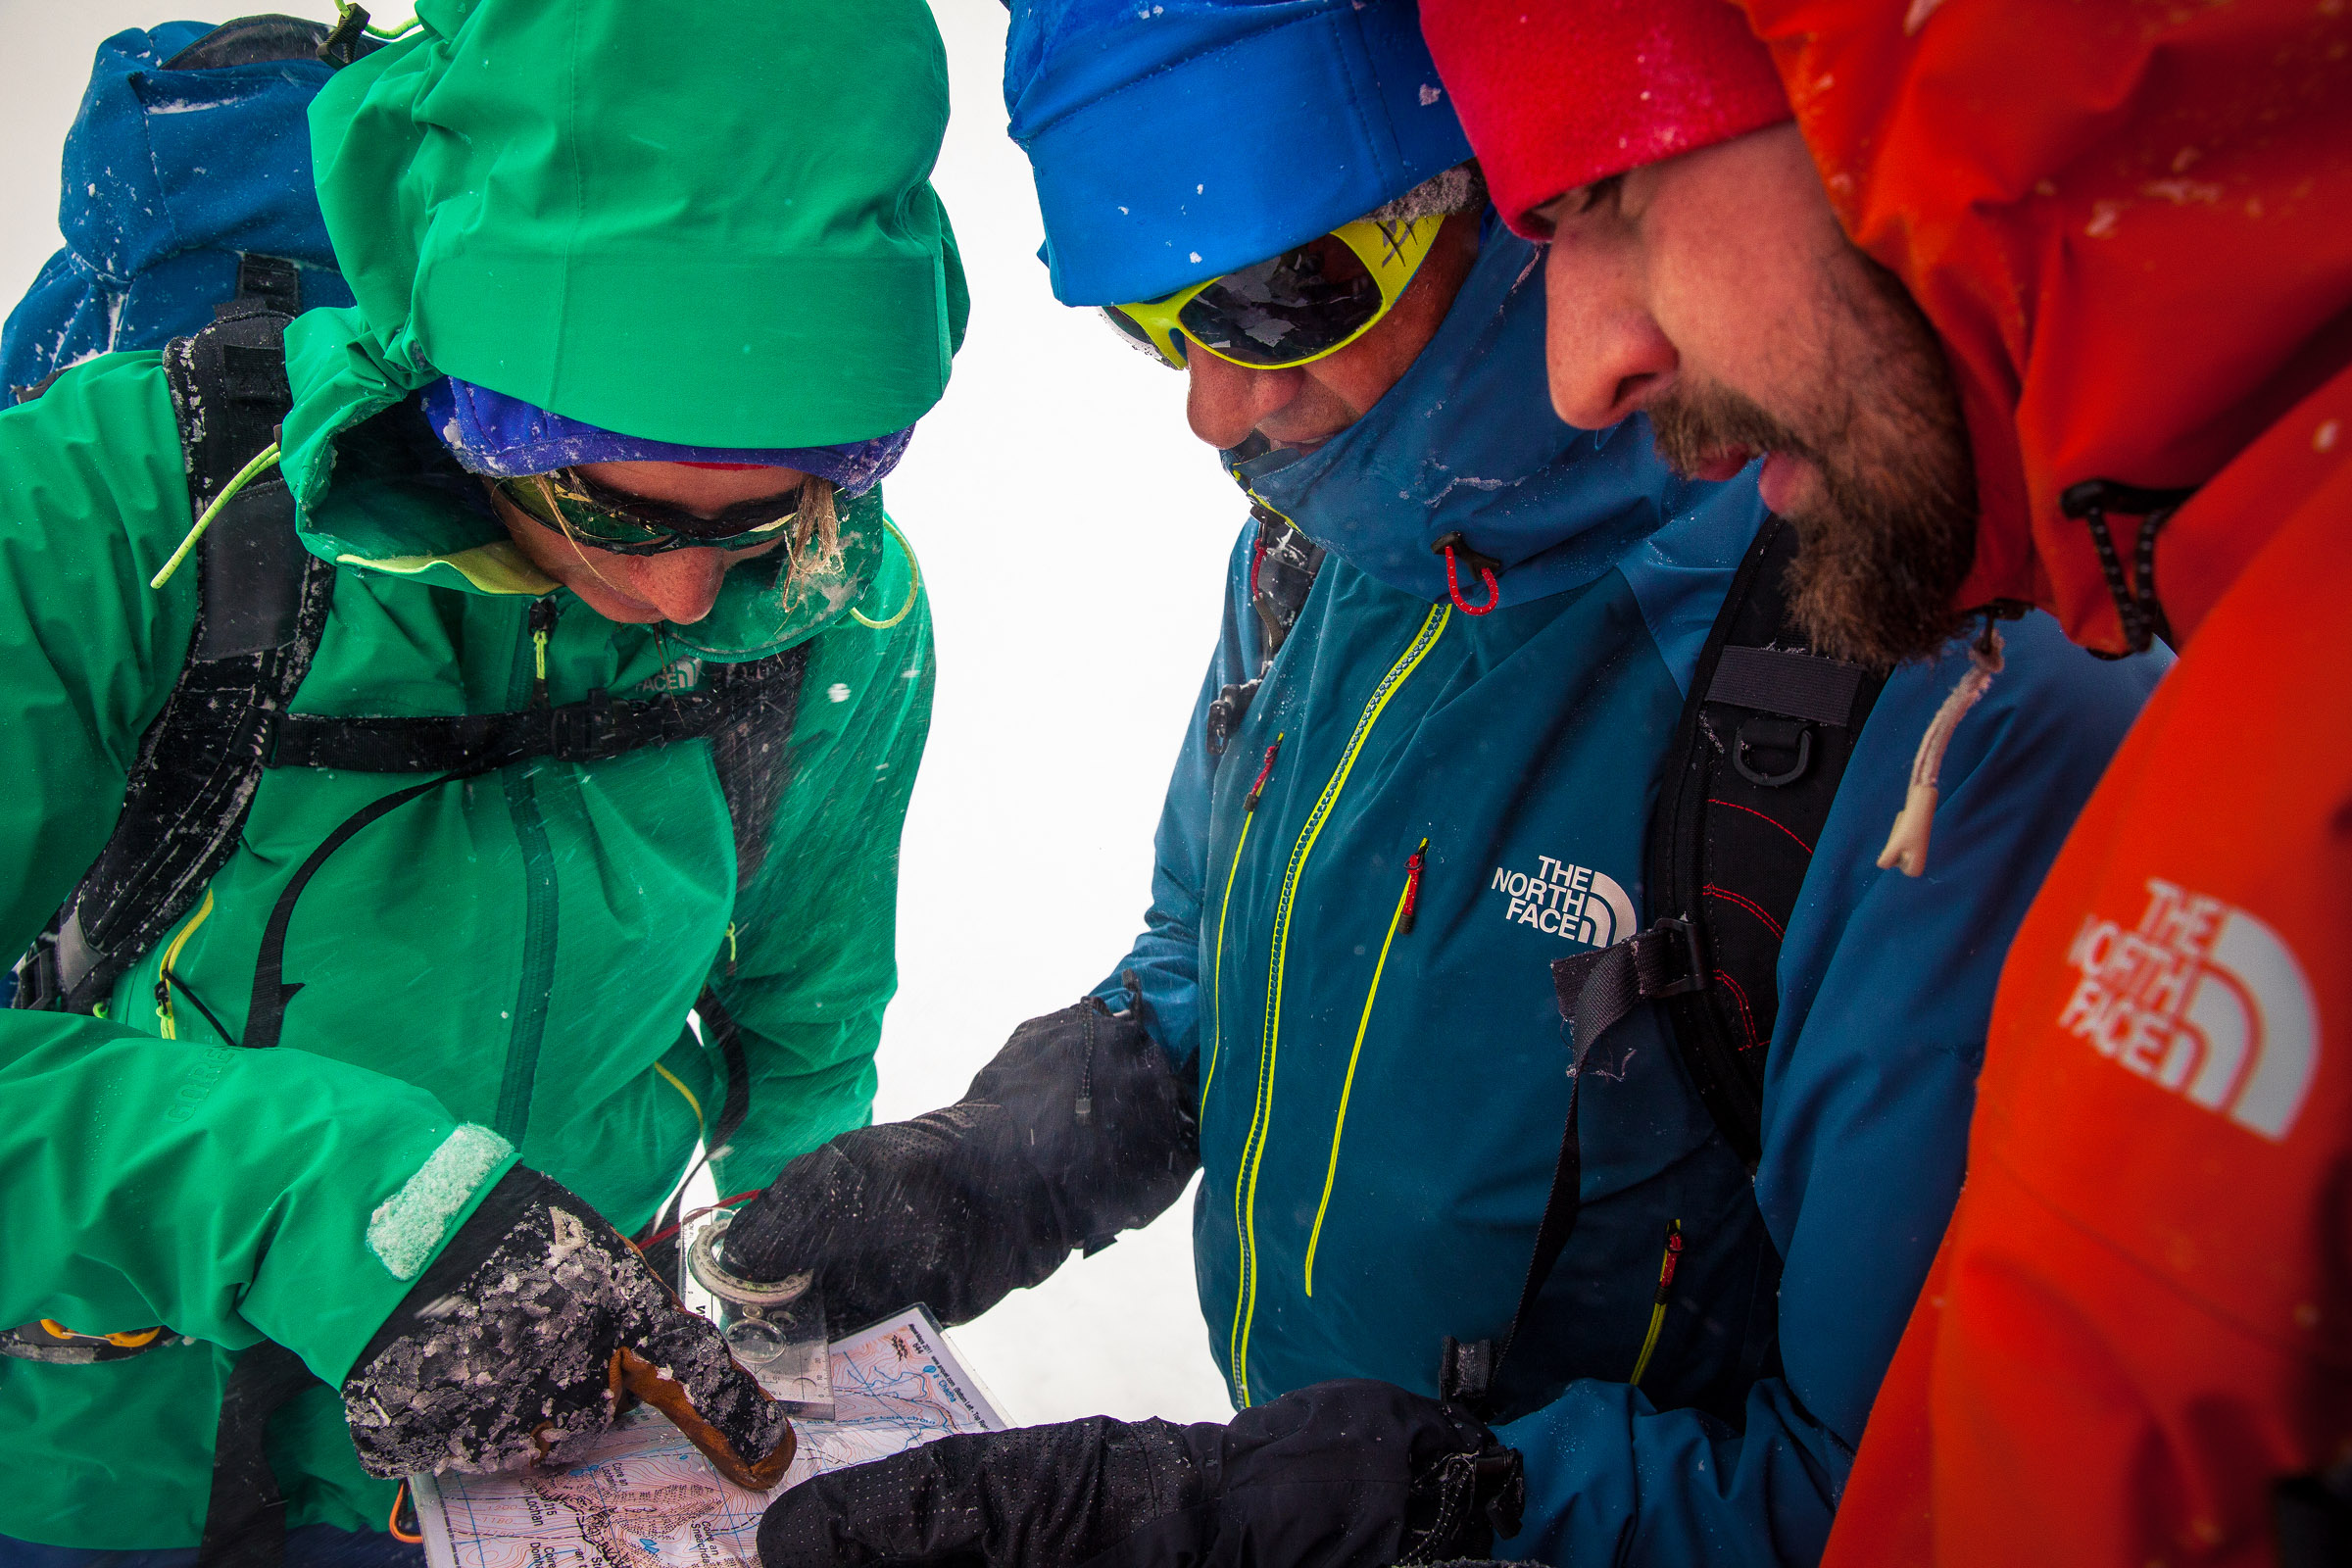
Contours

Finally, contours are key. When visibility is low you can’t rely on following features, such as paths or fences, so contours can really help you feel your way along a route. Within a few days of learning to read maps at Glenmore Lodge, We started to read the 1:50,000 OS map more as a 3D image, rather than just 2D lines.

Our Top Tip

You might assume that the more detailed the map, the better it is, but in full winter conditions when many small features are covered by snow, a 1:50,000 scale Landranger is better for showing you the big features and overall lie of the land which is what you’ll be using for a lot of winter navigation.

7. Using technical gear – ice axe and crampons

We had never even touched an ice axe or a pair of crampons prior to our week in Scotland so it was just as well we had two experienced instructors at our side ready to teach us the basics.

It’s fine buying or borrowing all the technical gear needed for a long winter’s day out, but it’s absolutely imperative that you have a a basic understanding of how to use it.

Walking In Crampons

We found walking in crampons really tough at first, so much so we felt like we were going to roll our ankles when we passed over the rocky plateau to the side of Cairn Gorm. We were told to place our feet in the middle of each rock for extra stability, which sounded rather simple at the time but sure enough it worked.

But there are a whole load more walking techniques in crampons so to find out more watch Glenmore Lodge’s video on how to use crampons.

Axe Technique

An ice axe is also an essential piece of gear, but you need to know how to use it instinctively and correctly. Probably its most important use is to stop yourself from sliding down the face of a mountain slope – simple slips are the most common cause of winter mountain accidents.

Self belaying and self arresting were key skills we learned on the course and they’re techniques you really do need to practice so they’re instinctive. You need to know not only how to stop yourself sliding in the classic self-arrest position, but also in different orientations, so you can arrest a fall if you find yourself, say, sliding head down on your back because, believe it or not, you don’t always fall predictably.

A course is the ideal place to learn, but for basics, watch this video from the lodge on self arresting. You can even practise the body shape without snow as a way of teaching your body to react correctly.

Our Tip Tip

Even if you’re experienced with the use of ice axe and crampons, it’s worth finding a slope with a safe run-out and practicing your self-arrest techniques early in the winter season. You need to be able to react to a slip instantly particularly on harder snow, when once you pick up speed, stopping is nigh on impossible.

8. Stepping Techniques

How hard can it be to walk up a snowy mountain on foot? Quite a challenge as it turns out. Knowing how to avoid slipping or falling by thoroughly placing each step will save you energy and increase safety.

The first activity we did on the opening morning of the course was to practice walking on snow by climbing a fairly steep slope using a zig zag path all the way up rather than trying to head straight up the fall line which saves energy and makes for safer movement.

Kicking Steps

When you’re part of a group it’s all about team work; whoever is in the lead should aim to kick positive footholes in the snow which will get consolidated and packed down into more secure footholds as each person follows. This increases the stability for each person along the line, making for easier and safer progress on steep ground.

Use The Edge Of The Boot

On the steeper slopes, if crampons weren’t used, the most efficient stepping technique was to have your feet pointing horizontally along the slope so more surface area of the boot’s sole is utilised. Then for very steep slopes we pointed our toes directly into the mountain, which really burns the calves, but you make good ground in a short period of time and feel pretty sturdy along the way.

More Information

Watch this video by the lodge on kicking steps in the snow for more information on stepping techniques.

Our Top Tip

With good stepping technique you can move efficiently on snowy terrain without using crampons – you’ll be surprised at how fully-stiffened winter mountain boots can kick in to even quite firm snow slopes saving you the time spent donning and removing crampons and also allowing you to move slightly faster.


9. Emergency Survival

Touch wood, hopefully we’ll never be in an emergency situation when we’re stranded on the side of a mountain, with no signal, little visibility, high winds and freezing temperatures. But, it can happen and knowing how to deal with it is key.

There were three main survival techniques we were taught while on the course including emergency shelter building, how to help out an injured victim on the mountain, and what survival kit we should be carrying.

Key Kit

Two key bits of gear in your pack are a shovel and survival bag, though they take up minimal space. The shovel’s primary function is shifting snow quickly, while the survival bag provides shelter in times of need but can also double up as a stretcher.

One of our instructors on the course emulated a survival scenario in which he broke his leg in the mountains. This is where we were taught how to use a survival bag as a stretcher so we could carry him down the slope to a safer area.

Snow Holes

We were also taught how to build an emergency shelter in case you had to get away from the ferocious winter conditions for a period of time. As seen in the image above, we were shown how to dig into a steep bank of snow that had previously been checked and confirmed as being safe.

That’s pretty much all an emergency shelter is, a big hole, but it’s incredible how quickly you warm up inside one once out of the wind.

Our Top Tip

At its most basic, a snow hole is simply that, a hole in the snow, but it’s amazing how much shelter you’ll get and it’s well worth doing some research into the various different types of snow holes you can construct.

10. Join A Club

Ideally we’d suggest enrolling on a winter skills course with a body like Glenmore Lodge, but there are other alternatives to simply jumping straight in the deep end and finding yourself in the unforgiving mountains without any real preparation or practice in similar conditions.

Rather than heading out alone, we’d strongly suggest you try to find a more experienced companion who’s prepared to teach you some of the basics as you go. One of the best ways of doing that is to join a local walking or climbing club which organises regular meets and outings in the hills.

Good Value

At £575 the winter skills course seems like quite a large sum to part with, but when you factor in what you get for the money, it actually starts to look like very good value indeed.

Not only do you get top-level skills instruction from qualified professionals – two per group – the course fee also includes full board and accommodation with three meals a day and as much cake as you can eat. Plus you also meet and spend time with a group of like-minded outdoorsy people who might even become walking partners in the future. And we reckon that’s all pretty cool.

Find A Club

But having said this, it’s still a lot of money so instead you could join a local walking club that organises regular winter day’s out at a place near you. The easiest way to get involved is to search for your local walking club online at any of these websites: www.ramblers.org.uk,www.thebmc.co.uk, www.meetup.com.

Halfway House

Another option might be to group together with some mates and arrange your own accommodation and instruction with a qualified guide or mountaineering instructor. On the plus side it might work out slightly cheaper than a full-on course and you can tailor the content to suit your own needs.

Our Top Tip

Winter skills courses are a fantastic way of learning to enjoy winter mountains safely, but they’re not the only way. The one big point we’d make though, is that it’s not enough to simply have the right equipment like axe and crampons, it’s crucial that you know how to use them however it is that you learn those skills.

Newsletter Terms & Conditions

Please enter your email so we can keep you updated with news, features and the latest offers. If you are not interested you can unsubscribe at any time. We will never sell your data and you'll only get messages from us and our partners whose products and services we think you'll enjoy.

Read our full Privacy Policy as well as Terms & Conditions.

production