How to Light a Fire Using a Bow Drill | Bushcraft Tips - Outdoors Magic

Outdoors Gear, Equipment, News, Reviews, Forums, Walking Routes and More at OutdoorsMagic.com

Share

How To Guides

How to Light a Fire Using a Bow Drill | Bushcraft Tips

Fire with your own bare hands? Easy. Thom Hunt shows how its done...

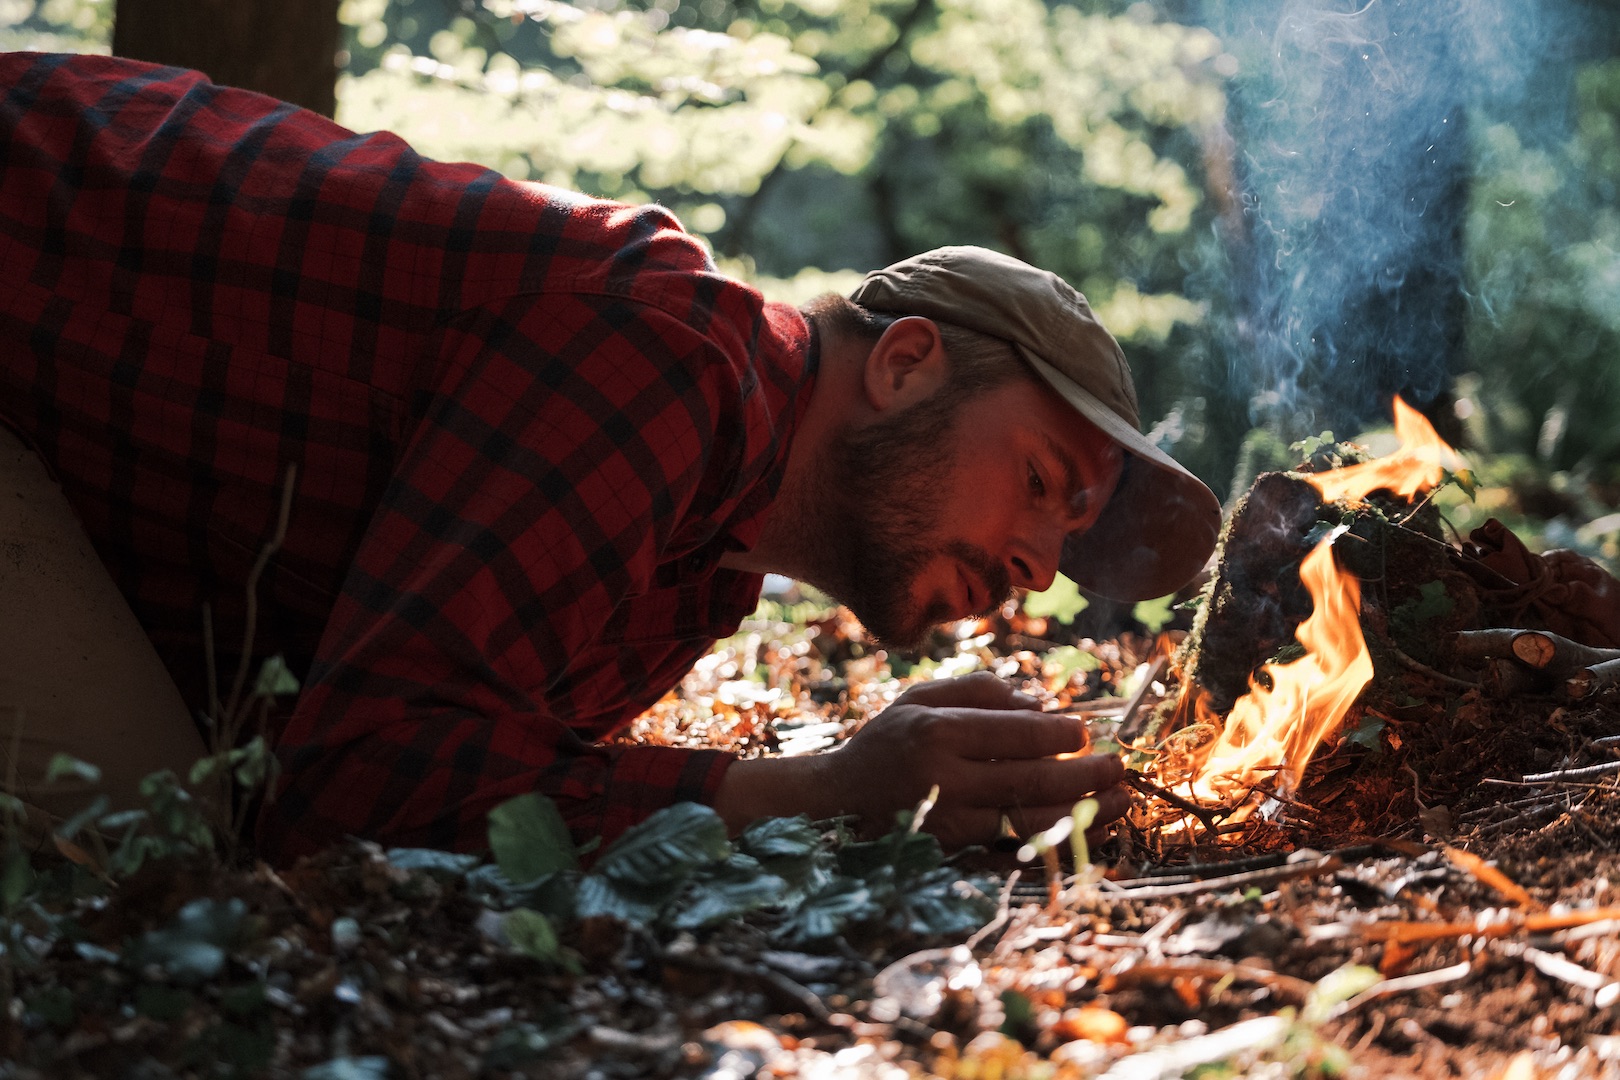
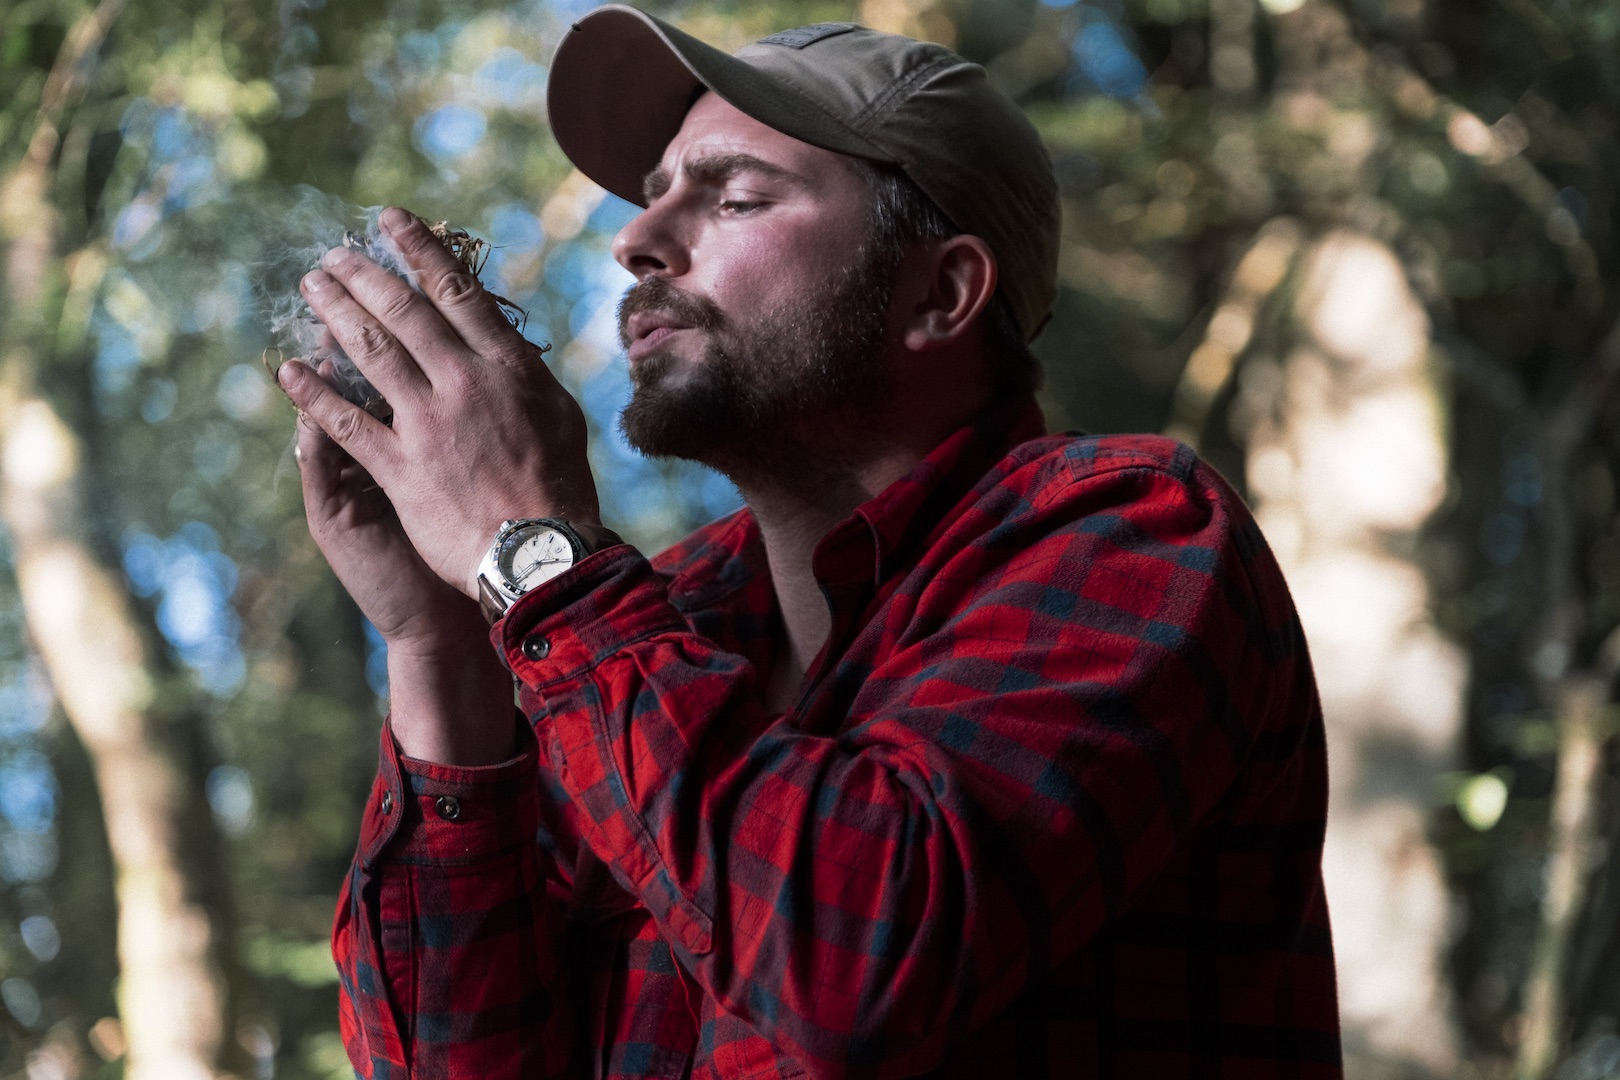
Bow drill fire lighting has been practiced since the beginning of human civilisation and today it’s still a valuable skill to have in your quiver. While it might come in handy should things go horribly wrong and you find yourself in a disaster situation, or accepted onto a reality TV survival show, the real worth in it is in the primal reconnection it brings. 

As part of our recent collaboration with leading outfitter and manufacturer, Filson, we’re highlighting some of the old ways and crafts that bring us back to basics. Here in Part One, with the help of bushcraft guide Thom Hunt, we look at this ancient method of fire lighting.

A Step By Step Guide to Lighting A Fire With A Bow Drill

“To poke a wood fire is more solid enjoyment than almost anything else in the world.” Those are the words of 19th century American writer Charles Dudley Warner. We’d argue there’s even more enjoyment if you’ve created that fire yourself and without the help of modern luxuries…

The Best Wood For a Bow Drill

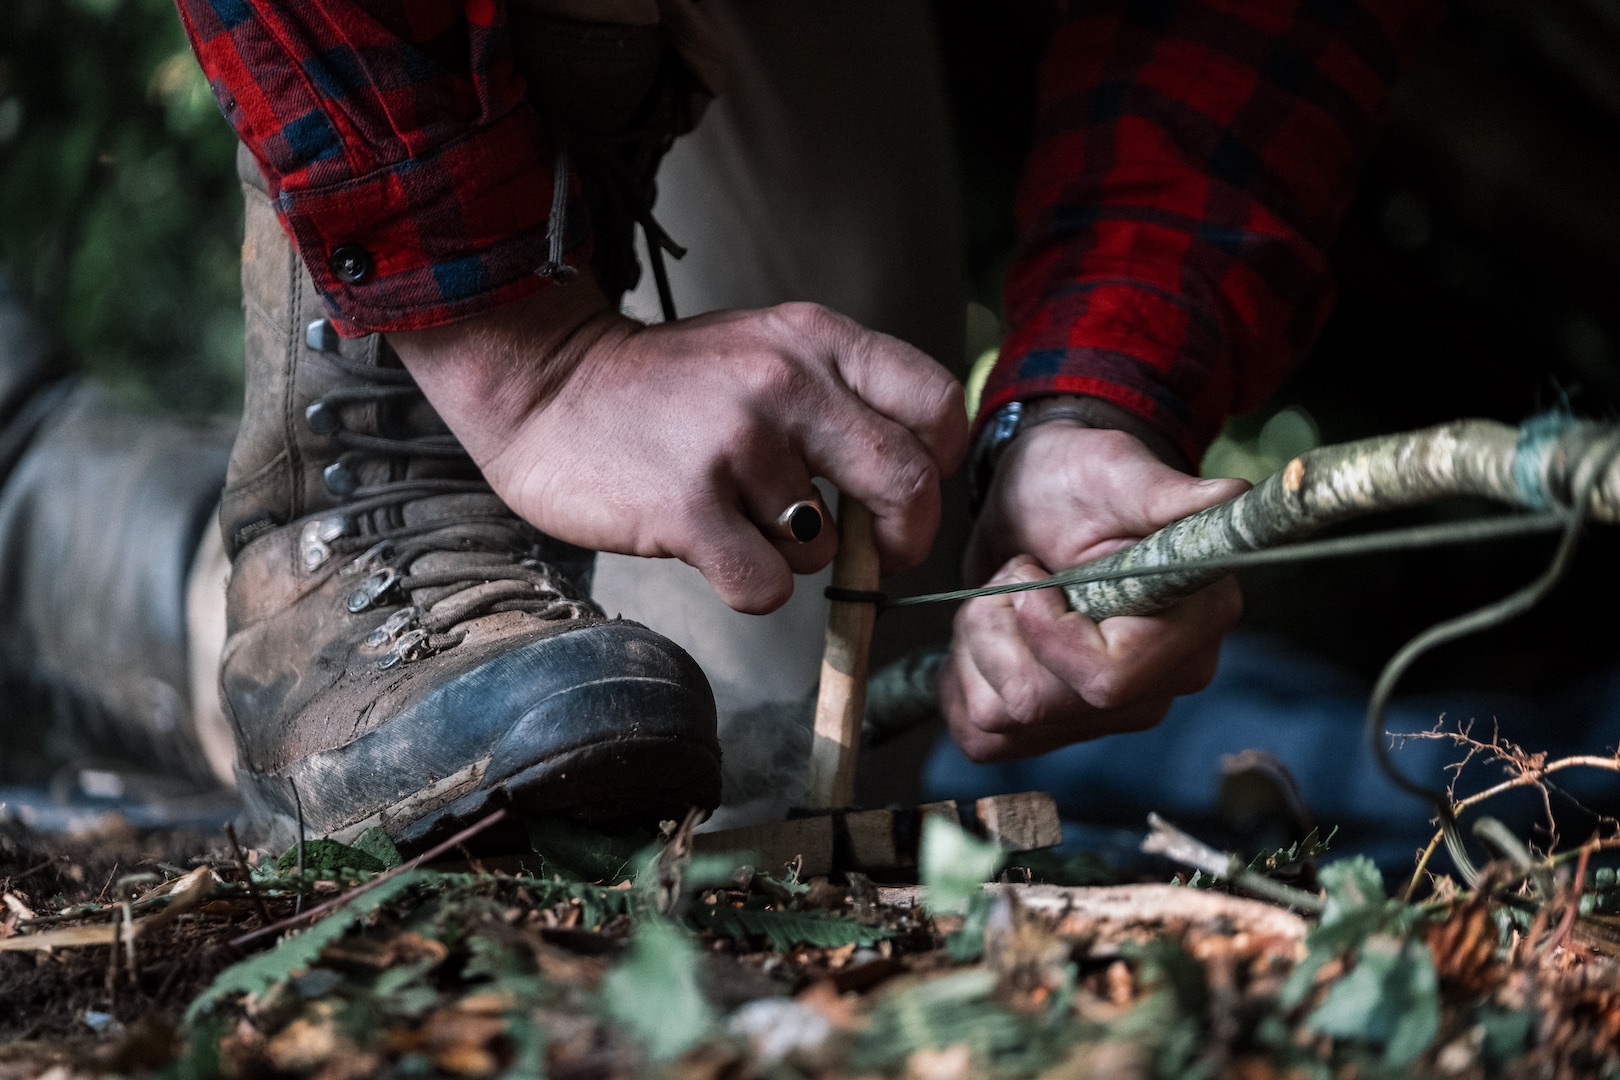
There are a few components you need for a bow drill fire. As well as the bow, there’s the spindle (aka drill piece), the hearth (aka base board) and then the bearing block. You also obviously need fuel, starting with tinder and kindling and building up to logs.

For your fuel, and for your bow drill equipment as well, look for wood that’s dead and dry. Fallen trees and branches that aren’t touching the ground are what you need here. Just make sure nothing’s rotten.


If the wood is green, that means there’s moisture in it. A good suitability test is to cut the bark from the wood and run your thumbnail along the exposed fibre. If it’s ready, it should be hard for your nail to leave a mark.

Bushcraft experts could argue until the cows come home about the best wood for bow drill fire making. In the video above, Thom uses hazel for the spindle and ivy for the hearth, but it’s often recommended that you use the same type of wood for both components. Hardwoods with integrity work well. In the UK, such examples include oak, hazel, elder, field maple, willow, birch and sycamore.

Making A Bow Drill

For the bow, choose a piece of wood that’s about 12-15 inches in length and that has a bit of flex. Tie a piece of cord to either end, making sure it’s not too tight and not too loose either.

Ideally, the spindle should be perfectly straight, about 12-15 inches long and around 2-3cm in diameter. Use a knife to make the end that comes into contact with the hearth blunt. The other end should then be sharpened to ensure minimal friction between the bearing block.

The hearth should be able to lie flat and stable on the ground and if it’s half an inch to an inch thick, that’s perfect. Cut a small notch into the wood about an inch from one of the longer edges and wear this down into a small bore using the bow and spindle. After that, use a knife to cut a narrow v-shaped notch right to the edge of the wood. This will be helpful when you need to roll the ember out.

“It’s important to bear in mind the principles of leave no trace.”

As the video shows, a limpet shell makes for an ideal bearing block. Hardwood with a notch also works well or you can use a small stone with an indent. You can get some knives with handles that are specifically designed for this as well.

Gathering Fuel

Before using your bow drill, get all your fuel together and place it within close reach. Anything you gather for tinder needs to be smaller than a matchstick and bone dry. On wet days, try putting some tinder in your breast pocket as early as you can to allow it to dry out. Once you’ve gathered enough up, squeeze a bundle of it into a tight ‘bird’s nest’ shape and press a small hole into the middle with your thumbs.

Kindling should be about the same size as a pencil. If you haven’t watched it yet, the video above shows some useful advice for selecting this. The final ingredients are then your logs which are the main, slow burning fuel you’ll need once the fire’s up and running.

The Bow Drill Method

Wrap the cord of the bow around your spindle, place the blunt end of the spindle into the notch on the hearth and then apply pressure through the bearing block. To keep the spindle steady, it helps to kneel down onto one knee and wrap the arm you’re applying pressure with around your shin.


Twist the spindle into the cord. Photo: Ed Blomfield
Start with steady strokes then, when you see smoke, increase the speed. Photo: Ed Blomfield
With enough friction, you should be rewarded with a glowing ember. Photo: Ed Blomfield
Blow gently onto the ember. Photo: Ed Blomfield

Start with regular and steady movements back and forth. When smoke starts to show, don’t stop. Instead, increase the bow speed until you start to see a red glow. This means your ember has formed.

Quickly but carefully, roll the ember out and into your bird’s nest and then slowly rock it back and forth in your hands a few times to allow air to flow. After that, blow gently and precisely onto the ember until the tinder catches. 

If you’ve picked the right tinder it should all ignite quickly. When it does, place it down and start building your kindling around it, forming a sort of teepee shape. Finally, when ready, you can start adding the main fuel.

Leaving No Trace

When it comes to lighting fires outdoors, it’s important to bear in mind the principles of leave no trace. Ask yourself whether it’s really necessary to light a fire (perhaps a portable stove might be more sensible) and if you think it is necessary, will you be able to create the fire without causing harm to the area?

With the right approach, it’s possible to create fire without leaving a trace or disturbing a habitat. There’s a great video here that explains the steps to take.

Shirt: Filson Alaskan Guide Shirt/ Hat: Lightweight Angler Cap. Photo: Ed Blomfield


For More Like This:

How To Camp In The Rain

How To Choose The Best Tent For Backpacking

In assocation

Share

Newsletter Terms & Conditions

Please enter your email so we can keep you updated with news, features and the latest offers. If you are not interested you can unsubscribe at any time. We will never sell your data and you'll only get messages from us and our partners whose products and services we think you'll enjoy.

Read our full Privacy Policy as well as Terms & Conditions.

production