6. Winter navigation

Navigating in the summer, when visibility is as far as the eye can see and there’s little to no chance of your map flying out your hand, is a whole different beast compared with winter navigation.
Not being able to see further than your arm is quite a scary prospect and fortunately it didn’t quite get to that level when we were in Scotland, but it’s pretty common in winter conditions so being clued up on all navigational techniques is a must.
Pacing
The key tips we brought away for winter nav’ were pacing, timing, and using contours. So firstly, pacing. We were told to walk/pace to a pre-measured 100m line. A pace, in this case, is essentially two regular steps put together and for 100 metres we measured 63 steps. So at that point we already knew how to roughly measure that distance even if we had no map or compass.
Timing
Secondly, learning the basics of timing is also essential for winter conditions as it gives you a rough ball park of when you are going to reach a point on a map. The most effective and accurate way to achieve this is to estimate how fast you’re walking, generally between 3-4kmph, then calculate your timing based on the exact distance you have to your destination. Then add on one minute journey time for every contour you ascend. To find out more on this watch Glenmore Lodge’s video on how to use timing to improve navigation.
Contours
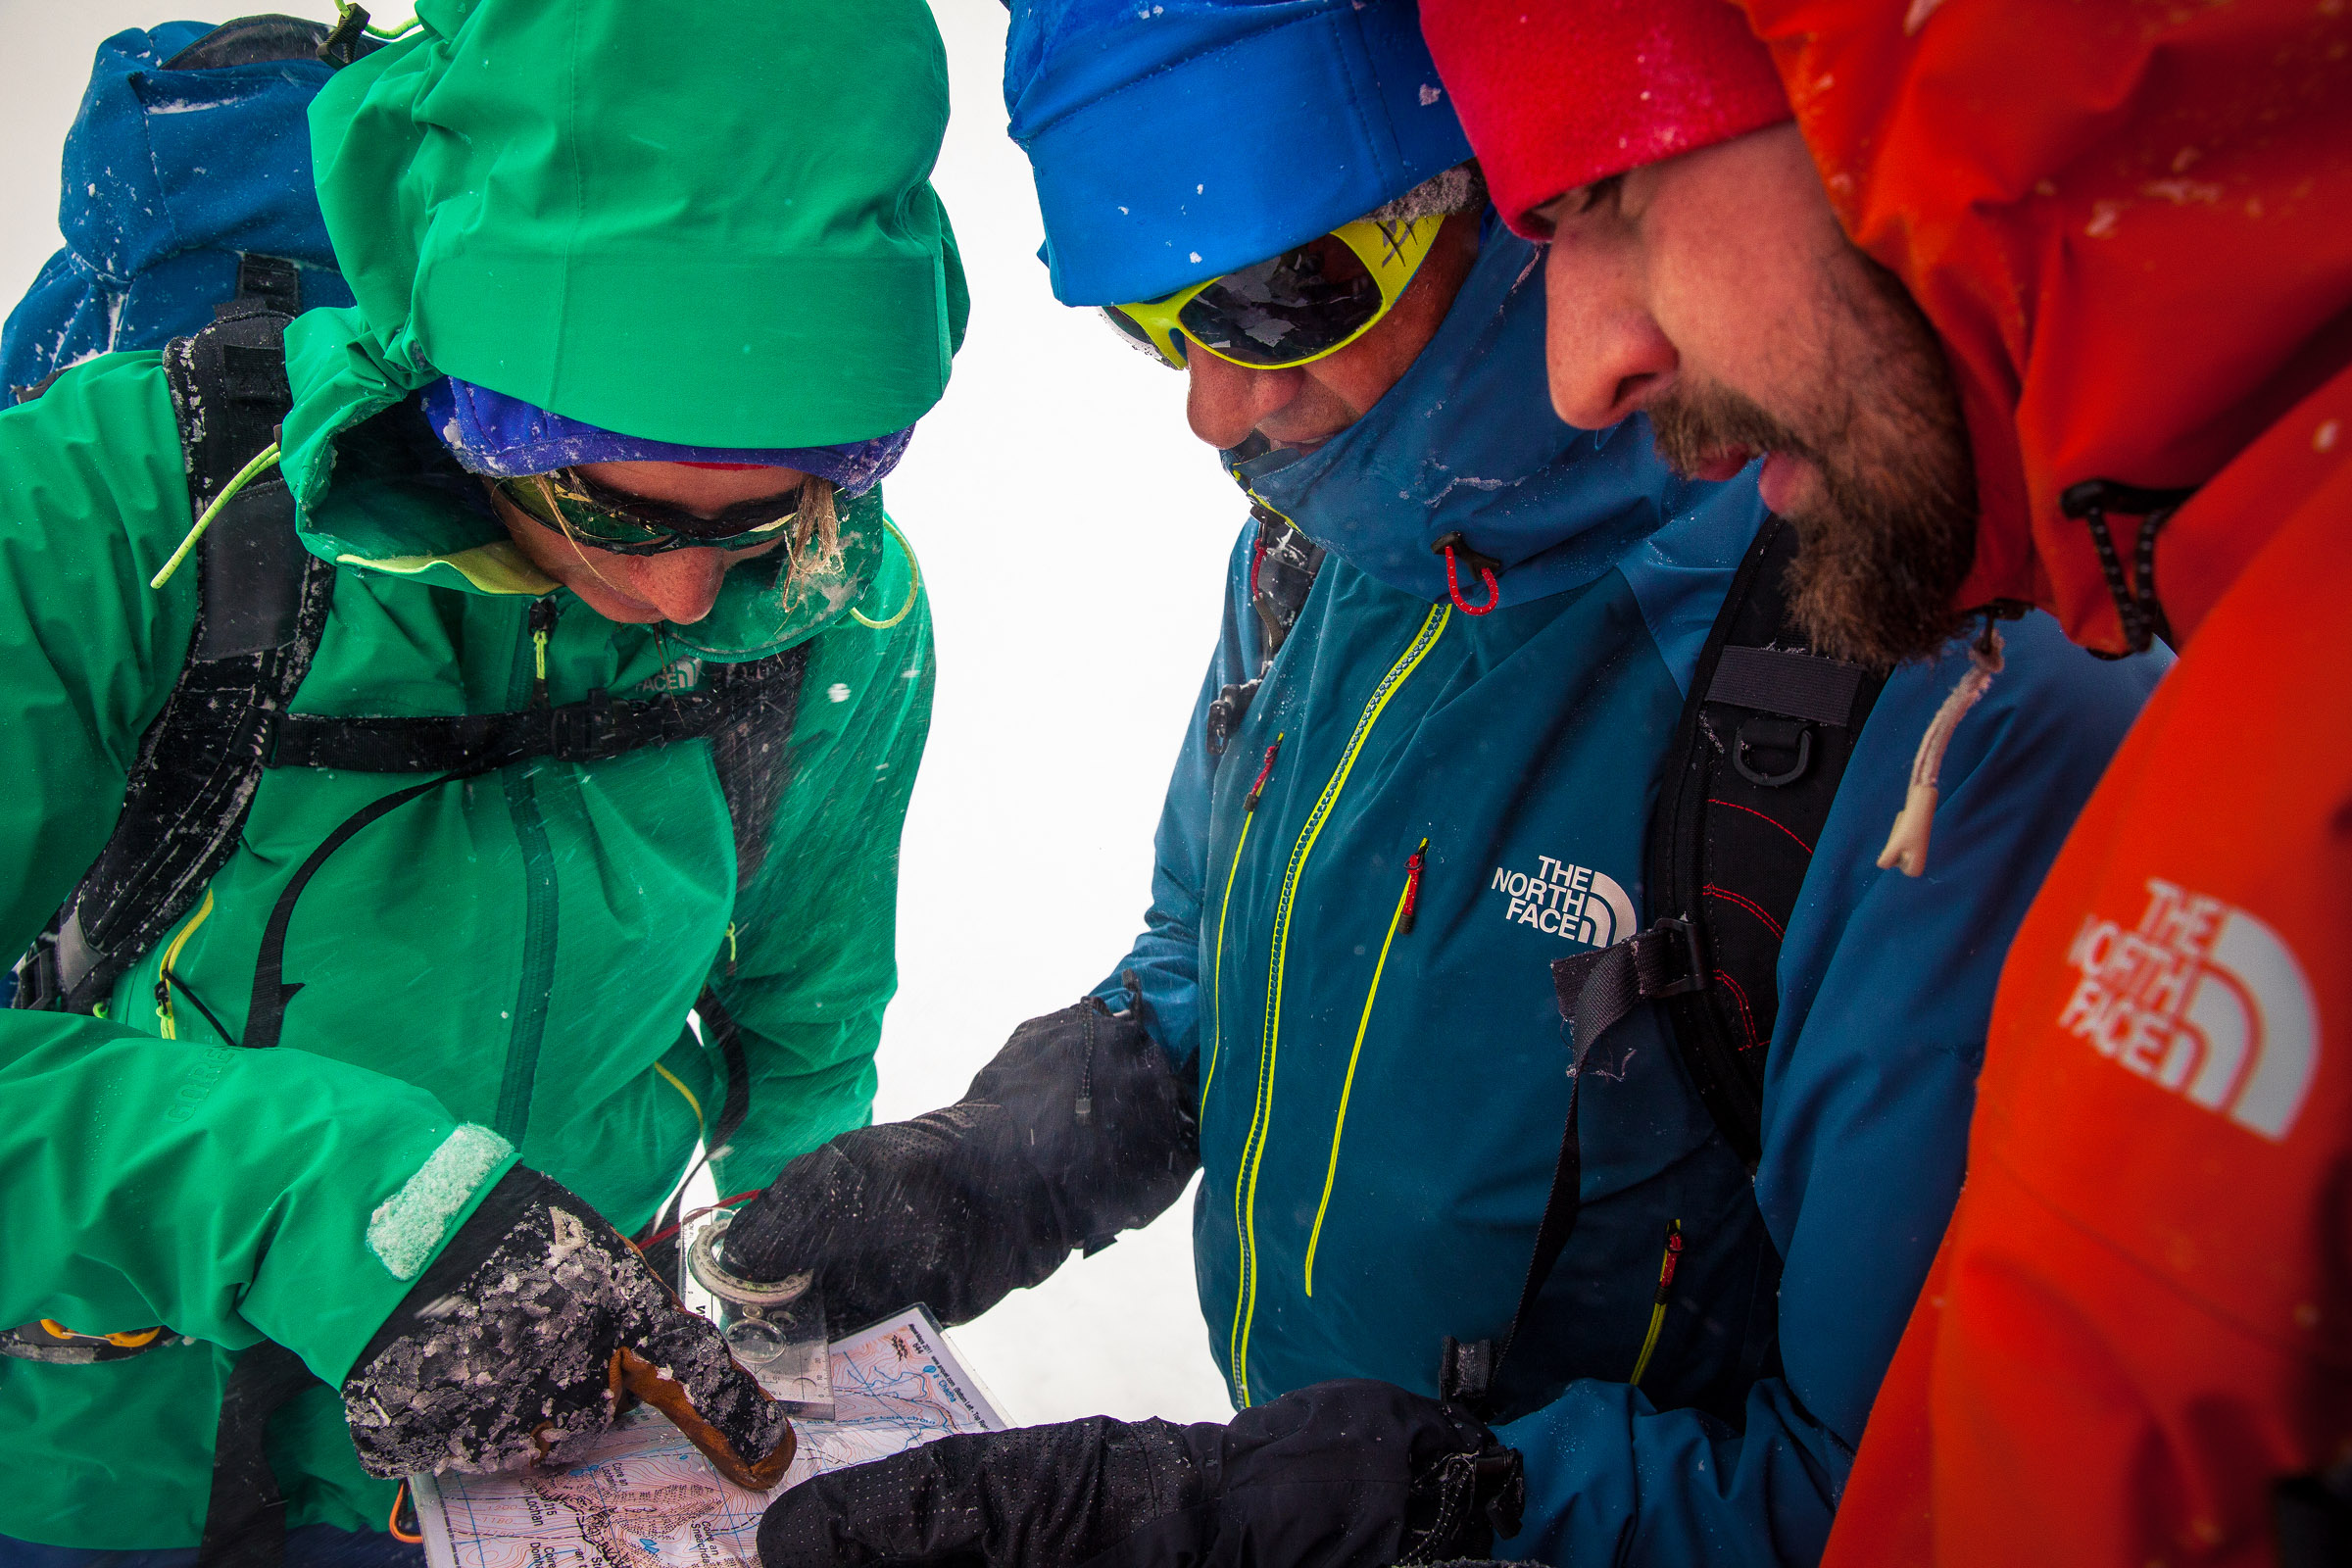
Finally, contours are key. When visibility is low you can’t rely on following features, such as paths or fences, so contours can really help you feel your way along a route. Within a few days of learning to read maps at Glenmore Lodge, We started to read the 1:50,000 OS map more as a 3D image, rather than just 2D lines.
Our Top Tip
You might assume that the more detailed the map, the better it is, but in full winter conditions when many small features are covered by snow, a 1:50,000 scale Landranger is better for showing you the big features and overall lie of the land which is what you’ll be using for a lot of winter navigation.

